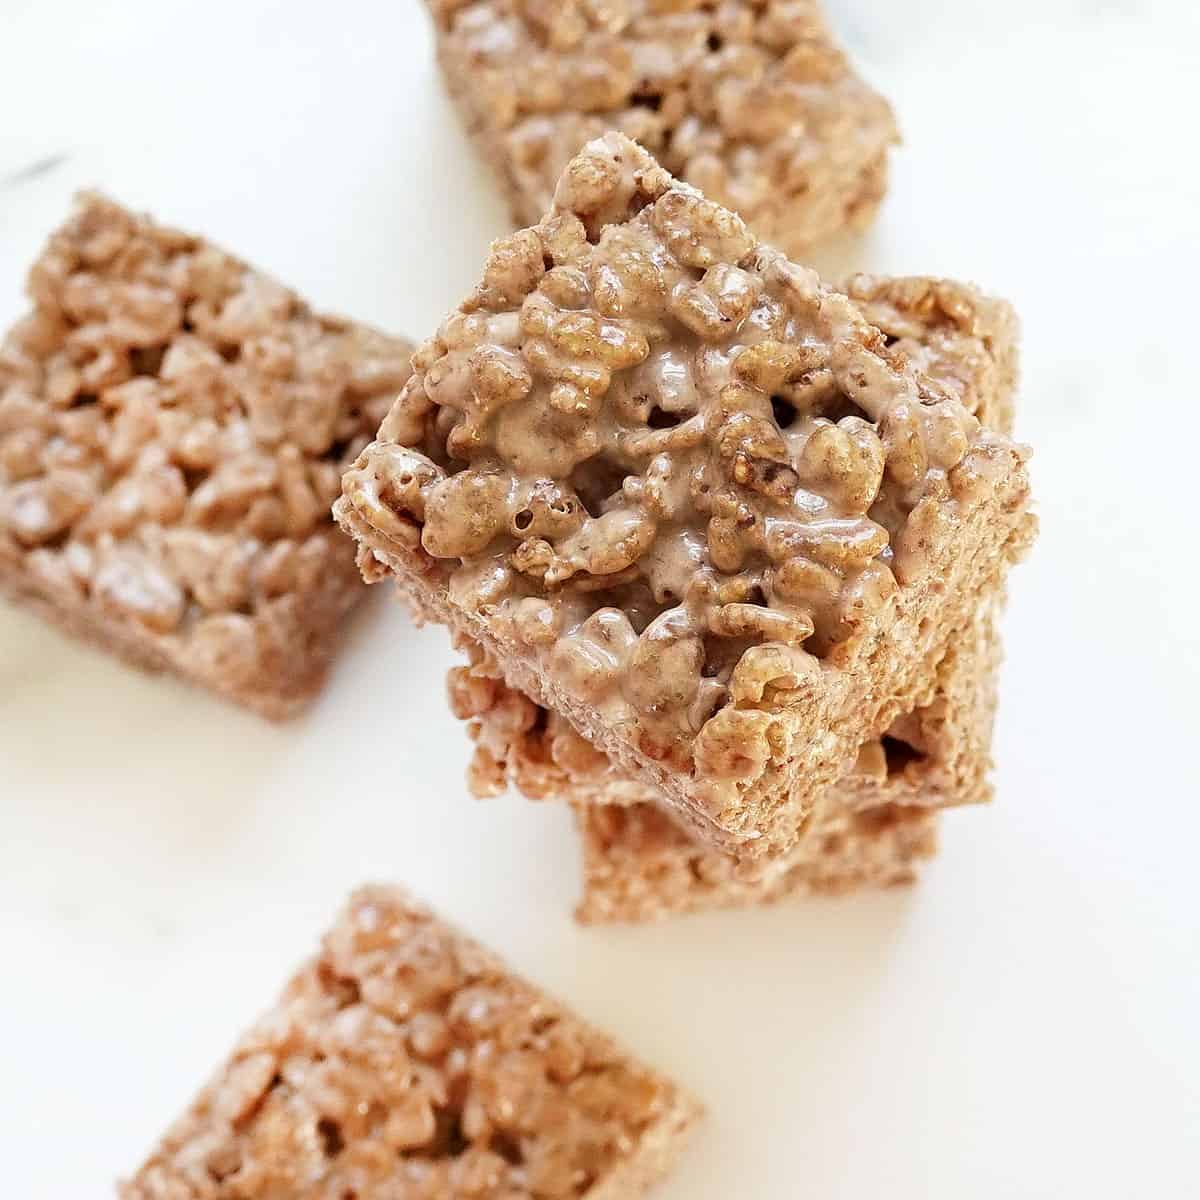
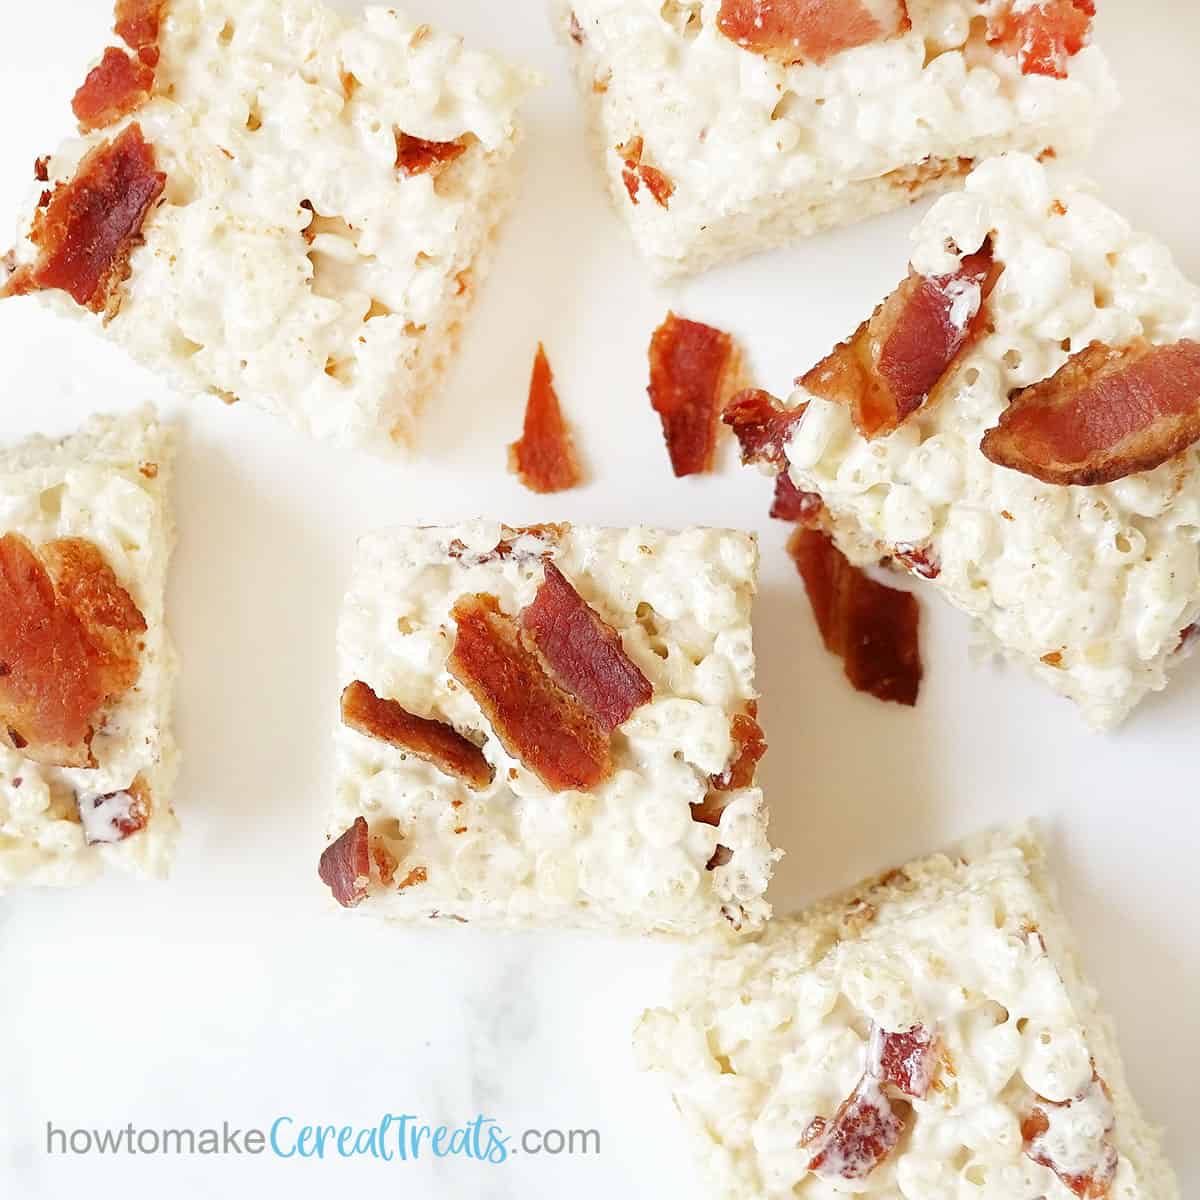
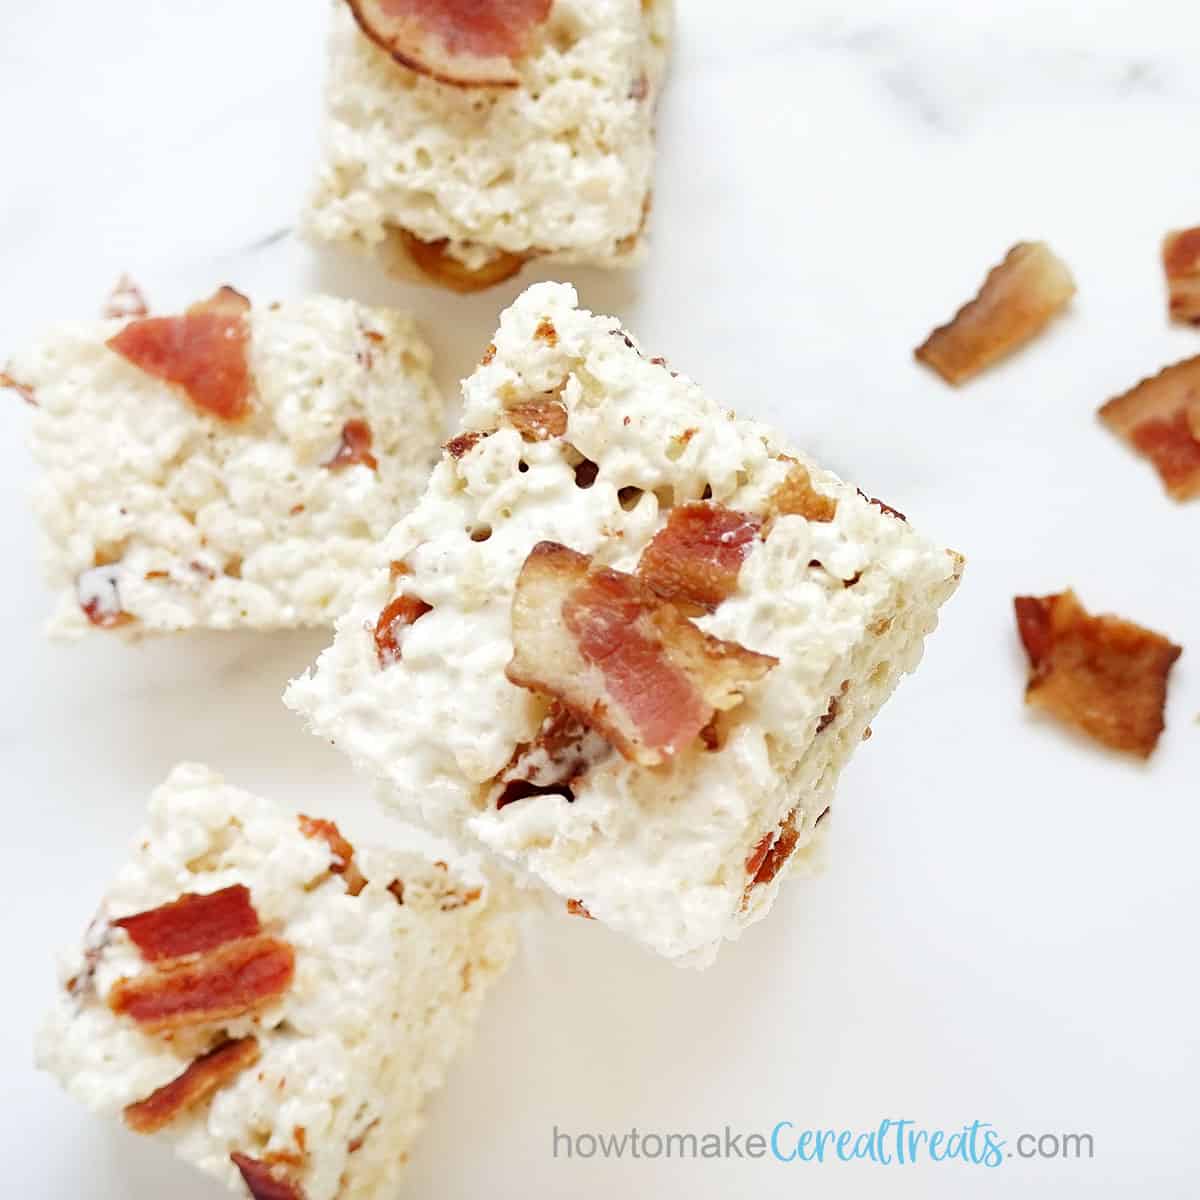
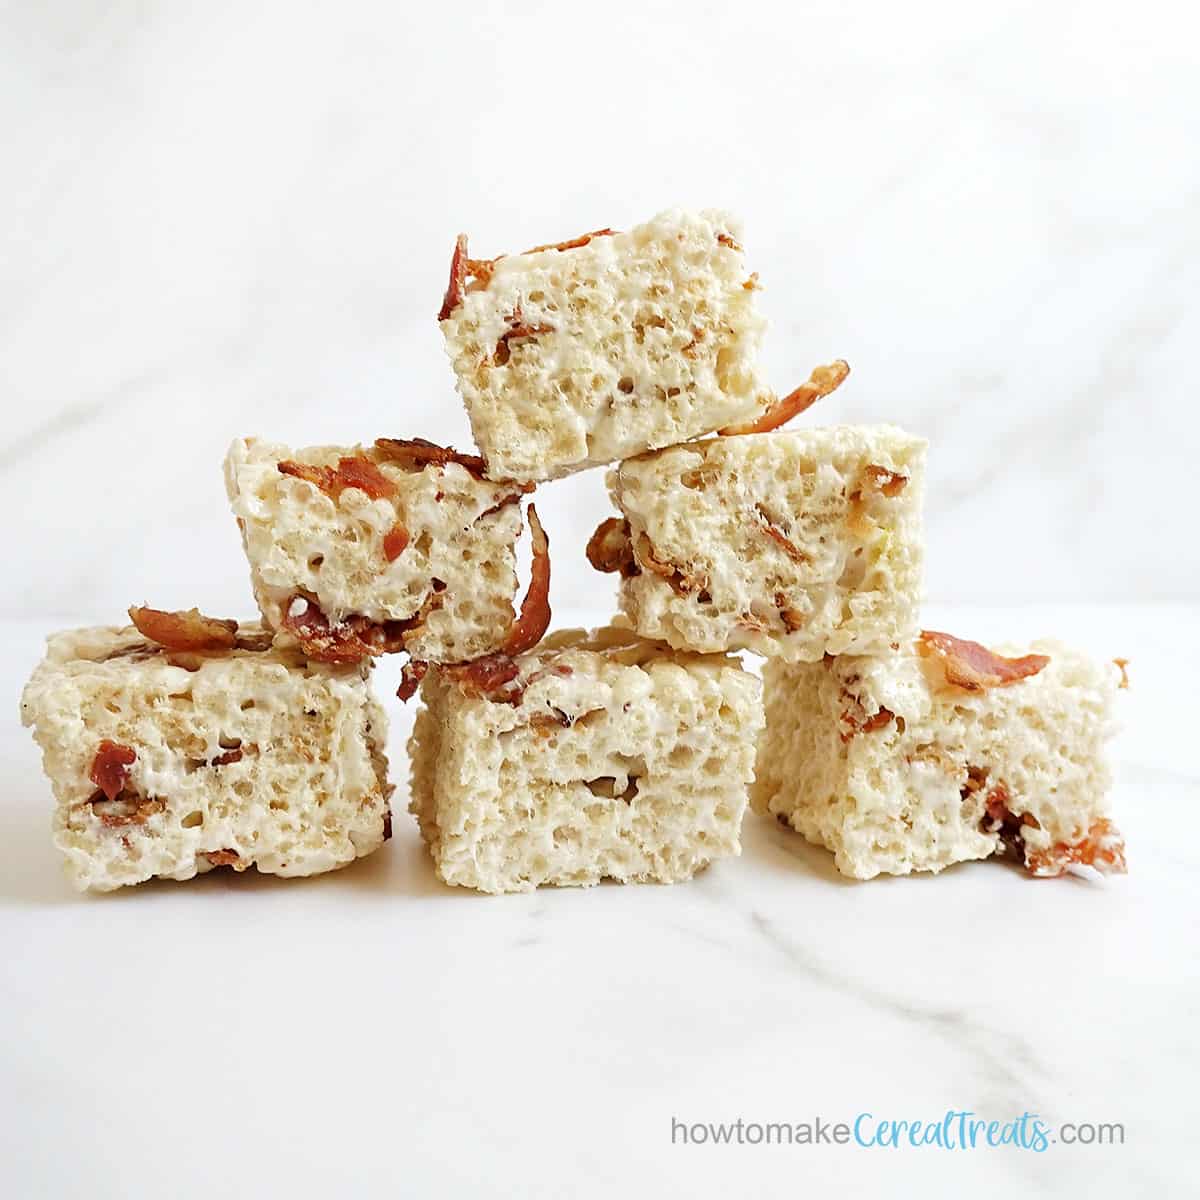
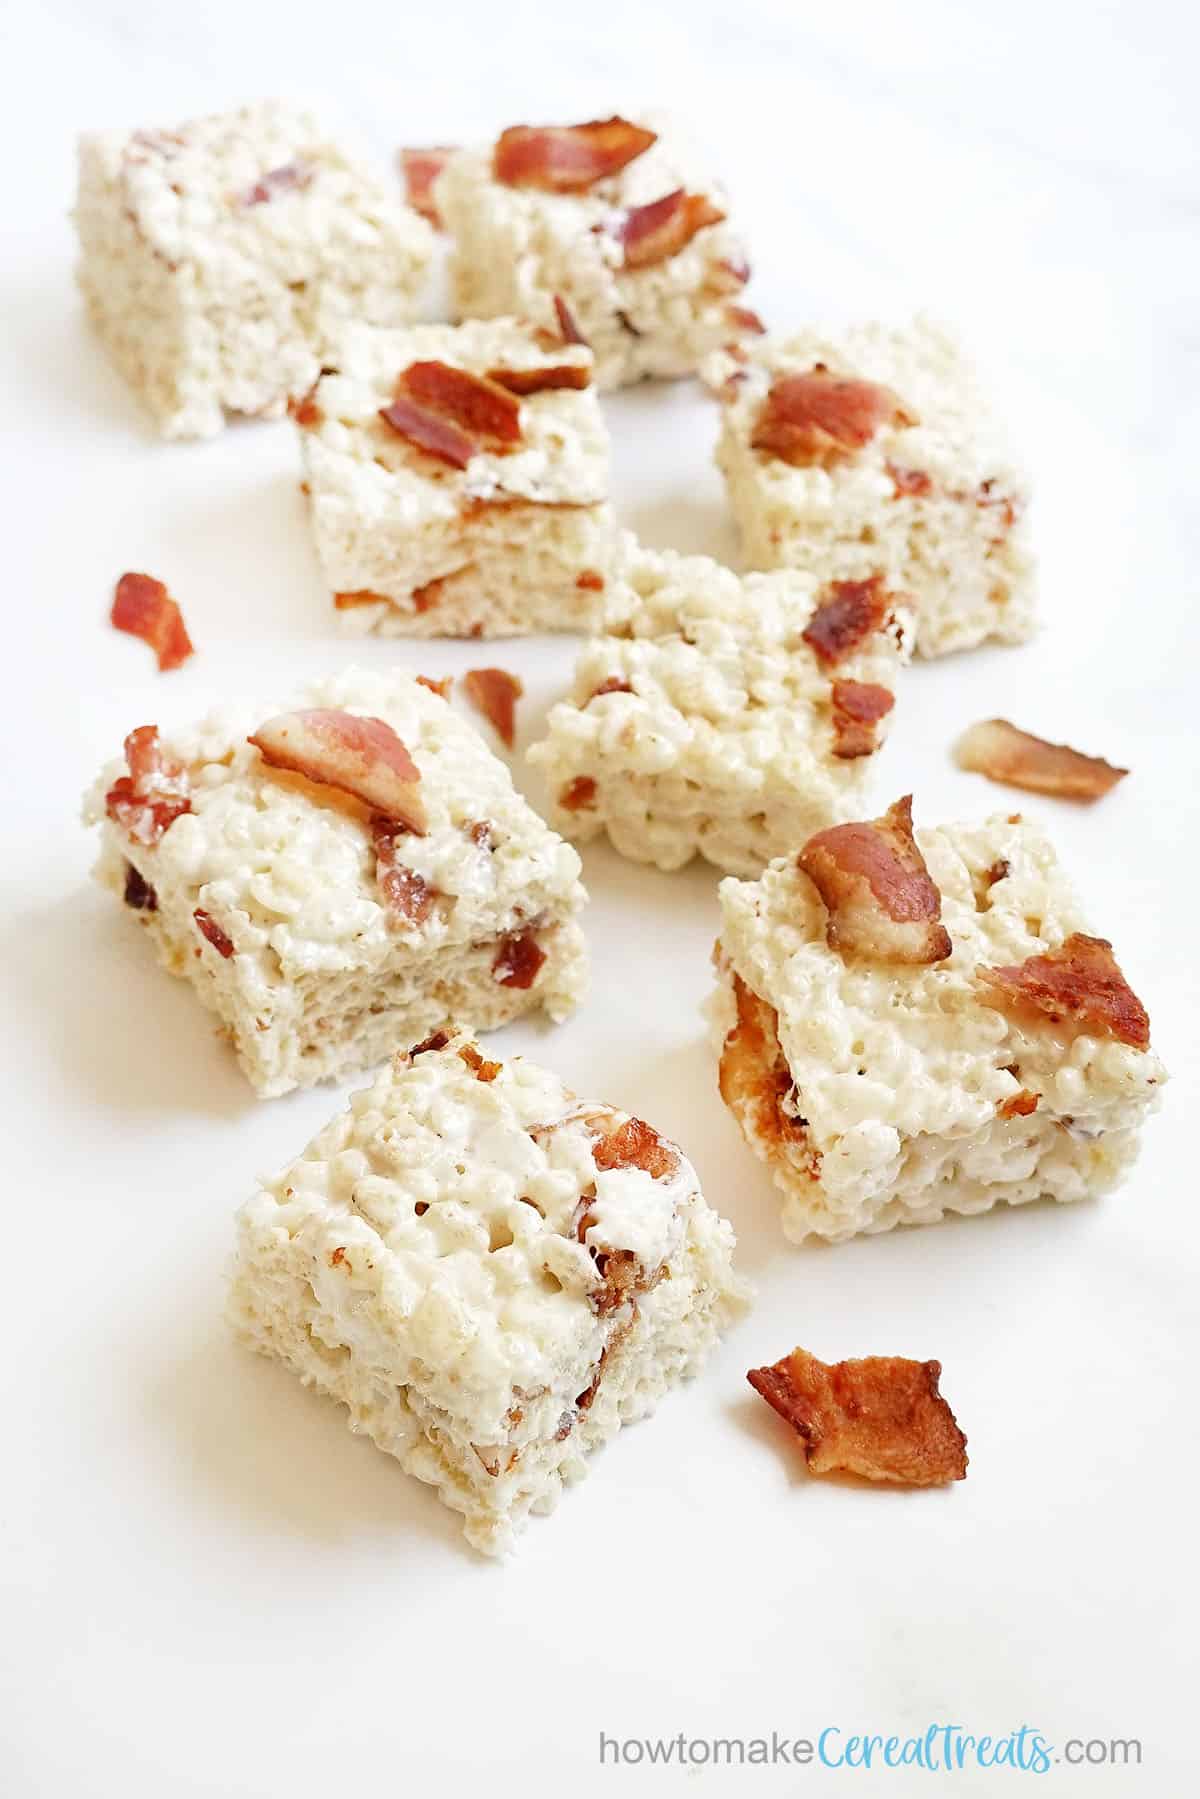
Perfectly ooey, gooey, sweet, and salty. These maple bacon Rice Krispie Treats are amazing!
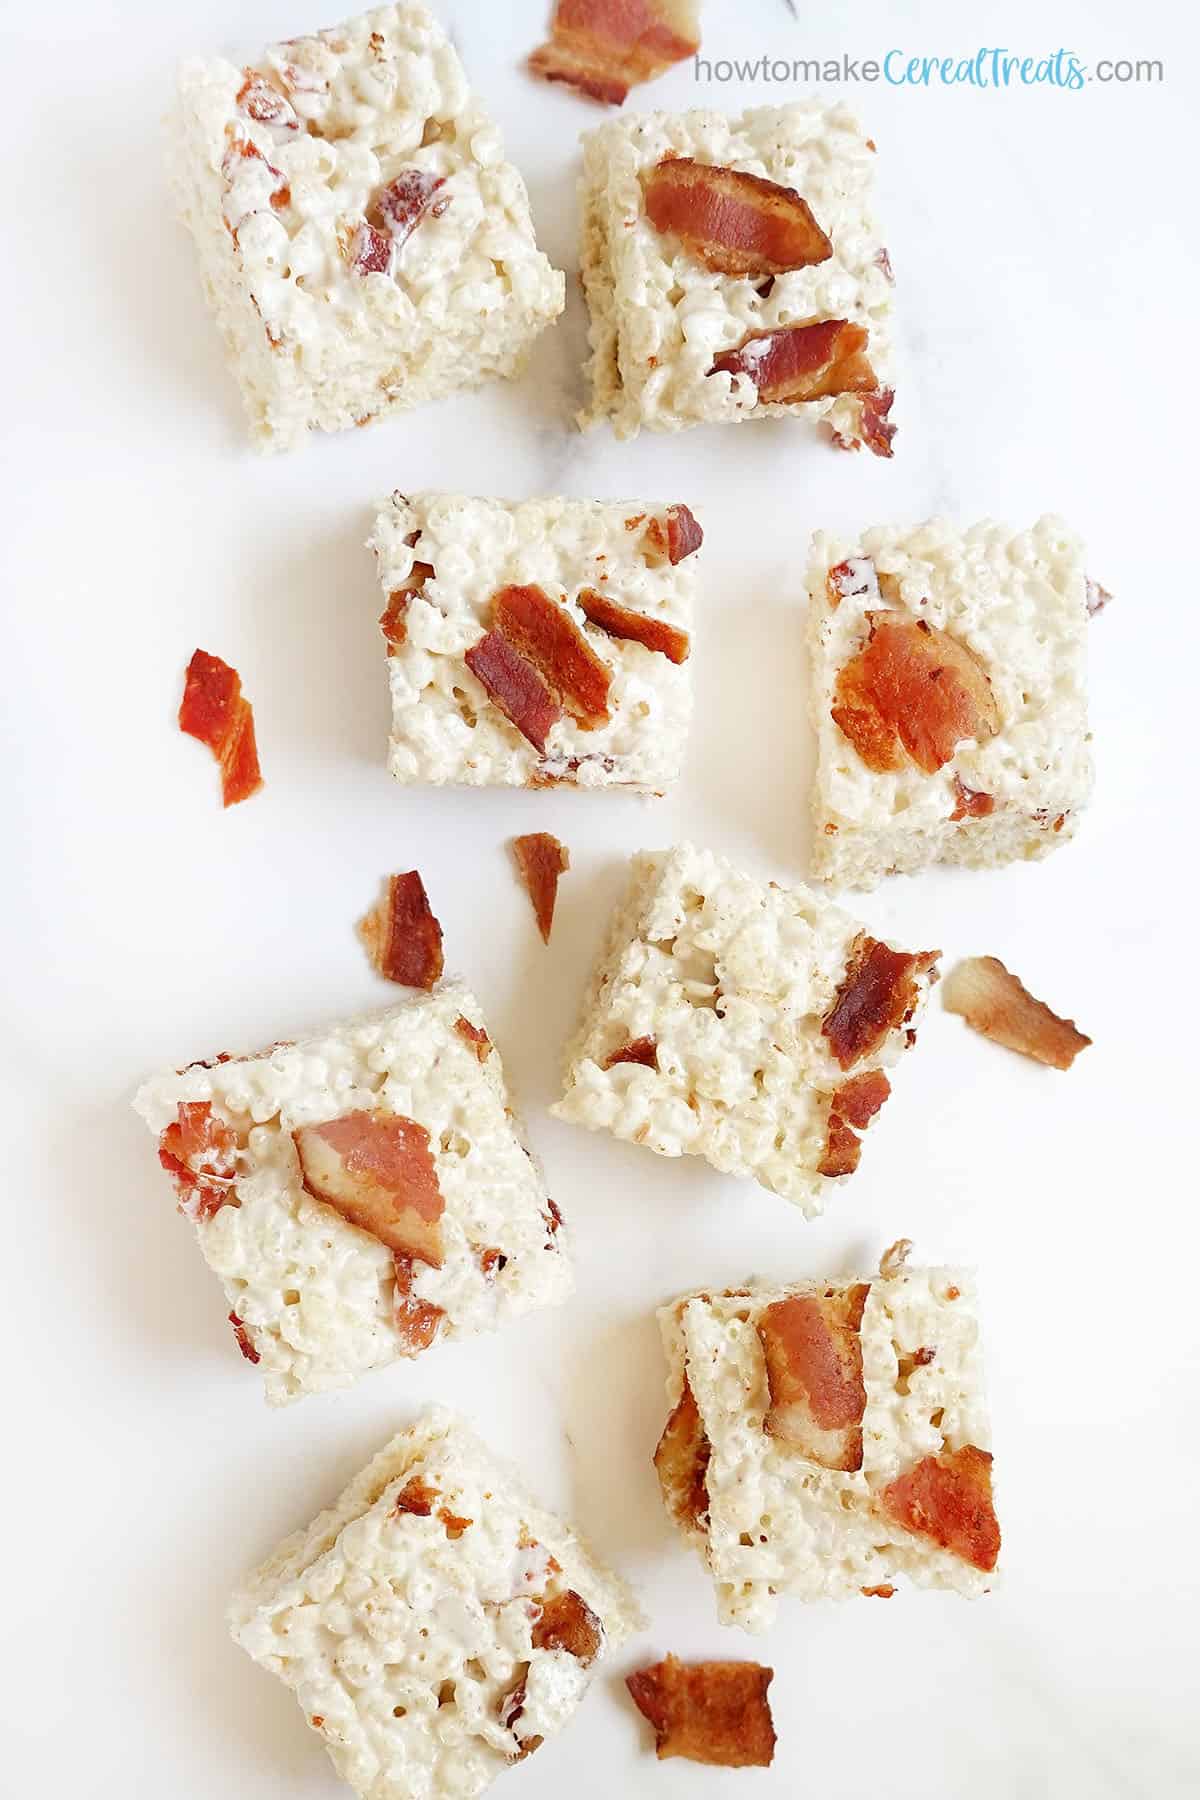
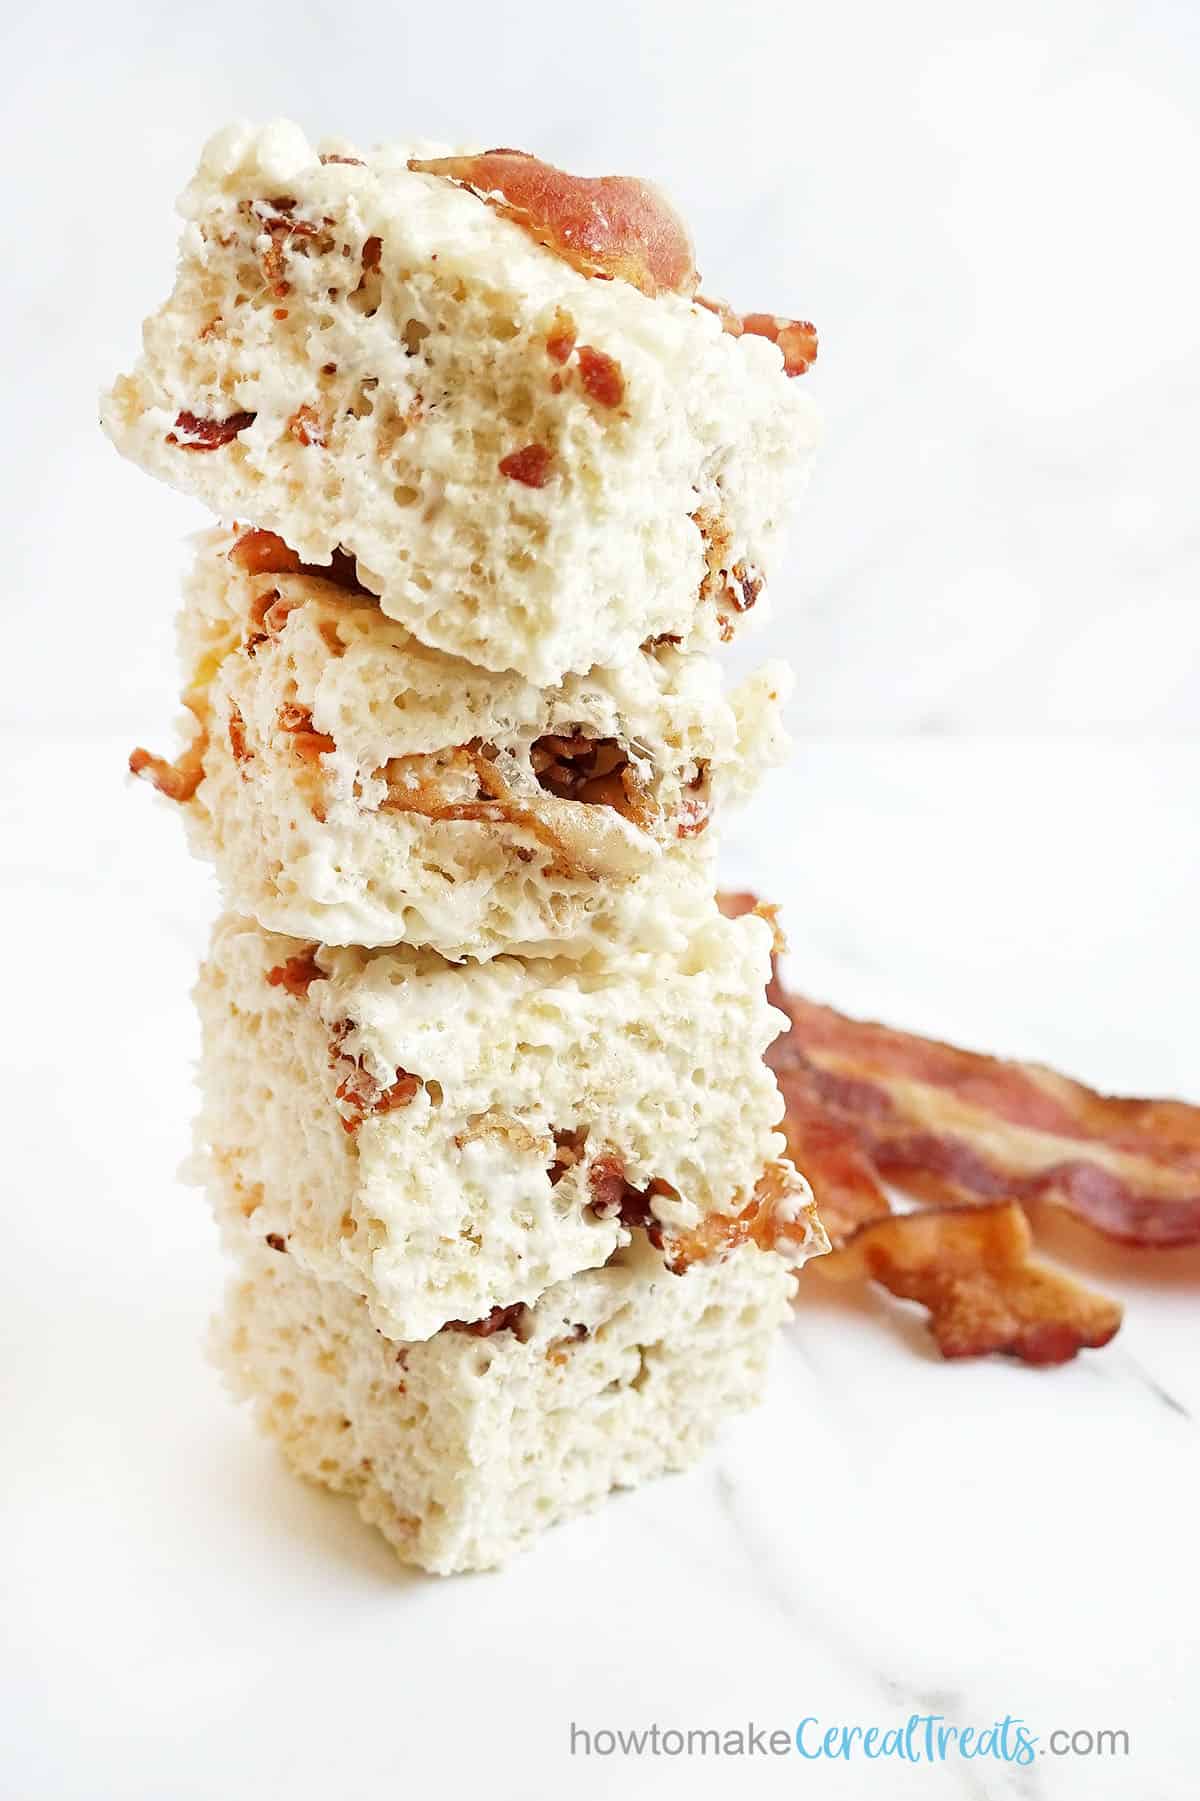
maple bacon Rice Krispie treats
I suppose these maple bacon Rice Krispie Treats work for breakfast, too?
We start with our BEST award-winning Rice Krispie Treat recipe and add all kinds of fun flavors. (Check out this roundup of our favorite Rice Krispie Treats.)
These Rice Crispy treats are filled with ooey, marshmallow goodness balanced with the salty of bacon and a hint of maple.
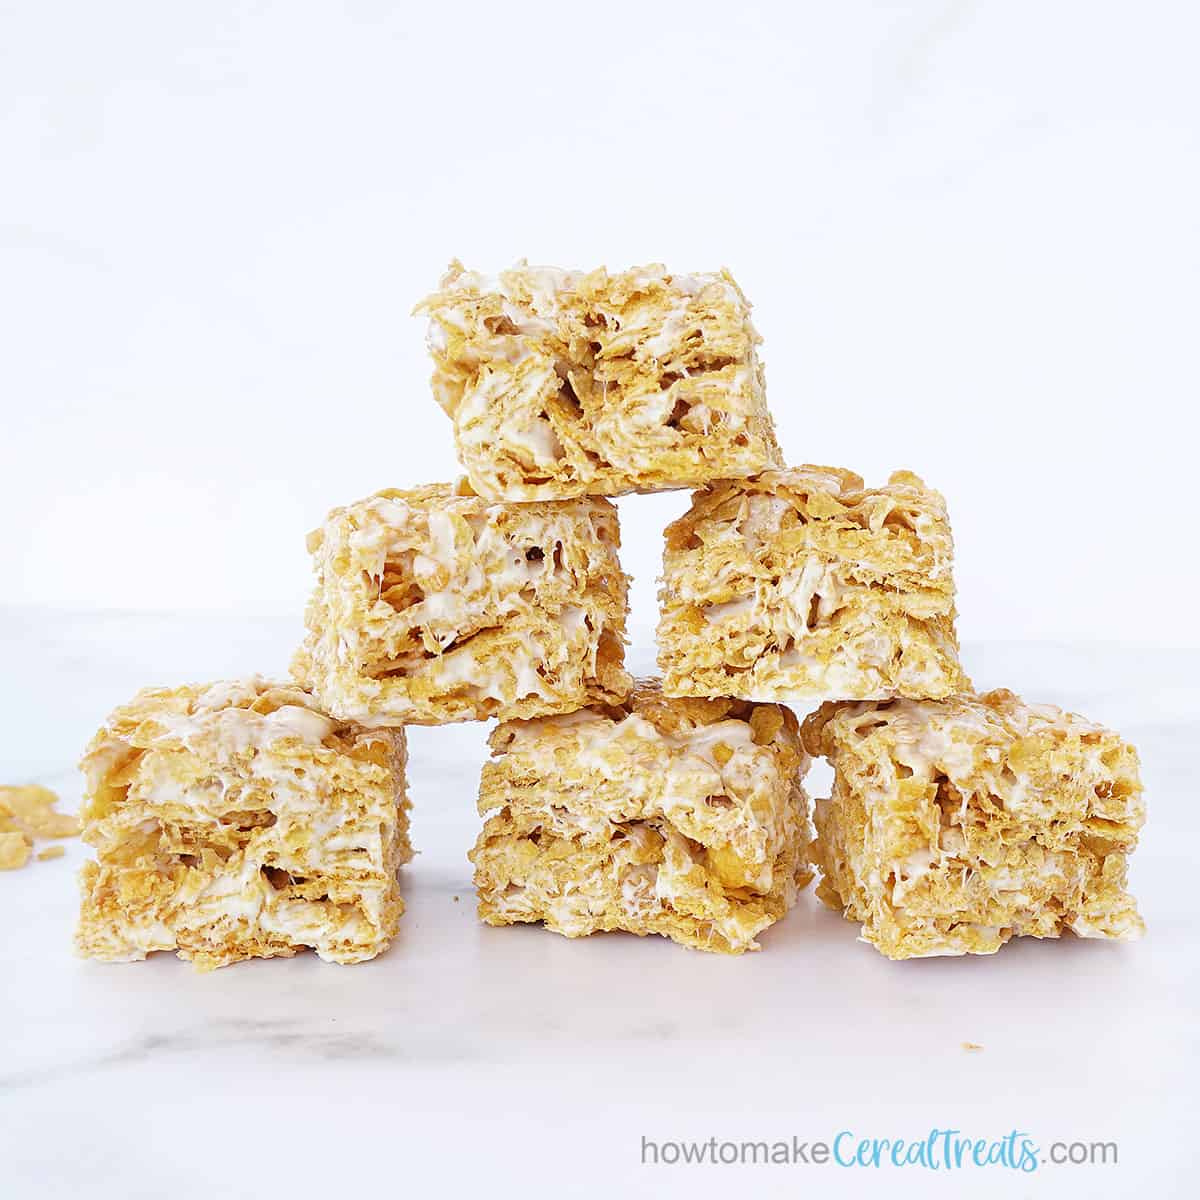
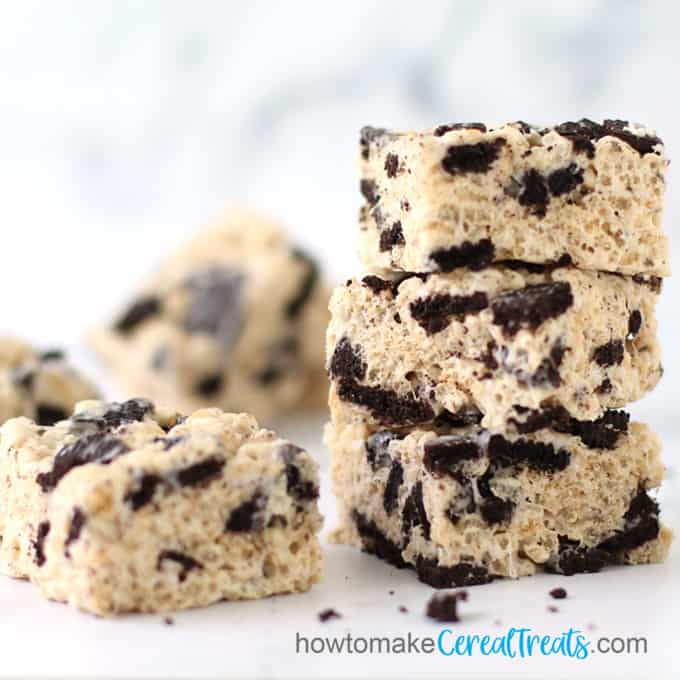
more crispy treats you'll love
to make maple bacon Rice Krispie Treats
You will need:
RICE KRISPIES
Cereal, of course! Here, use 4 ⅔ cups Rice Krispies. (Store-brand Rice Crispy cereal works too.)
MARSHMALLOWS
You'll need 10 ounces of marshmallows, which is roughly 40 regular-size OR 6 cups of mini.
We recommend you weigh the marshmallows, as each brand has a different weight. Jet-Puffed is used here.
You can use our marshmallow conversion chart as a handy guide.
BUTTER
We recommend using European-style, SALTED butter for best results.
You’ll need 3 tablespoons.
MAPLE SYRUP
I highly recommend using 2 tablespoons of REAL maple syrup, not imitation.
BACON
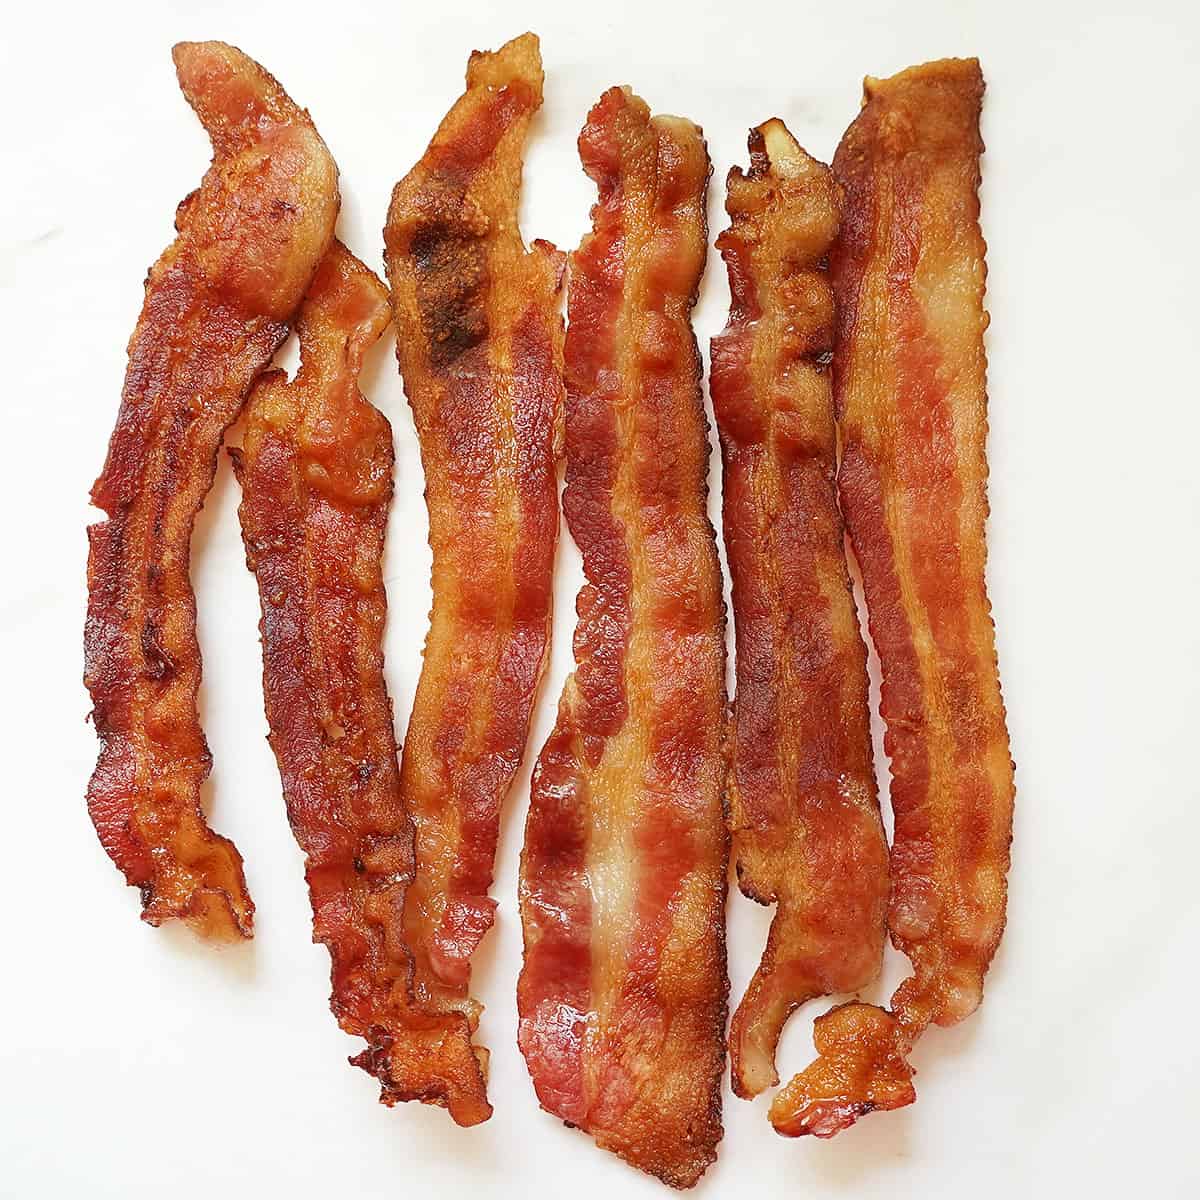
Always a recipe favorite, you'll need 5 to 6 pieces of bacon. Prepare the bacon on the crispy side.
BAKING PAN
The batch shown here is made in an 8 x 8 inch square pan. (Read on for instructions to make a large batch.)
COOKING SPRAY
To make life easier when making rice crispy treats, I use non-stick spray on my bowls and spatulas. My spray is a canola oil, as that minimizes interference with the taste.
NONSTICK FOIL
You may also grease your baking pan with cooking spray, but I find the best option is to line your baking pan with non-stick foil.
Let's make treats!
Once you've gathered your ingredients and supplies, it's time to make maple bacon Rice Krispie Treats! Let's start with the microwave version.
Spray a large bowl with nonstick spray and add the cereal.
Break the bacon into small pieces.
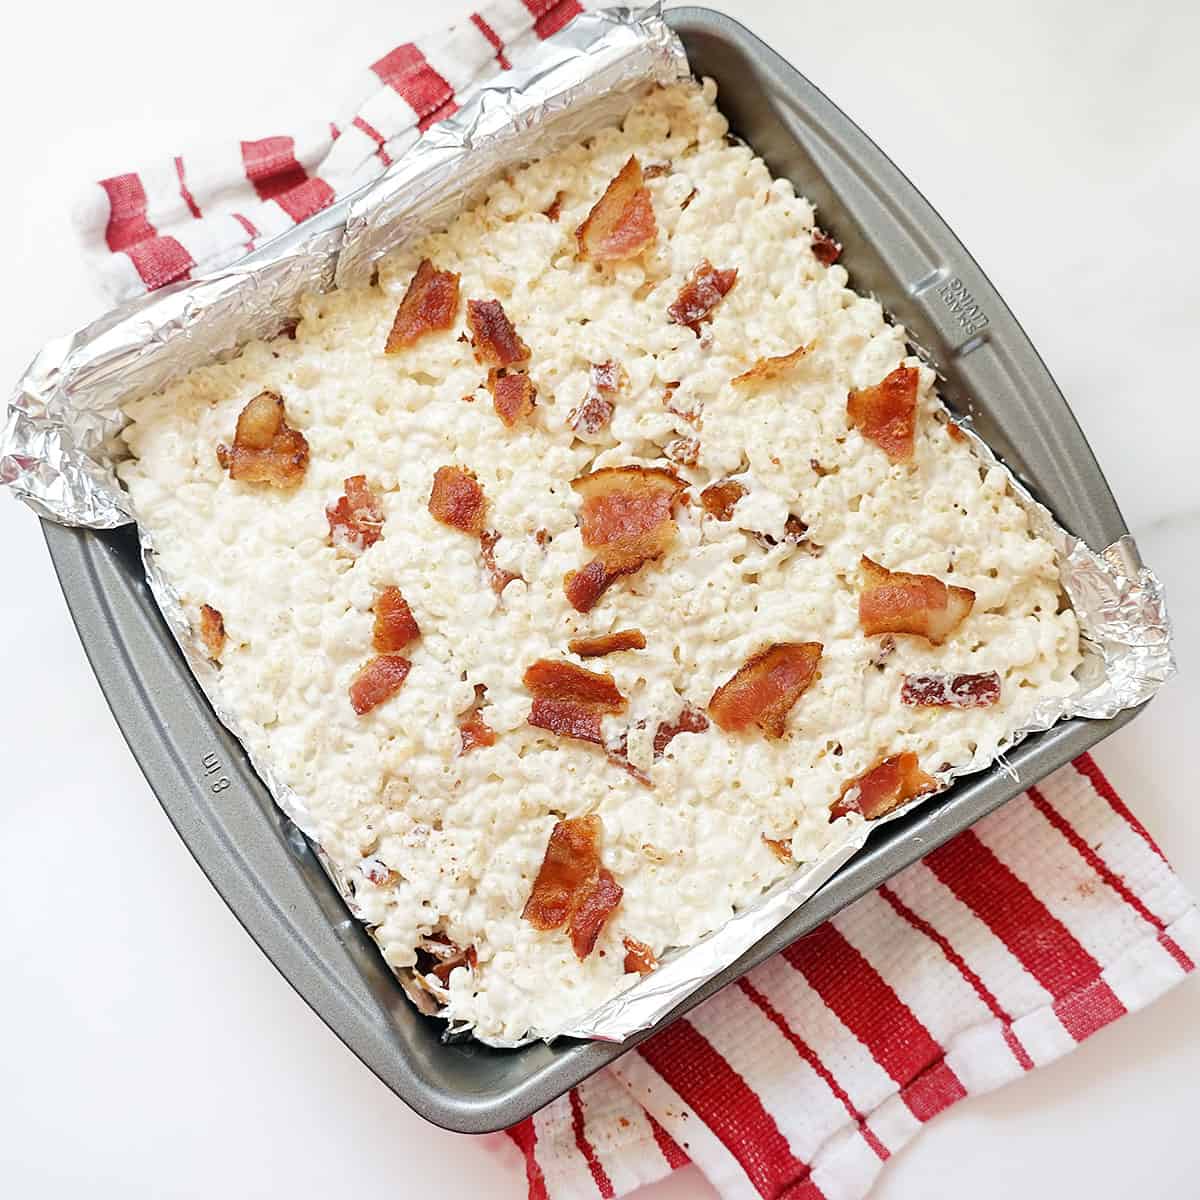
Line an 8 inch square baking pan with non stick foil and set aside.
making Rice Krispie Treats in the microwave
Place the marshmallows and butter (cut in pieces) in a large, microwave-safe bowl.
Microwave for 1 minute.
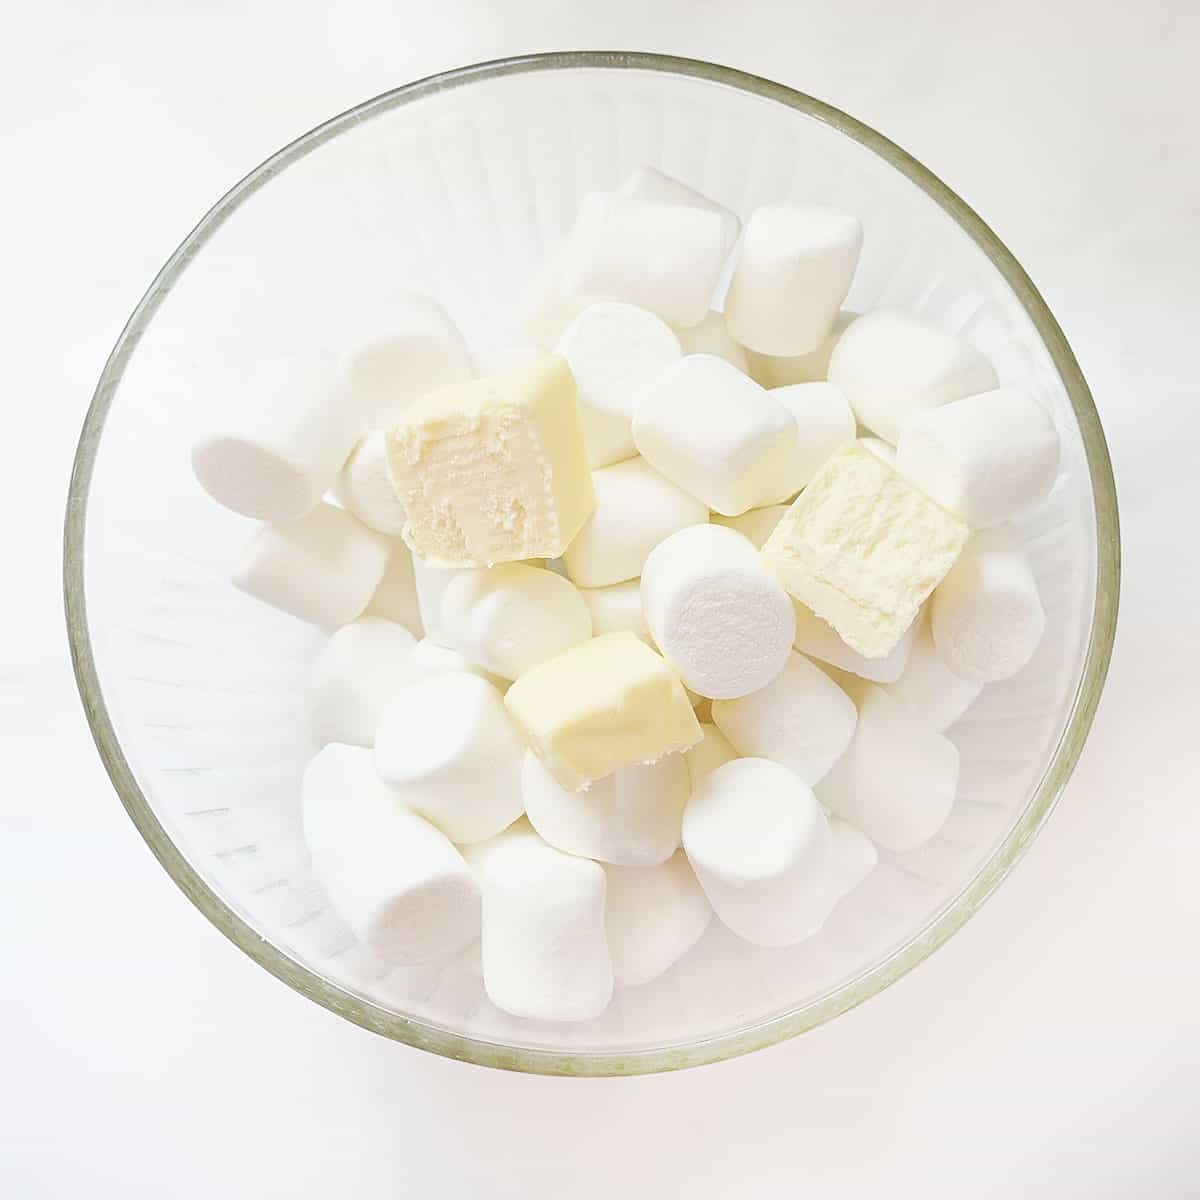
Stir well, using the residual heat to fully melt the marshmallows. If needed, microwave another 15 seconds, but you do NOT want to overheat the mixture.
Stir in the maple syrup.
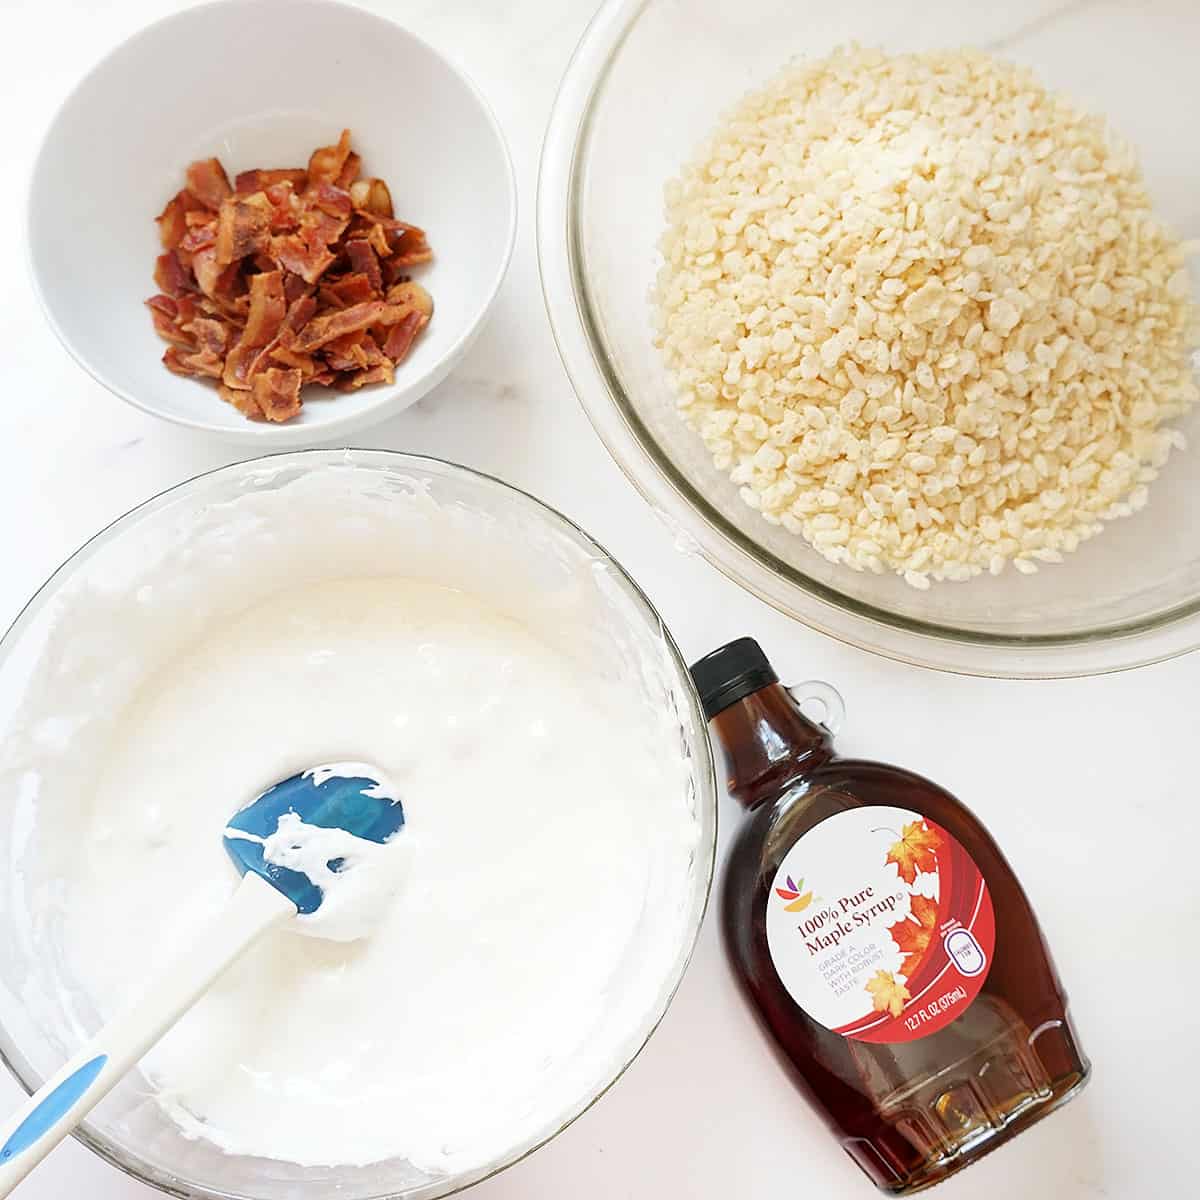
Pour the mixture over the cereal and mix until well combined.
Gently stir in the bacon.
TIP: Reserve one piece of bacon to sprinkle on top of the cereal treats.
Lightly and evenly press the Rice Krispie treats into the prepared baking pan. Sprinkle bacon pieces on top.
Let set at least one hour before cutting into squares.
Store in an air-tight container up to a week.
making Rice Krispie Treats on the stove-top
You can also melt the marshmallows and butter on the stove-top.
Begin to melt the butter in a medium saucepan over low heat.
Stir in the marshmallows, stirring often, until about 75% have melted.
Remove from the heat and continue to stir until the marshmallows are fully melted.
Maple Bacon crispy treats recipe
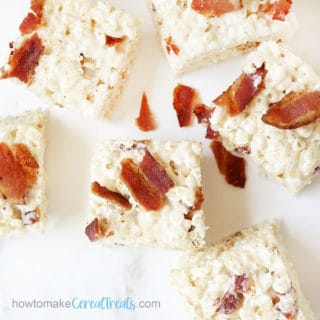
maple bacon Rice Krispie Treats
Equipment
- non-stick foil
- non-stick cooking spray
- 8 x 8 inch square baking pan
Ingredients
- 4 ⅔ cups Rice Krispies cereal
- 10 ounces marshmallows (about 40 regular size or 6 cups mini)
- 3 tablespoons salted European-style butter
- 2 tablespoons real maple syrup
- 6 pieces crisp bacon, cut into small pieces
Instructions
- Spray a large bowl with nonstick spray and add the cereal.
- Line an 8 inch square baking pan with non stick foil and set aside.
- Place the marshmallows and butter (cut in pieces) in a large, microwave-safe bowl. Microwave for 1 minute.
- Stir well, using the residual heat to fully melt the marshmallows. If needed, microwave another 15 seconds, but you do NOT want to overheat the mixture.
- Stir in the maple syrup.
- Pour the mixture over the cereal and mix until well combined.
- Stir in the bacon. If desired, leave some bacon crumbs to sprinkle on top.
- Lightly and evenly press the Rice Krispie treats into the prepared baking pan. Sprinkle bacon pieces on top.
- Let set at least one hour before cutting into squares. Store in an air-tight container up to a week.
Notes


 We love creating easy Rice Krispie Treats recipes to share with you and hope you find our tips and instructions helpful. ___ -
Please leave a comment.