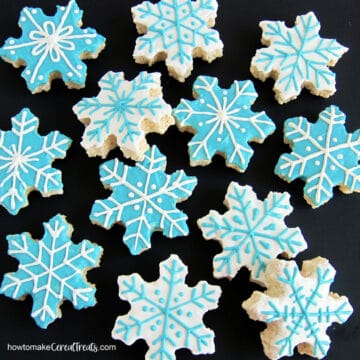
Give your marshmallow cereal treats a wintery makeover just in time for the holidays. These beautiful blue and white Snowflake Rice Krispie Treats will be perfect for your holiday parties.
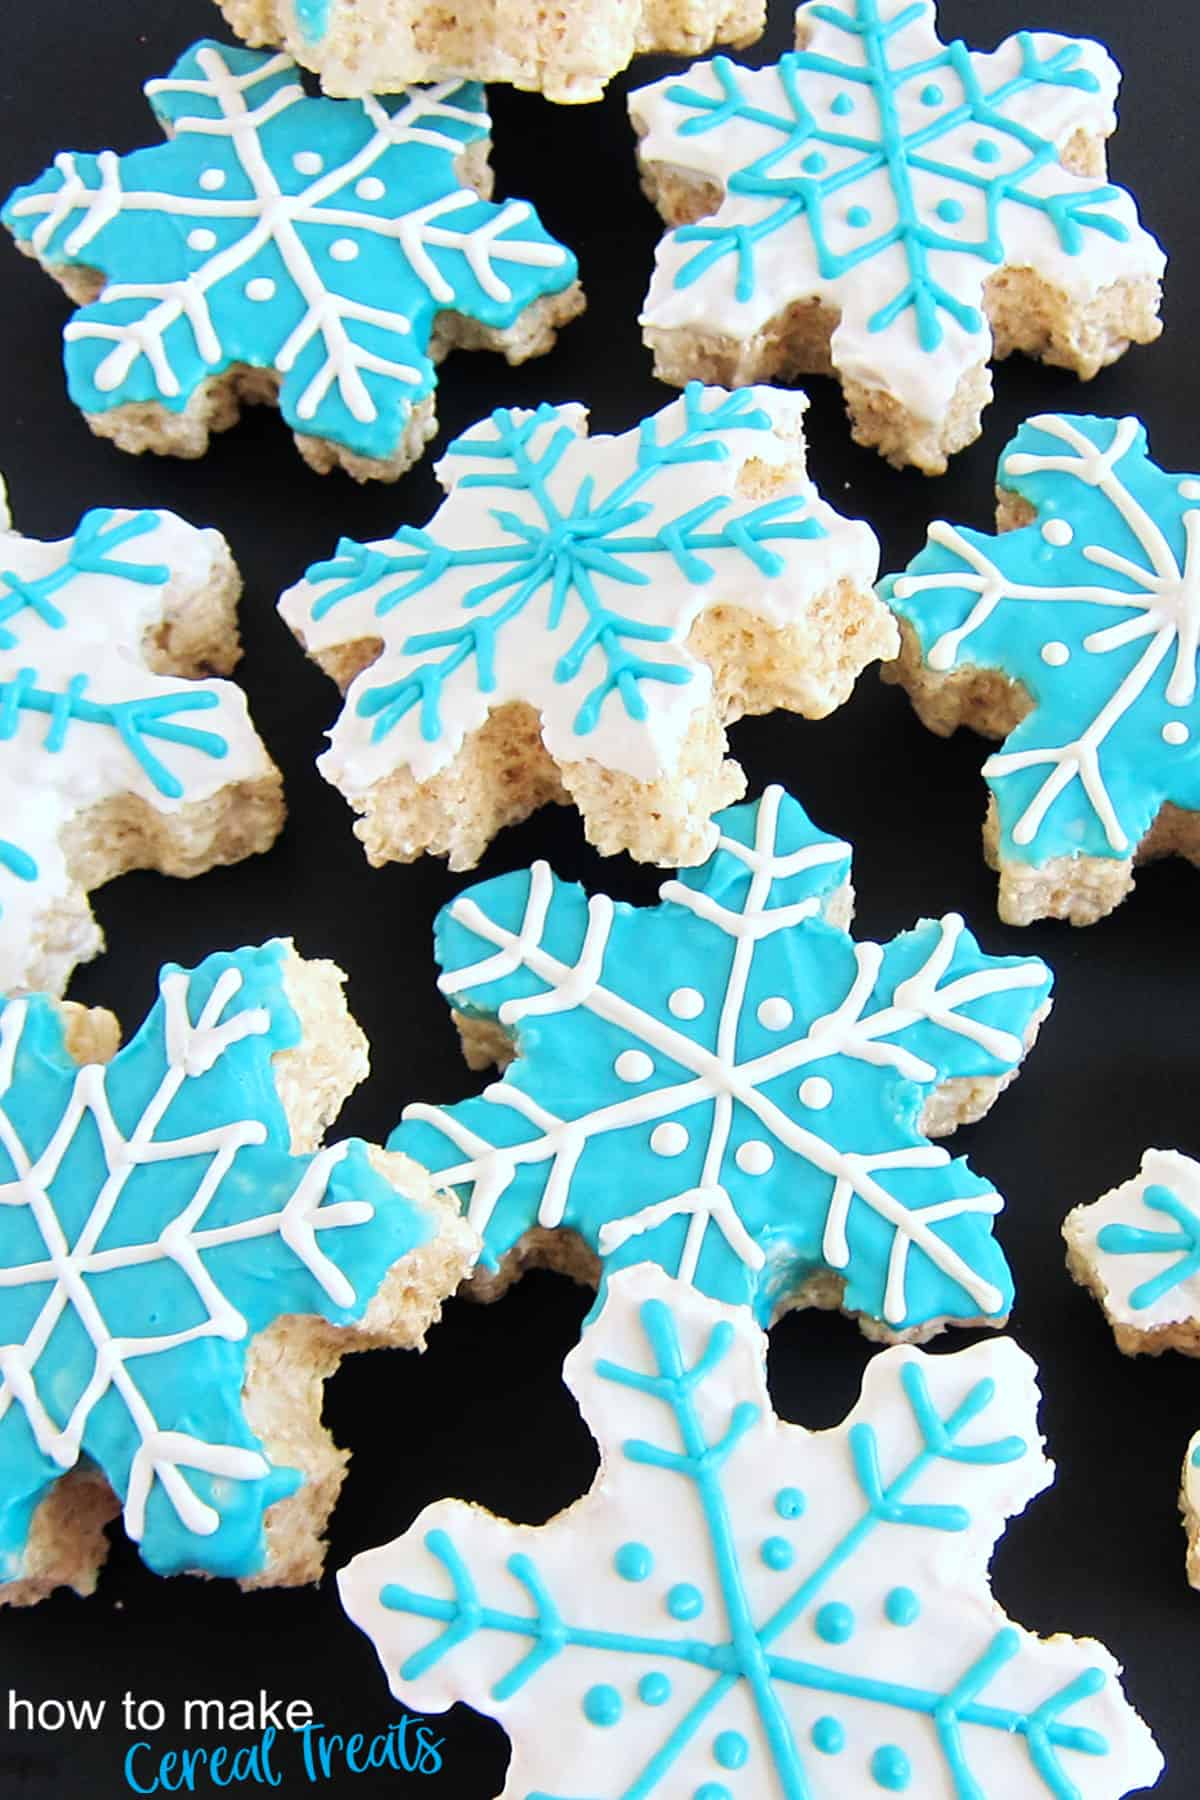
Are you dreaming of a White Christmas? Last year, we woke up on Christmas morning to blue skies and a beautiful blanket of white snow covering everything. The snow sparkled in the sunshine as more flurries fell throughout the day. It was magical.
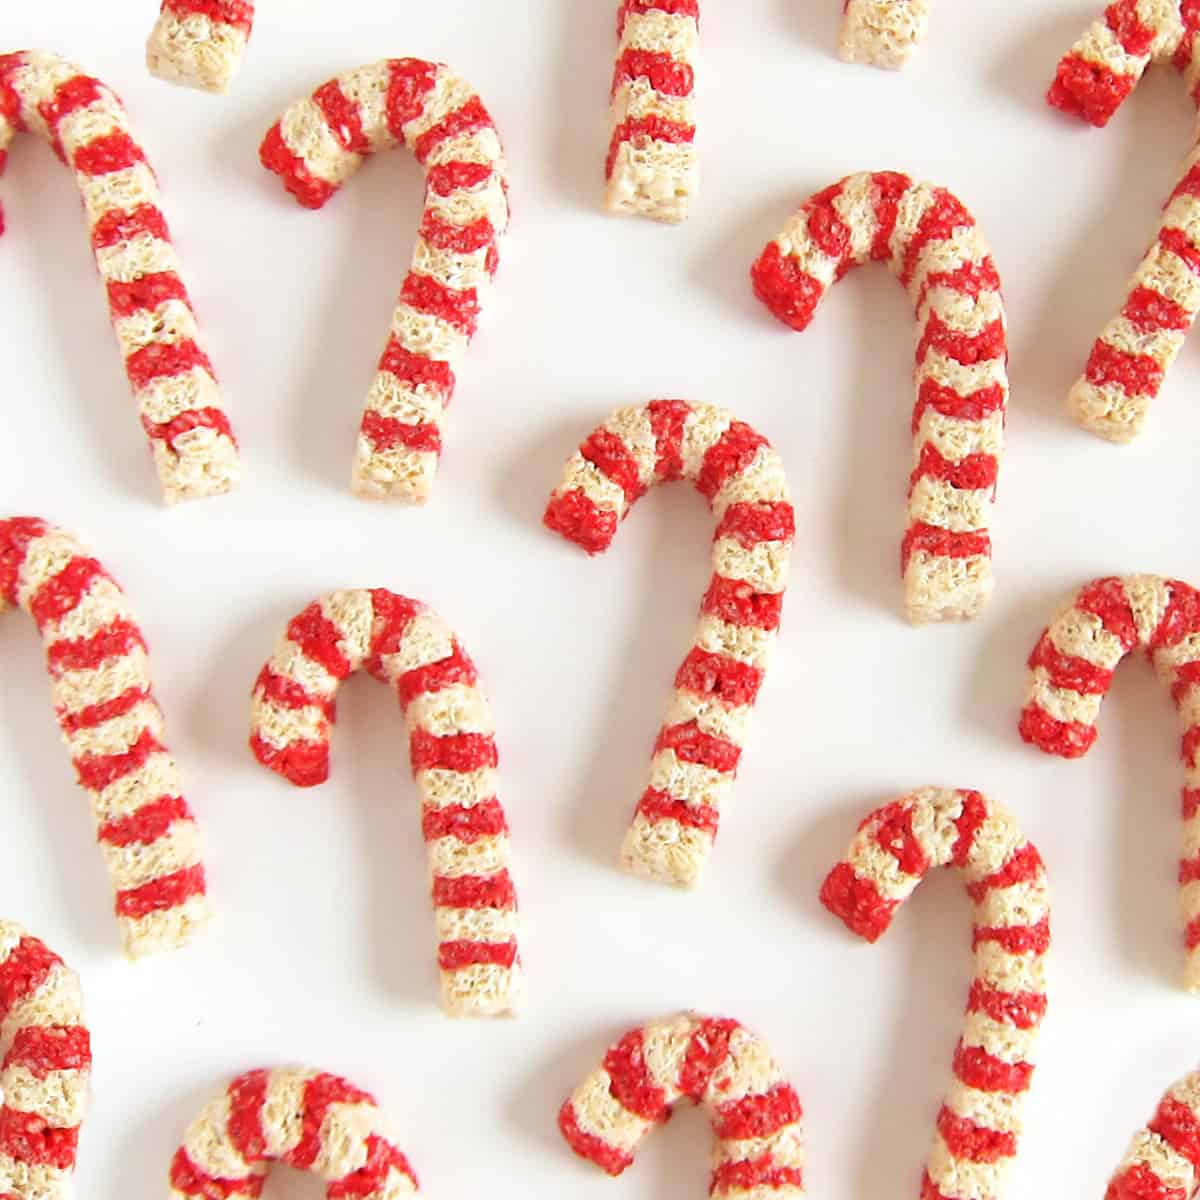
That memory inspired these pretty Rice Krispie Treat snowflakes. I plan to serve them at our Christmas Eve party along with my Eggnog Rice Krispie Treats, Candy Cane Rice Krispie Treats, and Santa Claus Rice Krispie Treats.
I know my family and friends will love these delicious treats and I hope yours do too. Each snowflake-shaped marshmallow cereal treat is coated in blue or white chocolate and is decorated with a snowflake design. No two snowflakes are alike so have fun creating your own unique designs.
Let's make some snowflakes.
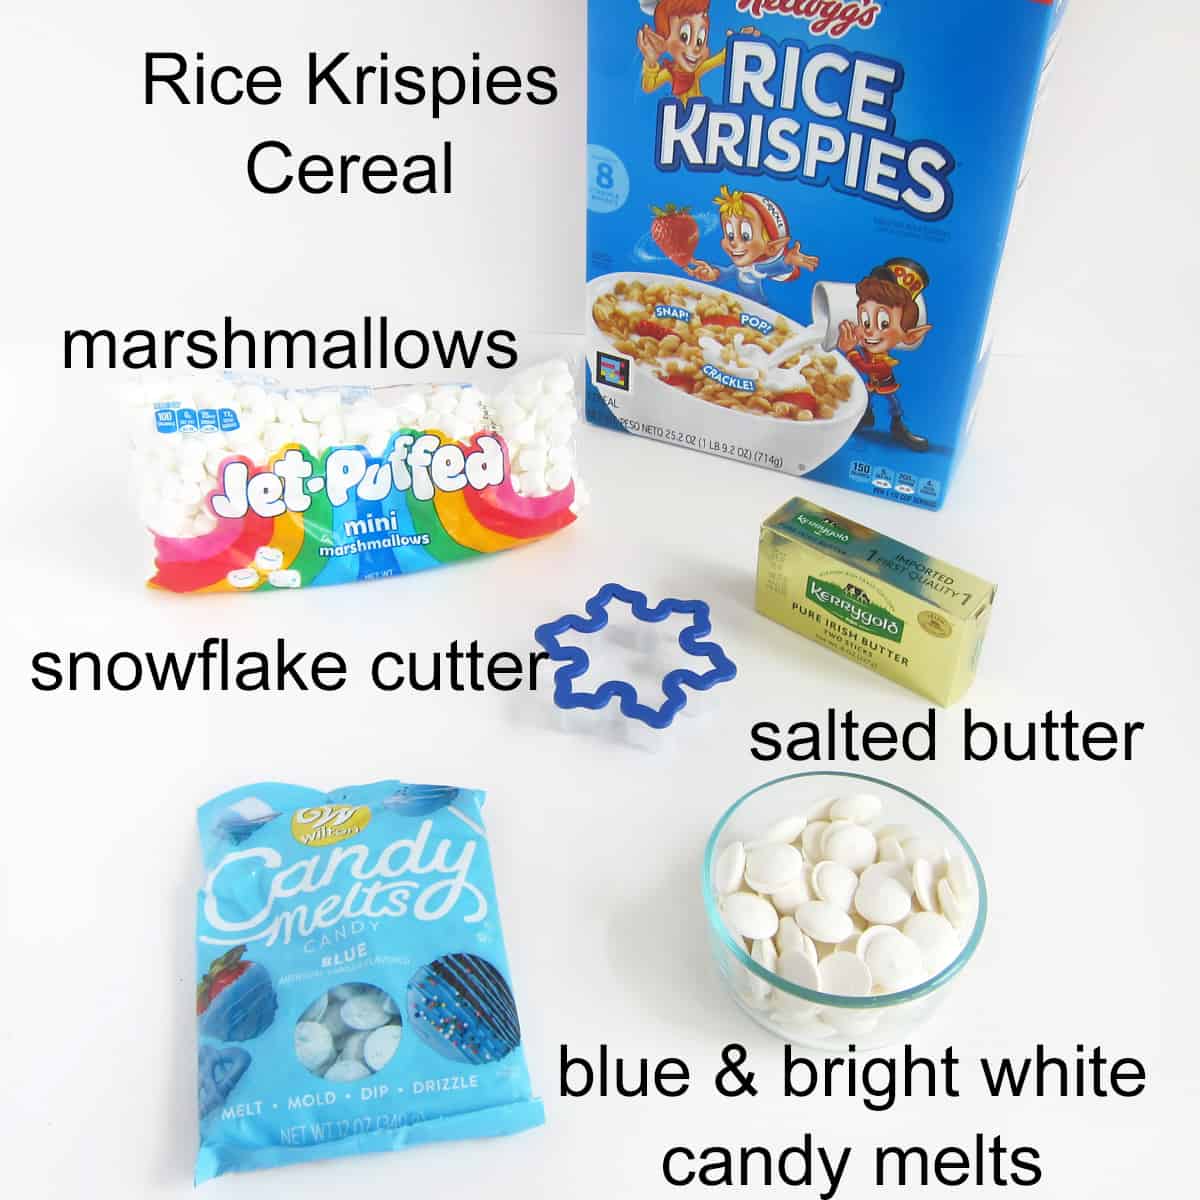
Ingredients
- Rice Krispies Cereal - Use Kellogg's Cereal for the best texture and flavor. Check out our taste-test results to find the Best Rice Krispie Treat Recipe.
- marshmallows - We recommend using Jet-Puffed Marshmallows. They taste great but more importantly, make nicely chewy treats. They aren't too sticky like other marshmallows. Be sure to check out our Marshmallow Measuring Tips for details.
- butter - Our taste testers found that using European-style salted butter, like Kerrygold Butter, adds the very best flavor to your treats. It has less water and more butterfat (flavor) than American-made butter. The added salt helps to balance the sweetness of your treats.
- bright white and blue candy melts - If you can't find blue candy melts, you can color white candy melts using oil-based candy coloring. Do not use water-based colorings. Your chocolate will seize if you add liquid or water-based food coloring.
Substitutions
You can swap coconut oil for the butter in this recipe to make Coconut Oil Rice Krispie Treats or use Vegan cereal to make Vegan Rice Krispie Treats.
Instead of decorating your snowflakes with candy melts, you can use royal icing. Check out our Popsicle Rice Krispie Treats recipe to see how to make and decorate cereal treats with royal icing.
Supplies
- large mixing bowl
- 9x13-inch pan
- 4-inch snowflake cookie cutter
- microwave safe bowls
- squeeze bottles or disposable pastry bags
Instructions
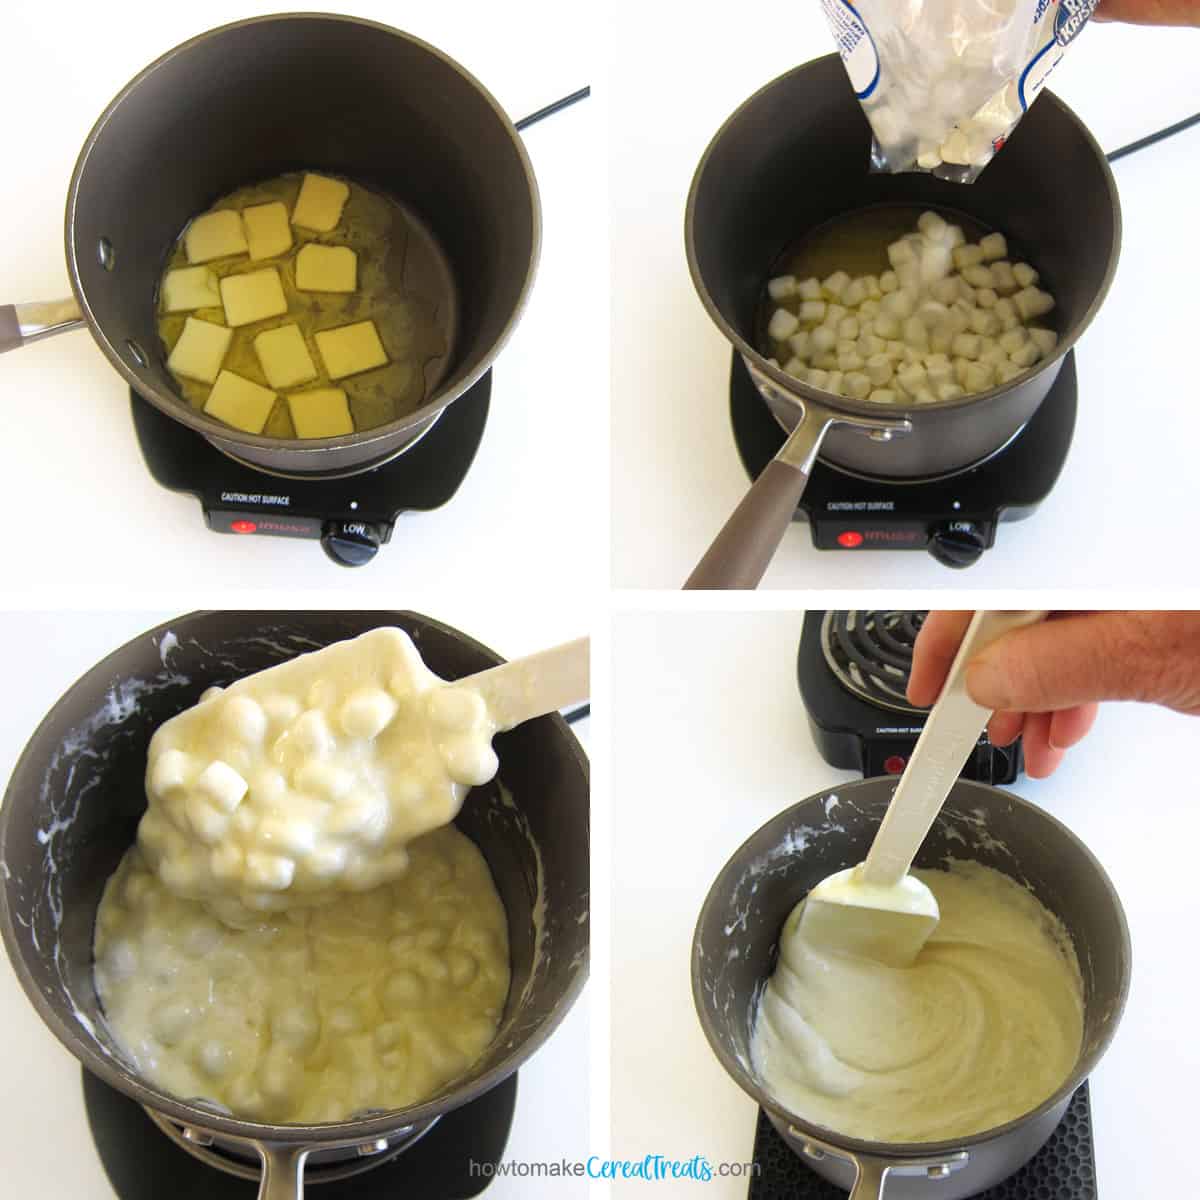
Heat 6 tablespoons of butter over LOW heat, add the marshmallows, and stir occasionally until 75% of the marshmallows have melted. Remove the pan from heat and stir until the marshmallows have completely melted.
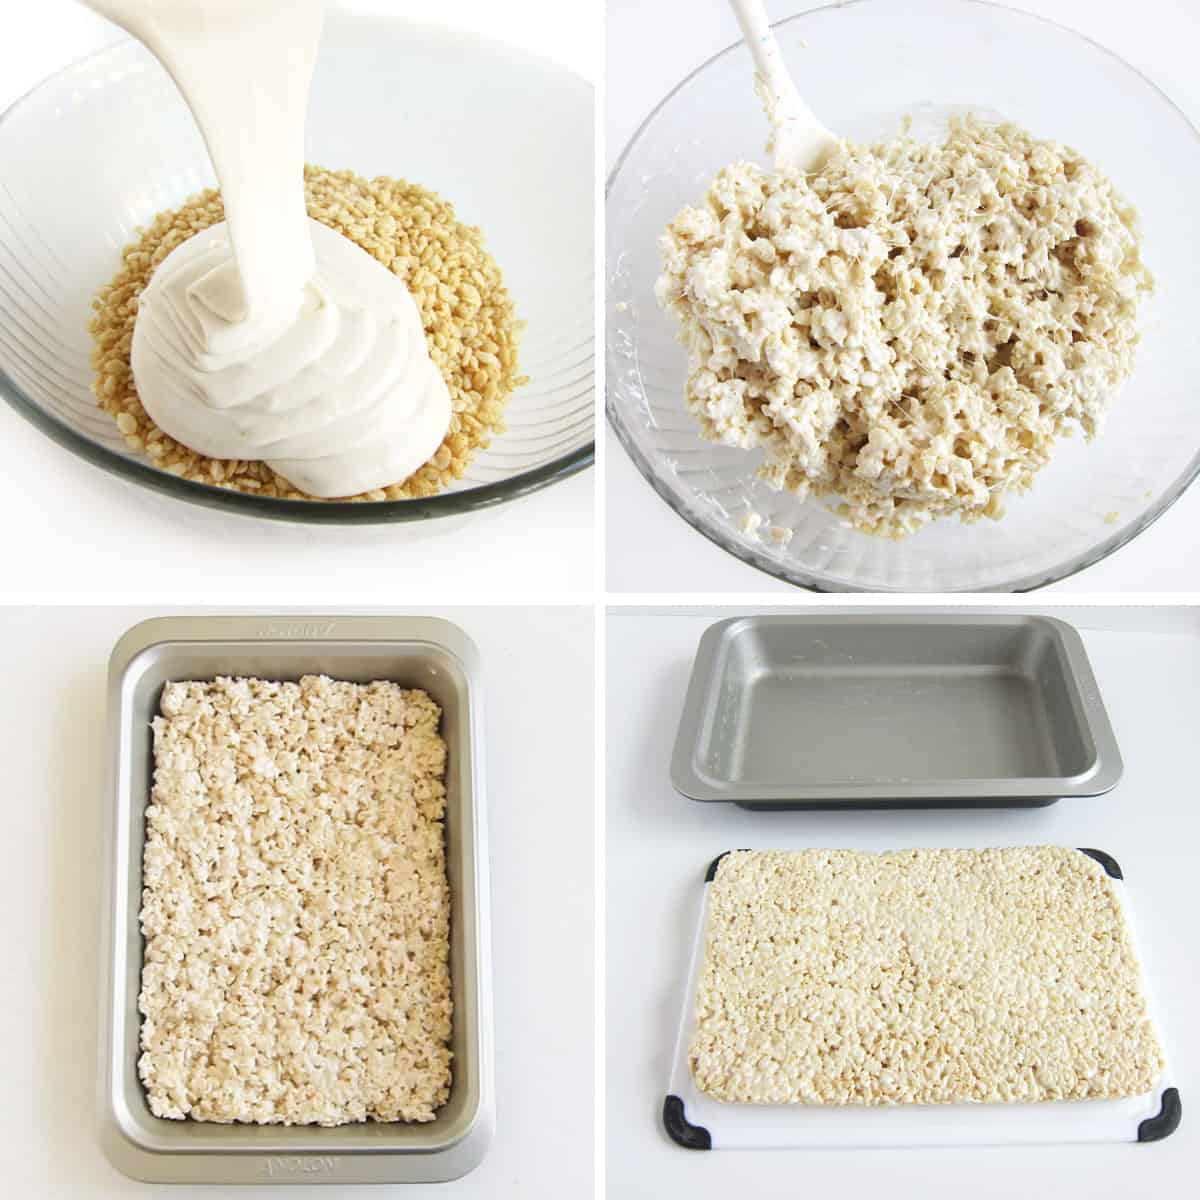
Grease an extra-large mixing bowl with butter and then pour in 7 cups of Rice Krispies Cereal. Stir in the melted marshmallow mixture, and then spread into a 9x13-inch greased pan. Pat into an even layer then remove and place on a cutting board.
Tips
Taking the marshmallows off the heat before they melt completely will ensure your treats are soft. If you overheat the marshmallows, your treats will be hard. Check out our How To Make Rice Krispie Treats FAQ for more tips on making perfect cereal treats every time.
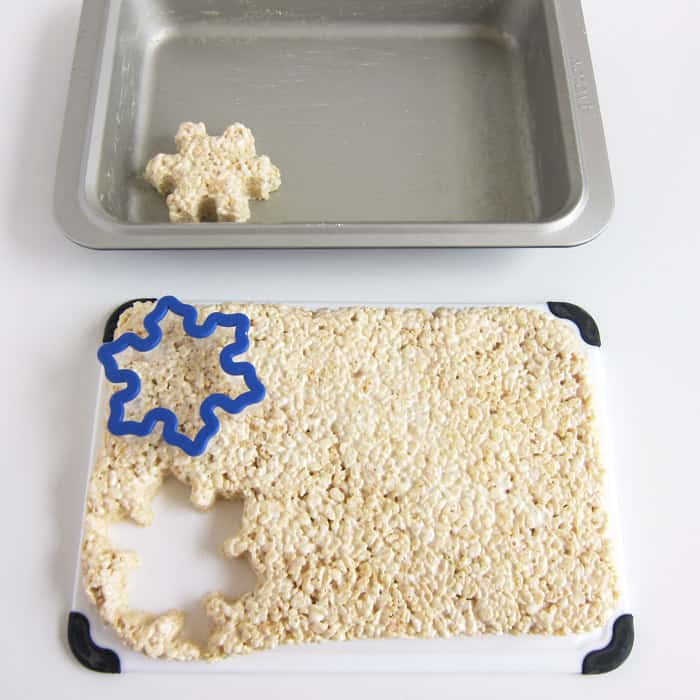
Use a greased snowflake cookie cutter to cut out snowflake Rice Krispie Treats. I got 6 large snowflakes cut out of one pan of treats using a 4-inch cookie cutter.
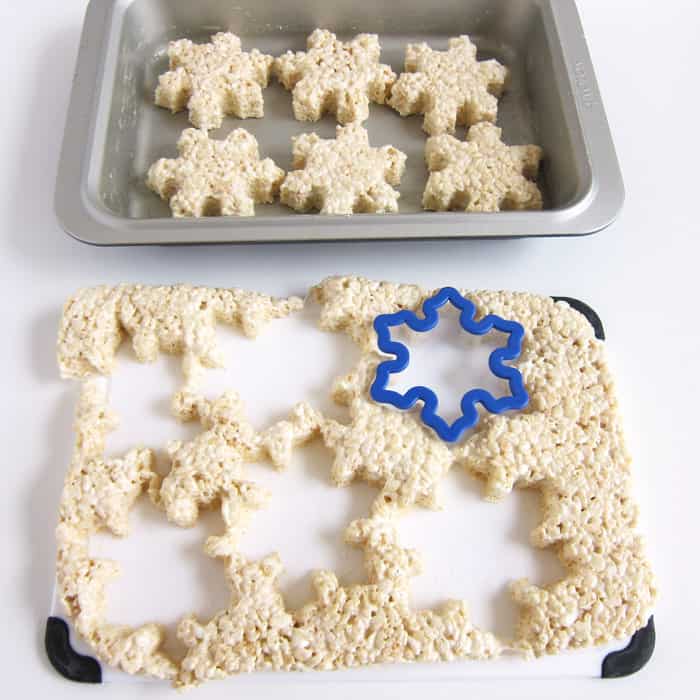
Then, gently press the scraps together into an even layer and cut out more treats. I got 6 more snowflakes out of the scraps. (Sorry, there's no image of this step.)
Tip
If you don't want to have any scraps, don't spread your Rice Krispie Treat mixture into the pan and cut it using a cookie cutter. Instead, just fill a greased cookie cutter with the cereal treat mixture. Then, remove the snowflake treat from the cutter and repeat. See our Mickey Mouse Rice Krispie Treats recipe for details.
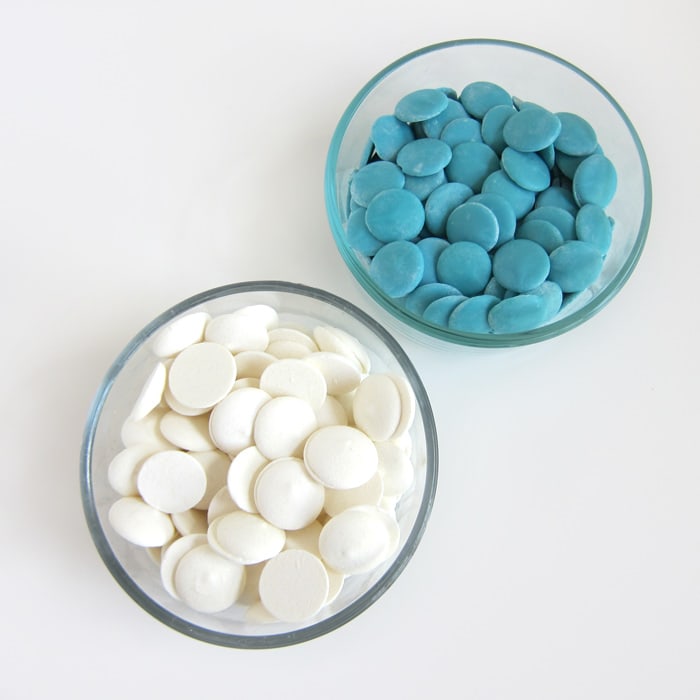
Pour blue candy melts into one small microwave-safe bowl and then pour white candy melts into another. Make sure the bowl is wide enough to fit a snowflake crispy treat.
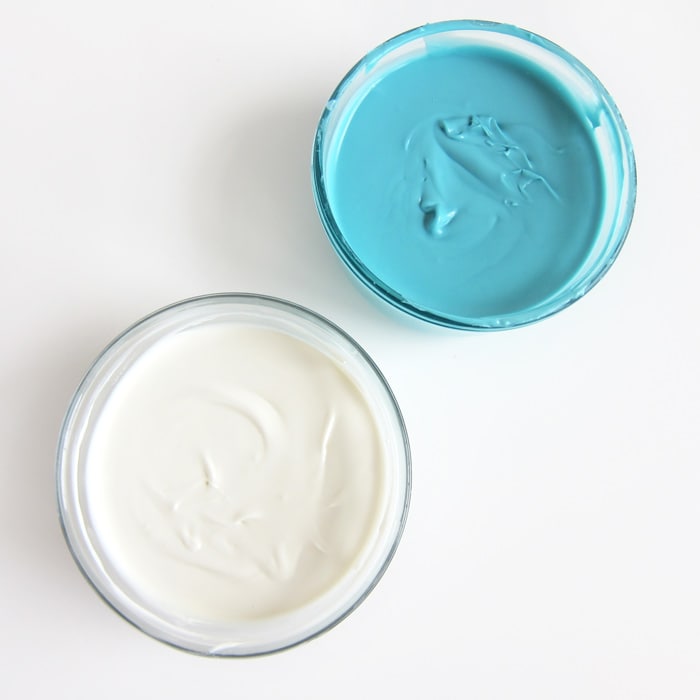
Heat the blue and white candy melts on high power for 30-second increments, stirring after each until melted. Do not overheat!
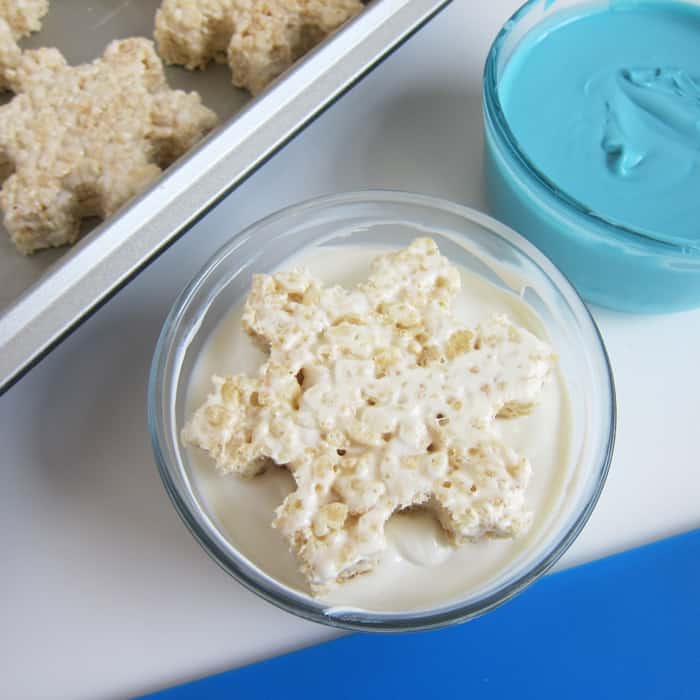
Dip the top of a snowflake rice crispy treat into the bowl of white candy melts.
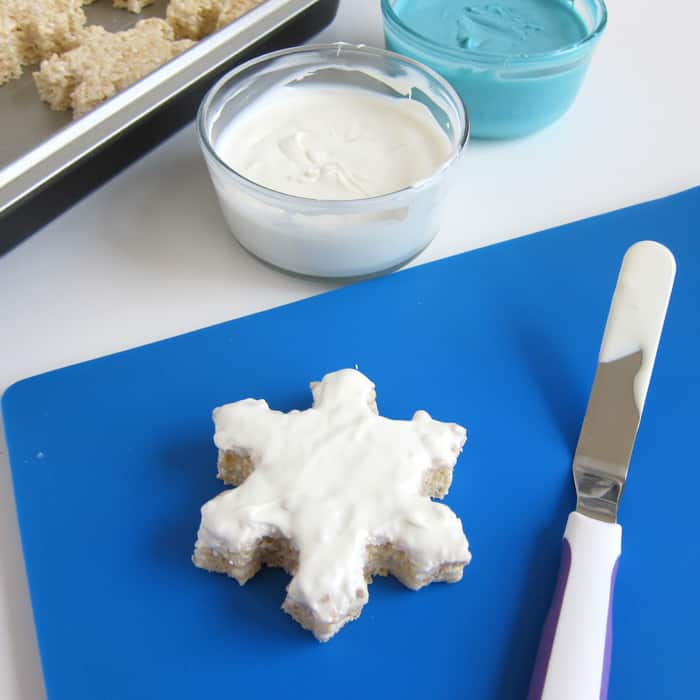
Then, lift it out, turn it right side up, and smooth out the white candy melts.
Chill the snowflakes in the freezer for 5-8 minutes just until the candy melts harden. I like to place them in the freezer immediately after dipping so the candy coating looks nice and shiny.
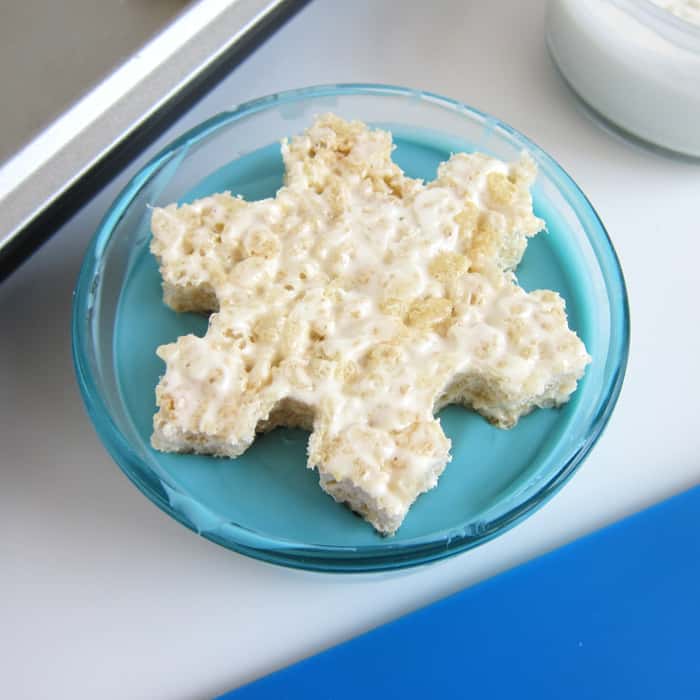
Dip some of your snowflakes in blue candy melts.
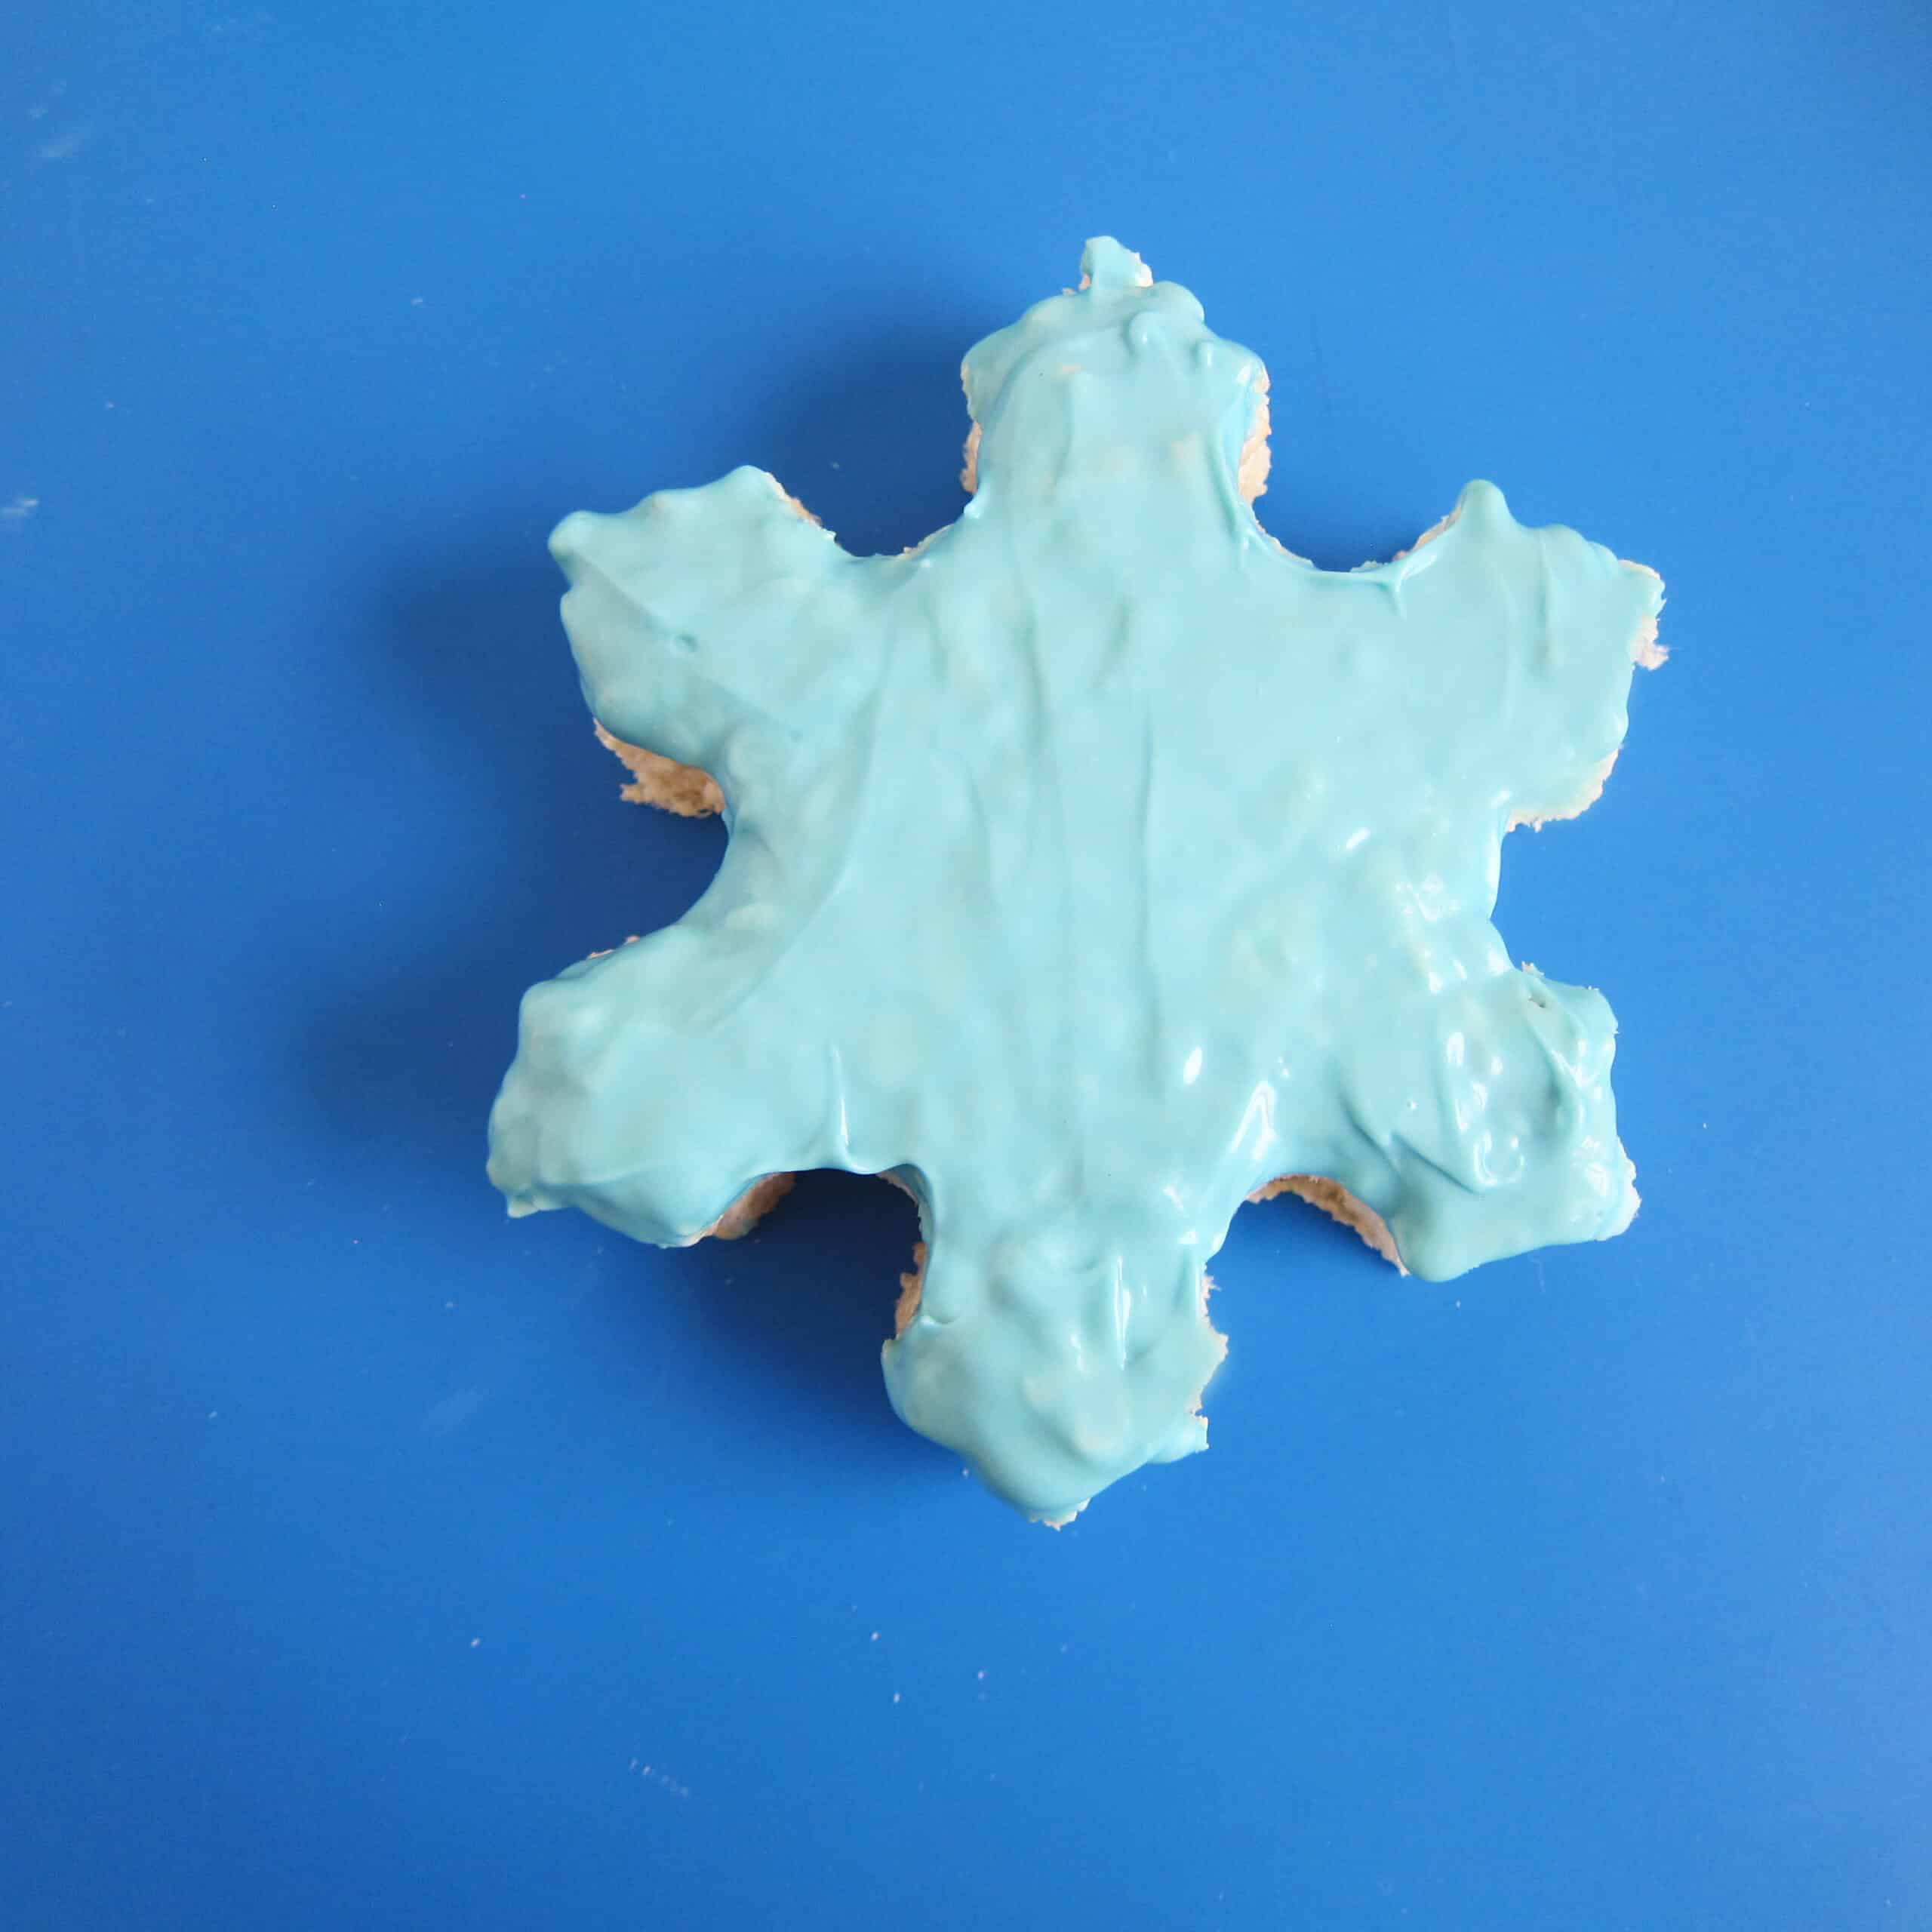
Smooth out the surface and freeze until the candy hardens.
If you struggle to dip your treats, you can spoon some melted candy melts onto your treats and spread it out instead.
Before you decorate the treats, allow them to warm to room temperature for at least 15 minutes.
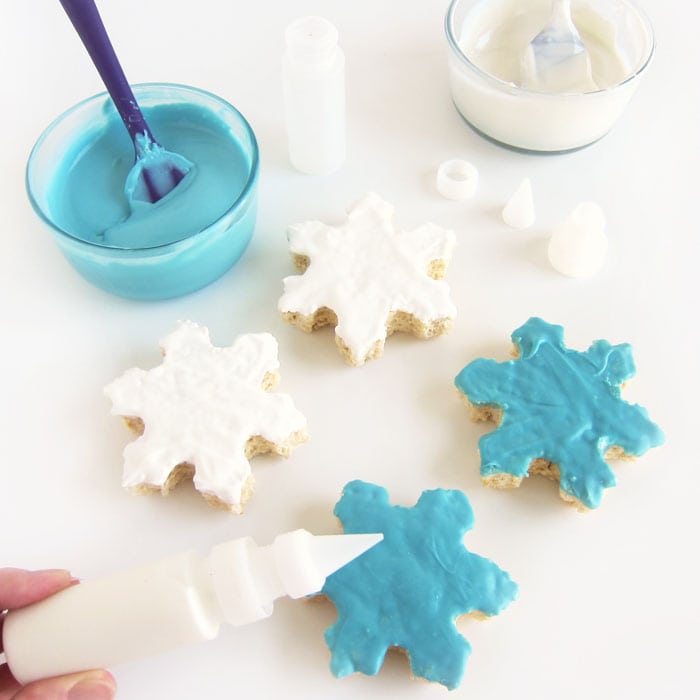
Pour some bright white candy melts into a squeeze bottle, disposable pastry bag, or zip-top bag. Snip the tip off the bag if using.
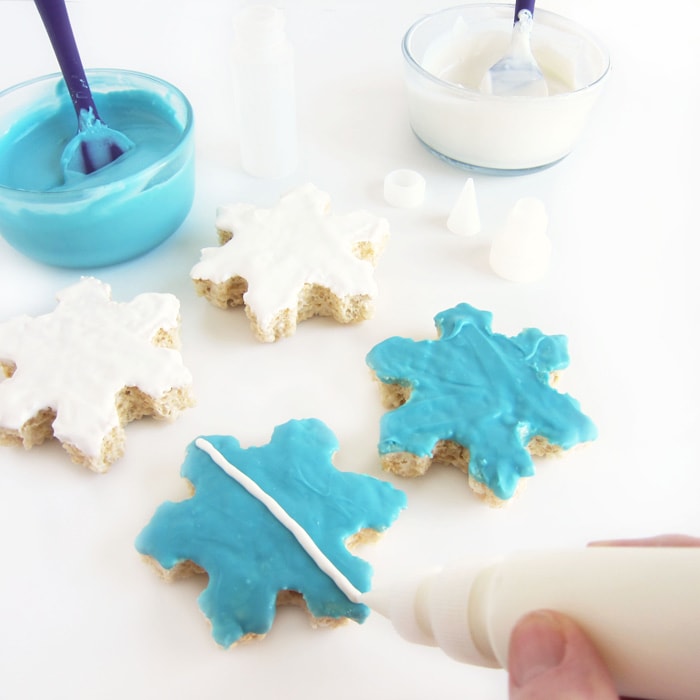
Pipe a snowflake design onto the treat. I started by adding straight lines across the treats from point to point.
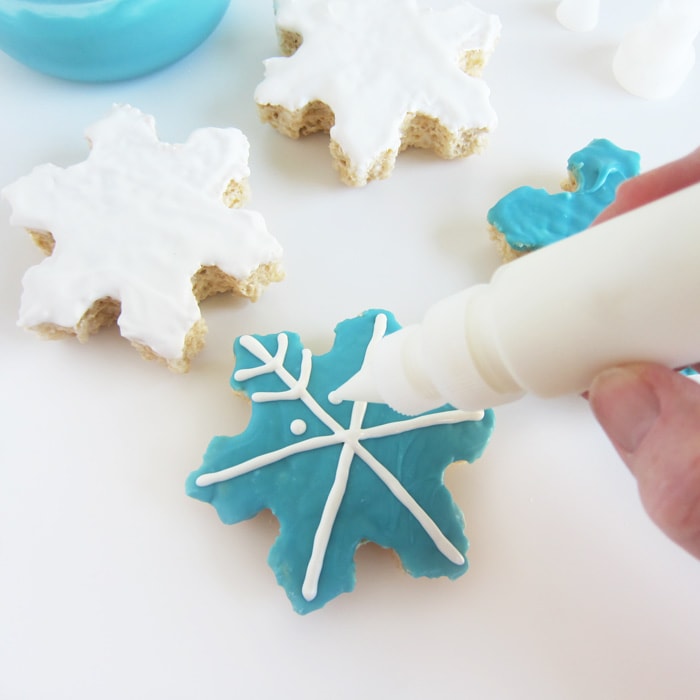
Continue to add features to your snowflakes.
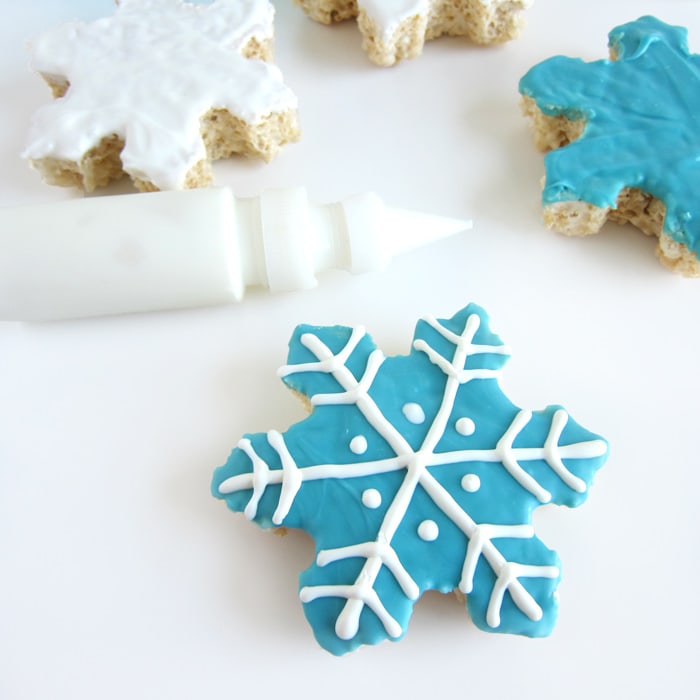
This simple design is quite pretty and easy to create.
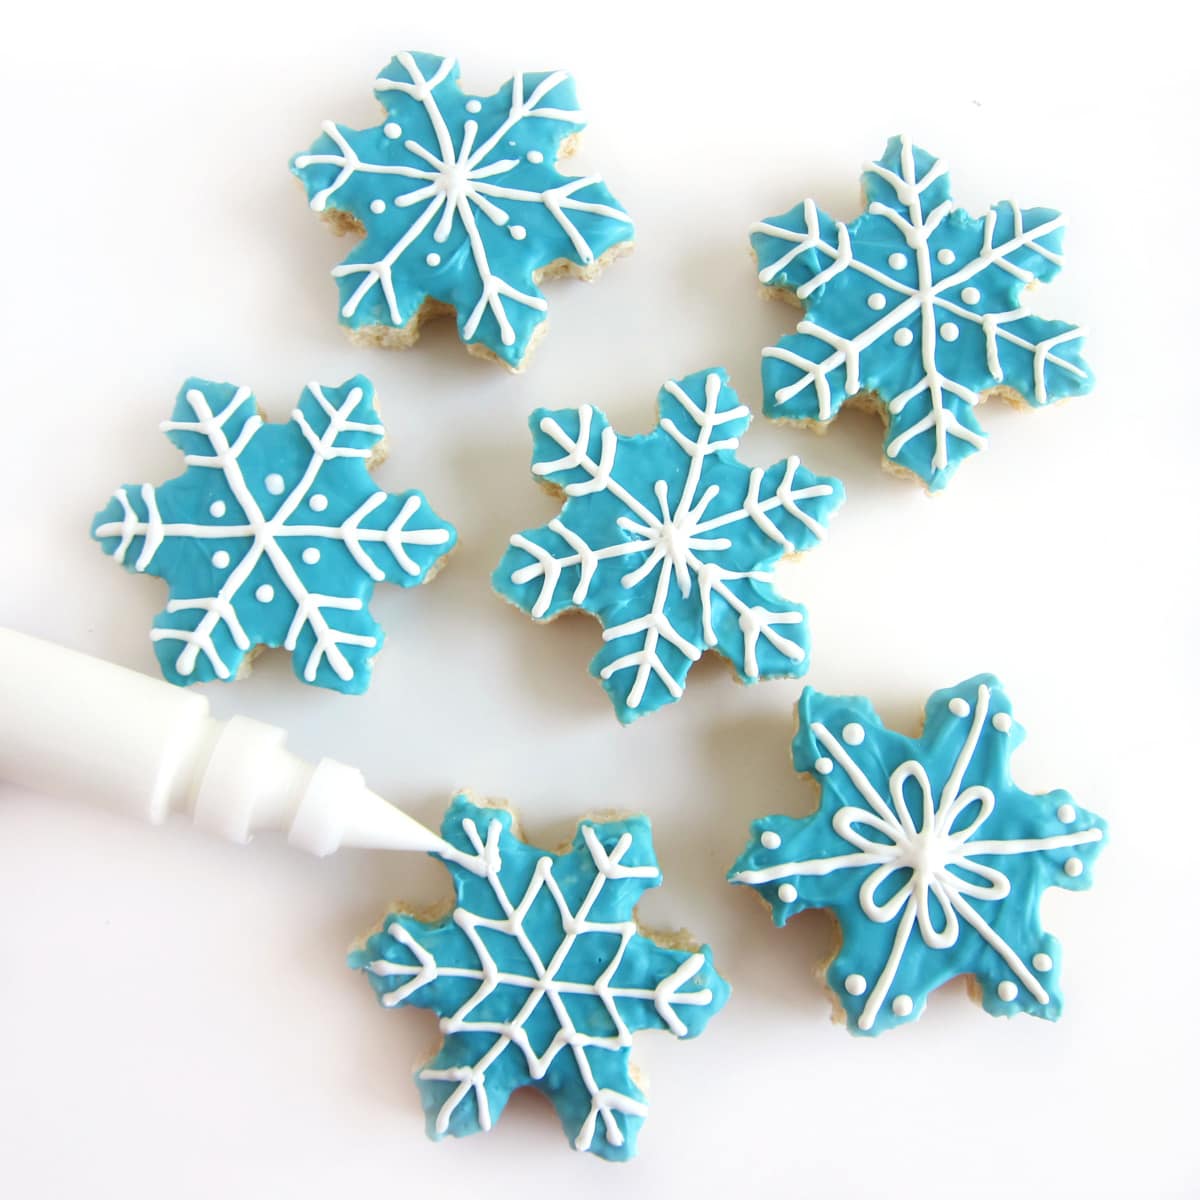
But, you can create a nice variety of designs if you like using the picture above as a guide.
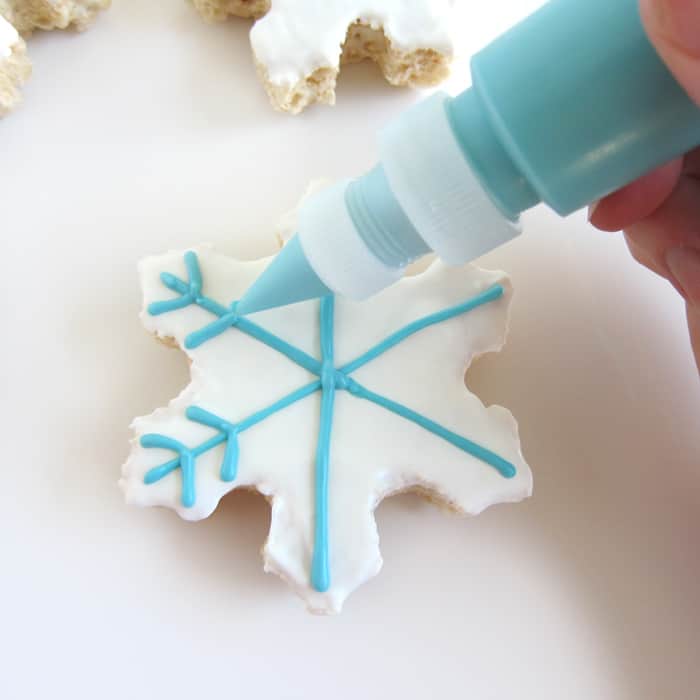
Pipe blue candy melts onto the white chocolate-coated snowflake Rice Krispie treats.
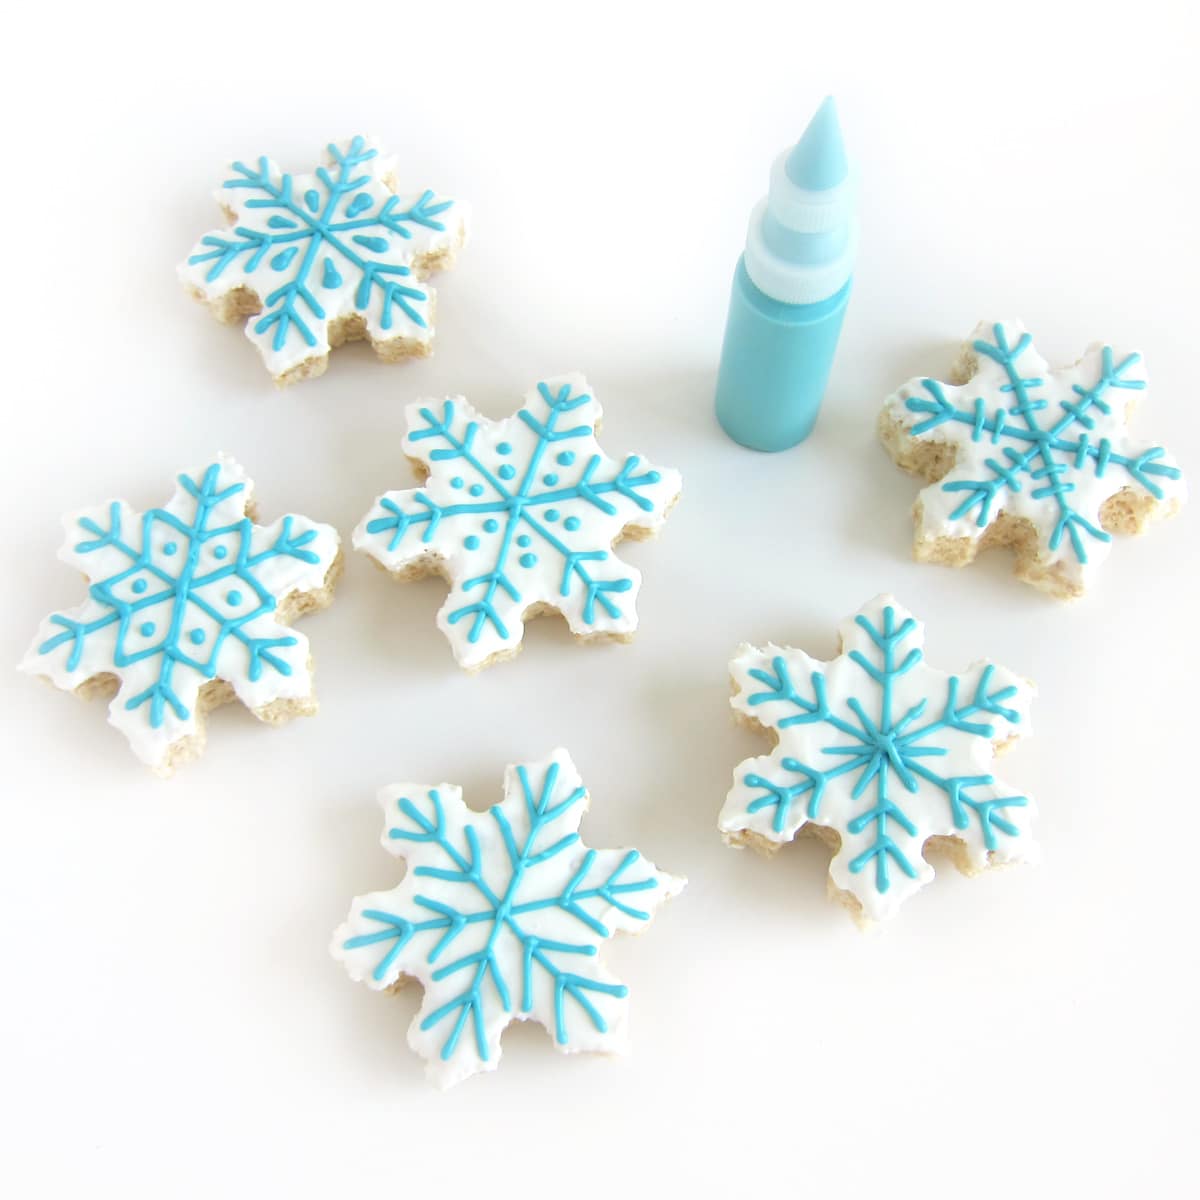
Pop the treats in the freezer for 3-5 minutes just until the piped design hardens.
I had fun creating all the different designs. I hope you do too. There are so many possibilities.
Variations
If you prefer, you can make your Rice Krispie Treats using the microwave. See our Microwave Rice Krispie Treats for instructions.
Make your treats look sparkly by sprinkling blue or white sugar over the piped design. You need to work quickly as the candy melts will harden quickly. Sprinkle on the sugar as you add the design instead of waiting until the entire design is added.
Turn your rice crispy treat snowflakes into chocolate-dipped Rice Krispie Treat lollipops and dip them into the white or blue candy melts. See our Unicorn Rice Krispie Treats recipe to see a video on dipping and decorating treats in white candy melts.
Related Recipes
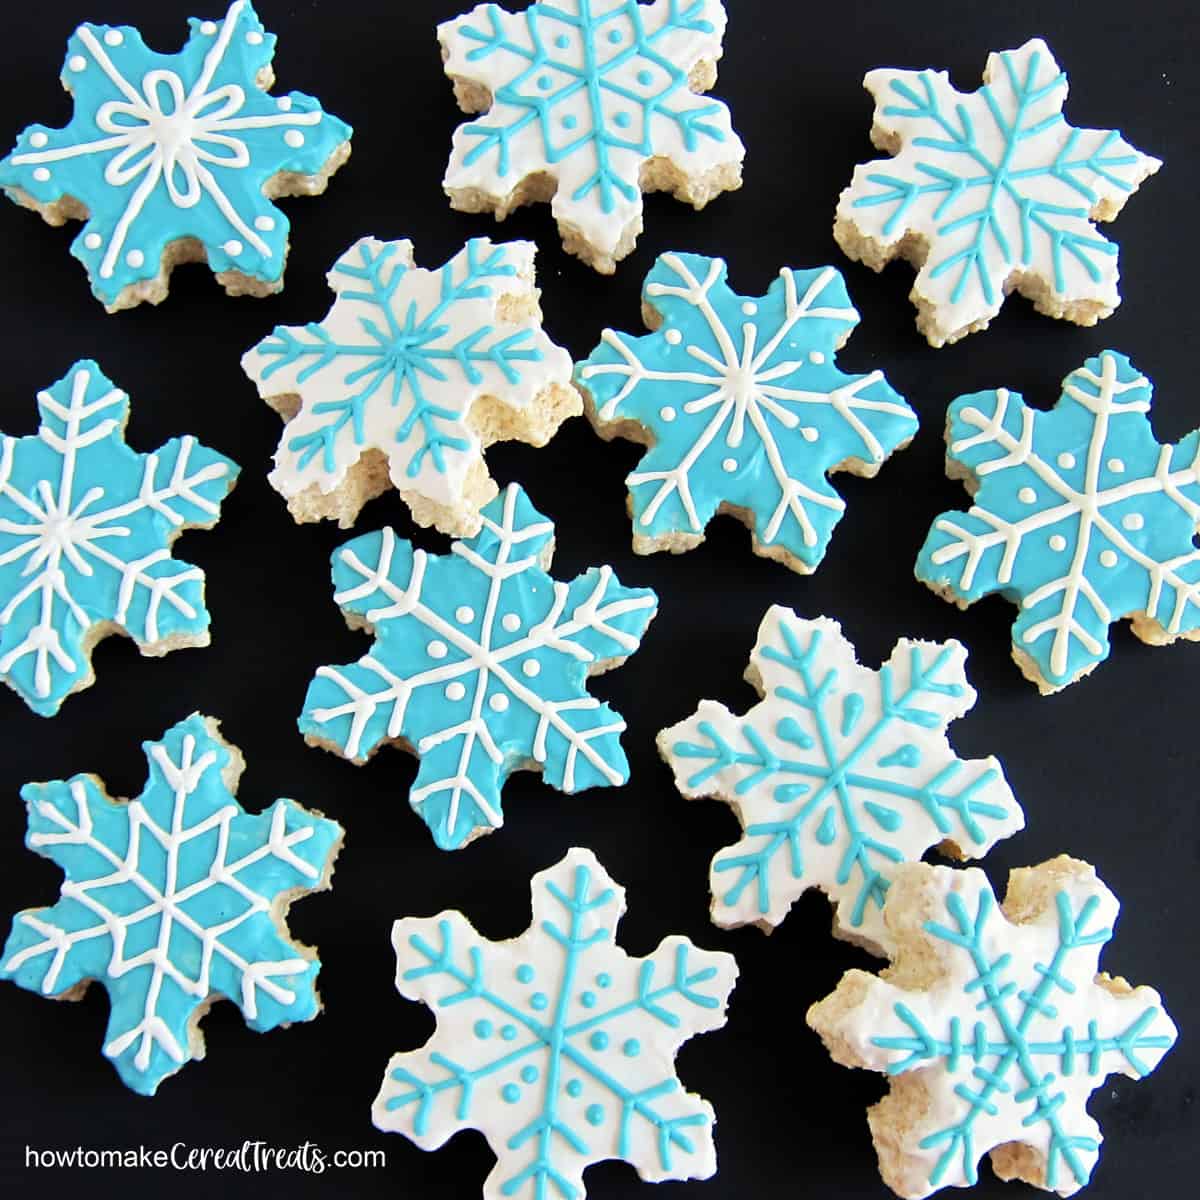
If you are looking for more Christmas Rice Krispie Treat ideas be sure to check out these other recipes.
Recipe
Snowflake Rice Krispie Treats
Equipment
- 1 extra-large mixing bowl
- 1 silicone spatula
- 1 medium-large saucepan (non-stick works best)
- 1 snowflake cookie cutter
- 2 squeeze bottles (or use disposable pastry bags or zip-top bags)
- 1 9x13-inch pan
Ingredients
- 7 cups Rice Krispies Cereal
- 6 tablespoons salted butter (use European-style butter for the best flavor)
- 16 ounces marshmallows
- 6 ounces bright white candy melts
- 6 ounces light blue candy melts
Instructions
- Grease the mixing bowl, spatula, and 9x13-inch pan with butter or baking spray.
- Pour the cereal into the mixing bowl and set aside.
- Cut the butter into slices and place them in a medium-large saucepan.
- Set the pan over LOW heat and allow the butter to begin melting.
- Stir in the marshmallows.
- Then, allow the marshmallows to begin melting, stirring often until 75% of the marshmallows have melted.
- Then, remove the pan from the heat and stir the marshmallows until they are completely melted. This will keep your marshmallows from overheating which will make your treats too hard. The residual heat in the pan will continue to melt the marshmallows slowly so your treats are perfectly chewy.
- Pour the melted marshmallow mixture over the Rice Krispies Cereal in the mixing bowl. Stir until well combined.
- Then spread the marshmallow cereal treat mixture into the greased 9x13-inch pan.
- Gently pat it into an even layer and then run a spatula under the treat and remove the treat from the pan. Set it on a cutting board.
- Use a snowflake cookie cutter to cut out as many snowflakes as you can. Then, gently press the scraps together and cut out more snowflakes. Just smoosh them back together into shapes that are large enough to cut. Don't roll them into a ball and flatten them.
- Let your snowflake treats cool for at least 20 minutes.
- Melt the blue and the white candy melts in the microwave on high power. Heat for 30-second increments, stirring after each until melted. Do not overheat. You can alternatively melt them using a double boiler over LOW heat on the stove.
- Make sure the candy melts are in a bowl that is large enough to fit a snowflake and still have room around it for your fingers to hold the snowflake.
- Dip one snowflake into a bowl of blue or white candy melts so that just the top gets coated.
- Lift the snowflake out of the candy coating and shake to remove any excess. Then turn it right-side up and use an offset spatula or knife to smooth out the chocolate.
- Place that treat in the freezer for 5-8 minutes until the candy melts harden.
- Now, repeat this process until all of your snowflakes have a thin layer of candy melts on top.
- Let the treats rest on the counter for about 15 minutes until the candy coating on top no longer feels cold.
- Reheat your candy melts using 10-15 second bursts of power in the microwave. Then, pour the candy melts into a small squeeze bottle, a disposable pastry bag, or a zip-top bag. If needed, cut a tip off the bag.
- Pipe a pretty snowflake design onto each snowflake and freeze for a few minutes just until that candy hardens.
- Allow the treats to come to room temperature before packaging.



 We love creating easy Rice Krispie Treats recipes to share with you and hope you find our tips and instructions helpful. ___ -
Please leave a comment.