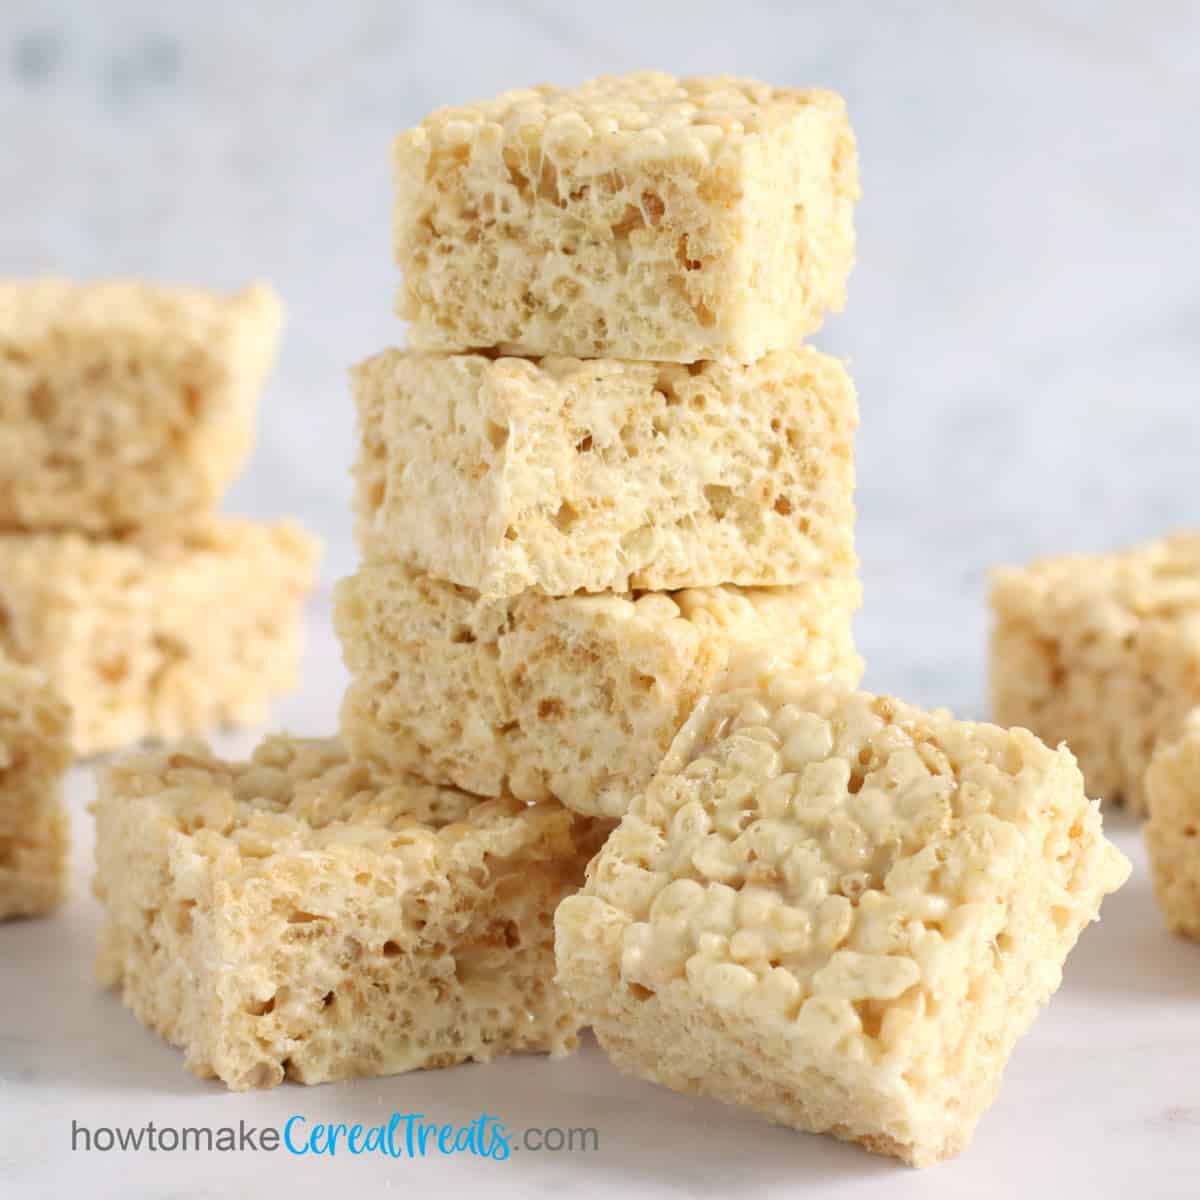
If you want to really enhance the flavor of your cereal treats, swap out homemade marshmallows for store-bought marshmallows when making cereal treats.
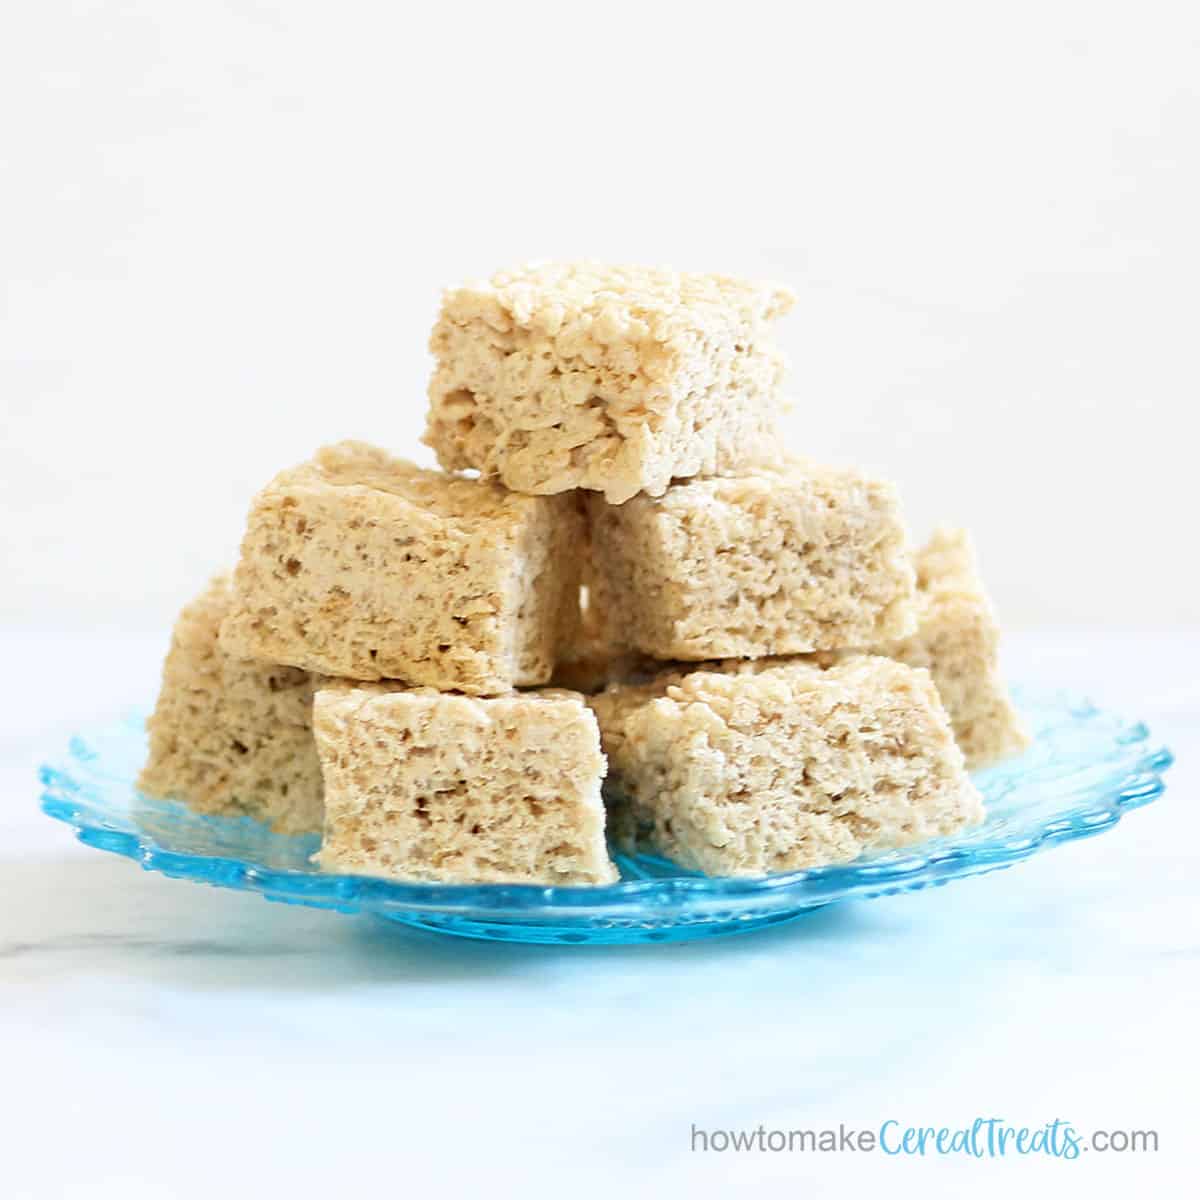
These Homemade Marshmallow Rice Krispie Treats take more time to prepare but if you are excited about making homemade marshmallows then you definitely should try this recipe.
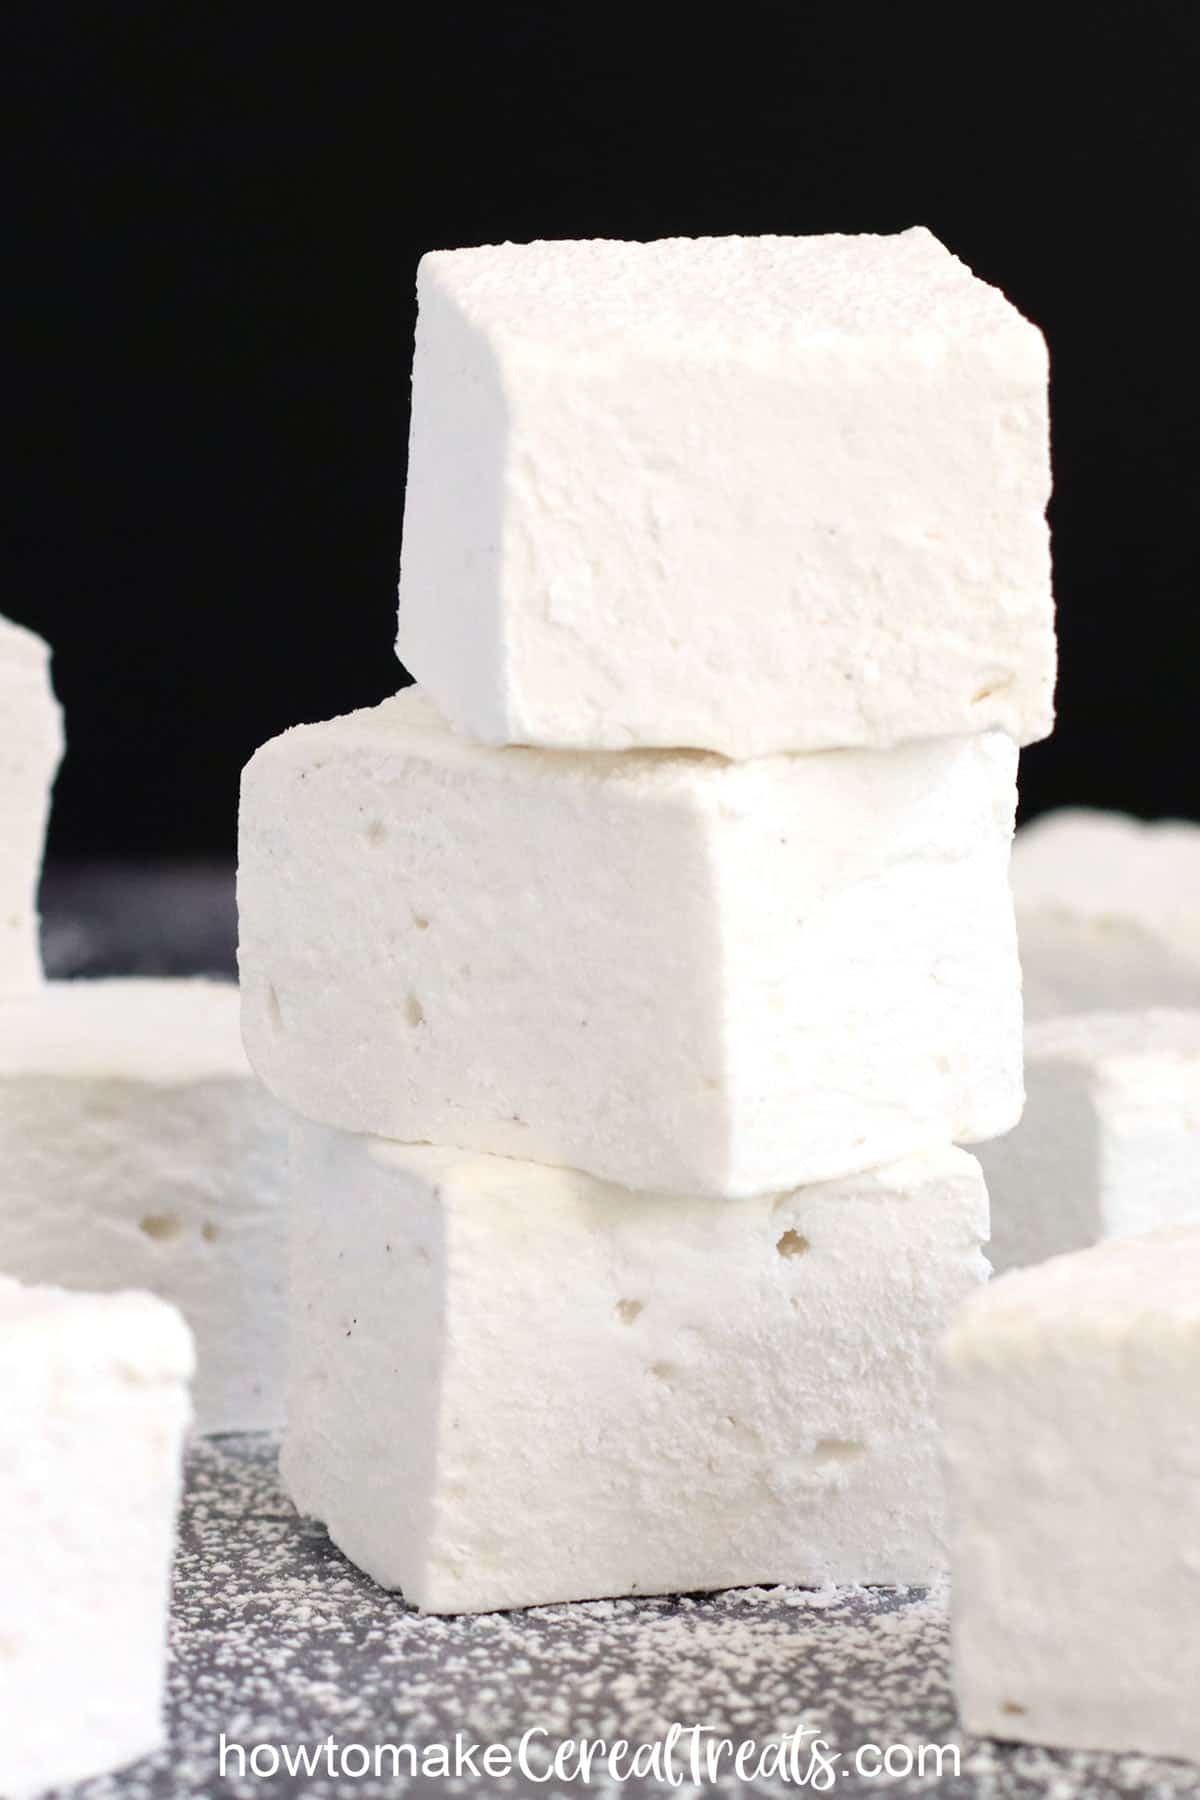
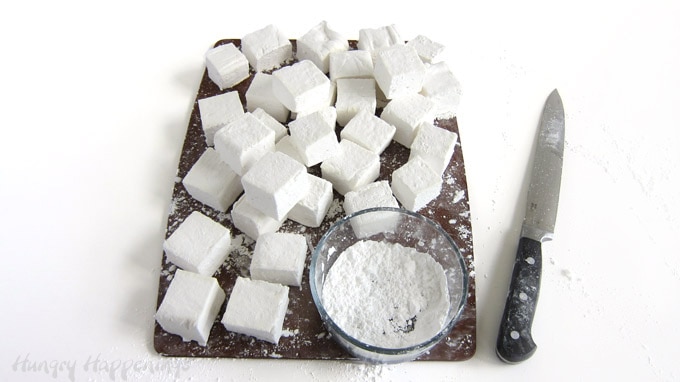
If you have never tasted a homemade marshmallow, you are missing out!
Not only is the flavor superior to store-bought marshmallows, but the texture is too.
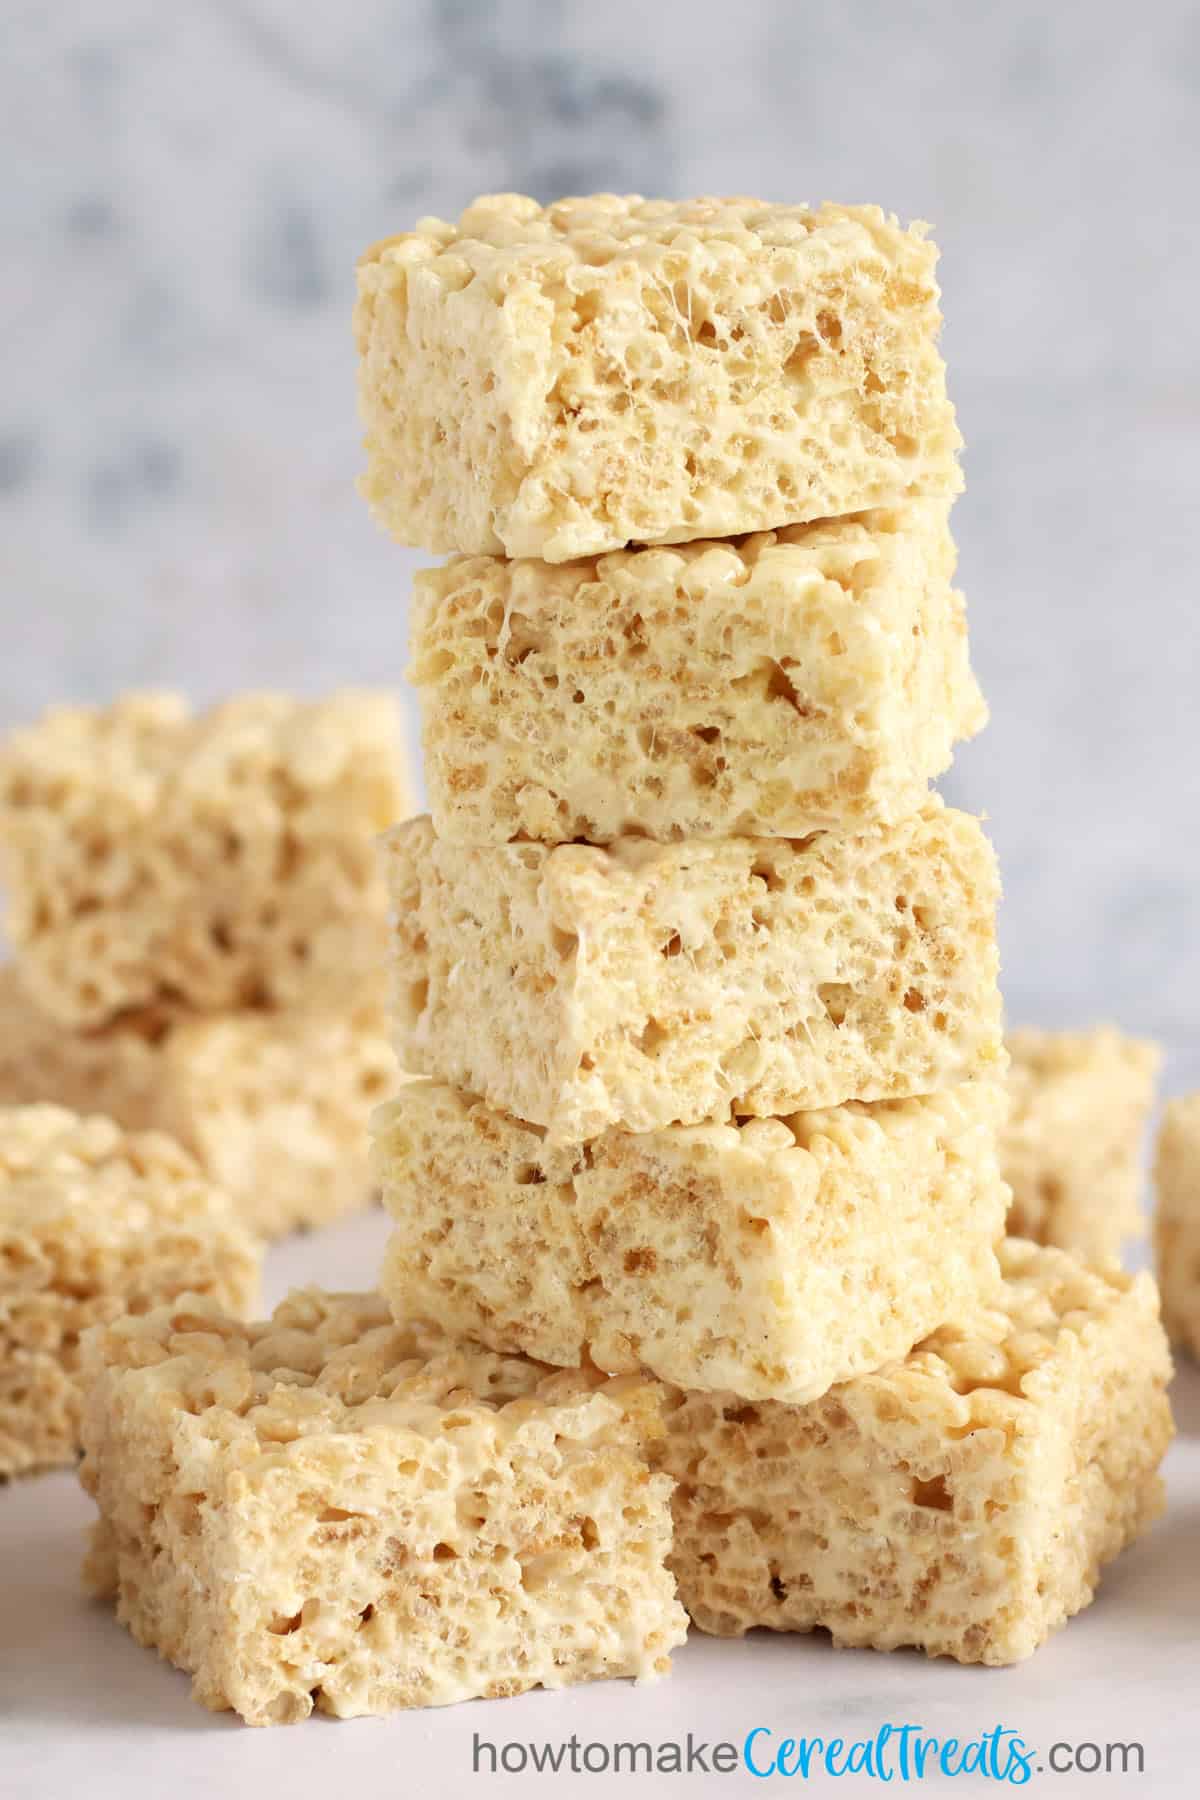
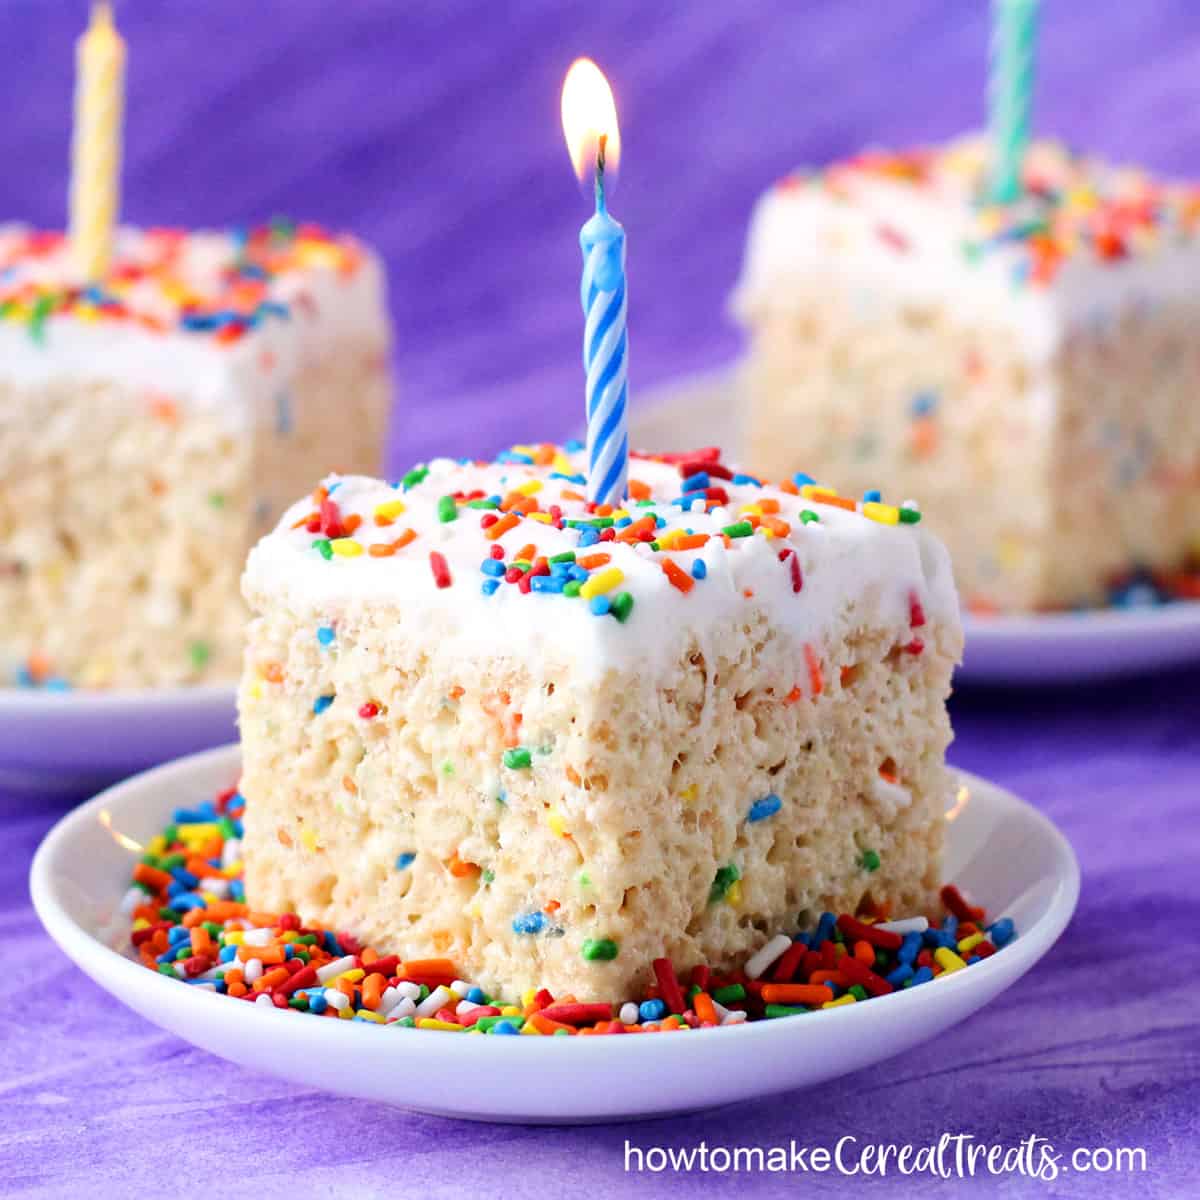
Each soft billowy square of vanilla-flavored candy is perfect on its own, but when used to make our Best Rice Krispie treats recipe, the marshmallows make them taste even better!
Homemade marshmallows are softer than their mass-produced counterparts so the texture of a rice crispy treat made with homemade marshmallows is a bit softer too. I'd say the treats are delicately chewy versus chewy!
I know this recipe will not be for everyone. Making homemade marshmallows takes more time than ripping open a plastic bag, but if you love to experiment in the kitchen and have always wanted to make homemade marshmallows, then this recipe will be perfect for you.
A batch of marshmallows makes more than enough for two batches of crispy treats, so you'll have plenty of marshmallows to snack on.
Video
Be sure to watch this video to see how to make homemade marshmallow cereal treats.
Ingredients
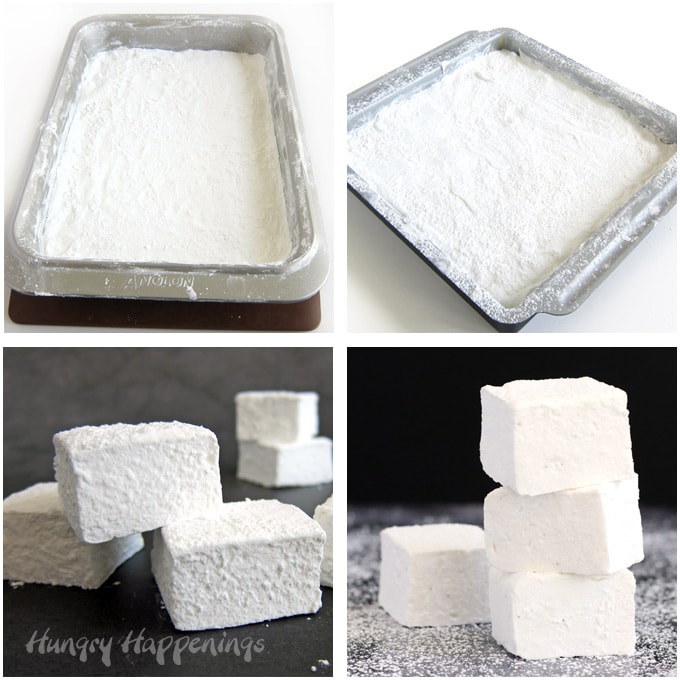
Pan Prep
- butter or non-stick baking spray - Grease the inside of a 9X13-inch or a 9-inch square pan well. I prefer the flavor of butter but the non-stick baking spray works well too.
- a blend of powdered sugar and corn starch - Some recipes tell you to dust your marshmallows with just corn starch. I'm not a fan of the flavor, so I blend my cornstarch with powdered sugar. Powdered sugar already has cornstarch in it, but it's best to add a bit more.
Homemade Marshmallows
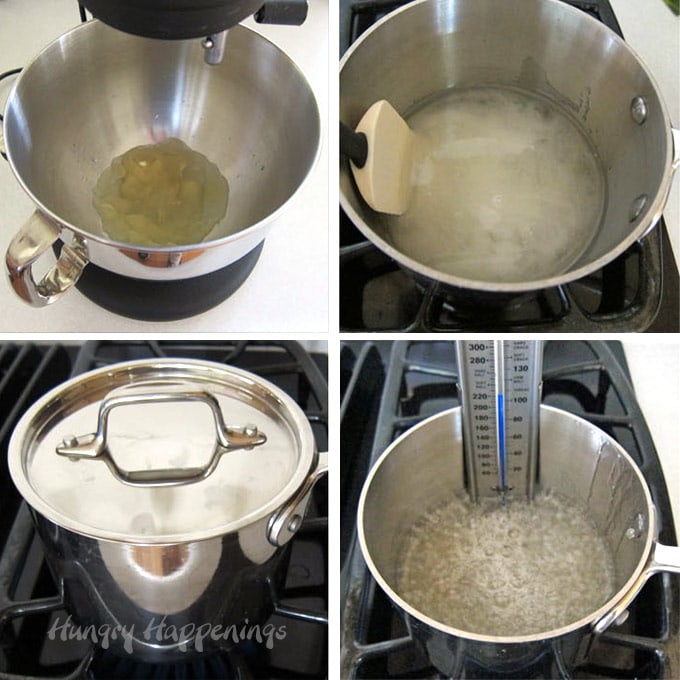
- water - You will dissolve the gelatin in water then use more water to make a sugar syrup.
- gelatin - Use unflavored gelatin. You'll need 2 ½ tablespoons for this homemade marshmallow recipe. If you use packets of unflavored gelatin, it's best to measure the gelatin as packages don't always contain the same amount from brand to brand. You'll need approximately 3 packets.
- granulated sugar - Adds sweetness and structure to the marshmallows.
- light corn syrup - This will not only add sweetness but will also keep the sugar from crystallizing. Crystalized sugar will make your marshmallows gritty. By adding corn syrup your marshmallows will be nice and smooth.
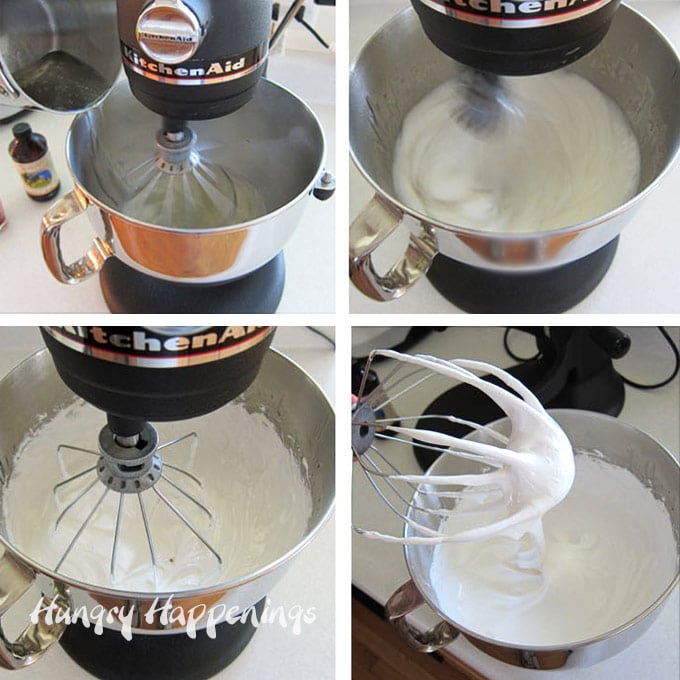
- vanilla - I suggest you use pure vanilla extract or vanilla bean paste for the best flavor. I love using vanilla bean paste as it is loaded with real vanilla bean seeds. When you make your marshmallows with the paste they will be speckled with vanilla bean seeds.
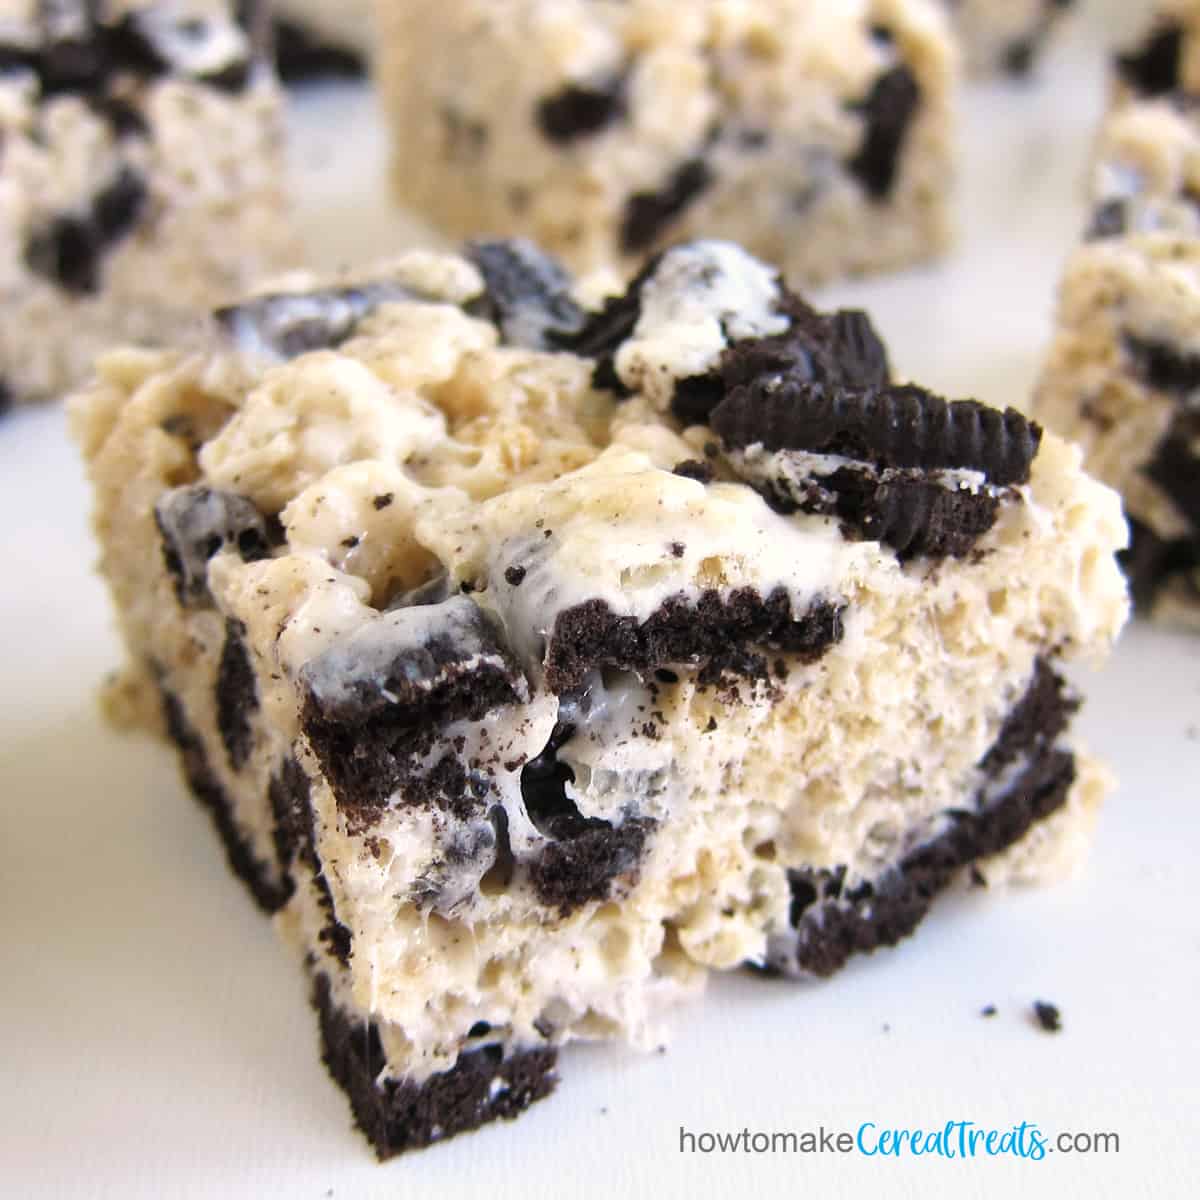
Variations
- other optional flavorings - You can swap out any candy oil for the vanilla extract. There are so many possibilities. Imagine making orange, cotton candy, cherry, root beer, or butterscotch-flavored marshmallows. Start by adding ¼ teaspoon of the candy oil, then add more drops until your marshmallows taste like you want them to.
Supplies
stand mixer
small saucepan with lid
candy thermometer
9" x 13" pan
silicone spatula and/or an offset spatula
You can find items to make these homemade marshmallows on Amazon. I earn a small commission when you use the affiliate links in this post at NO extra cost to you.
 Unflavored Gelatin - 1 lbShop on Amazon
  Imperial Extra Fine Sugar/1...Shop on Amazon
  Chicago Metallic Commercial...Shop on Amazon
  Wilton Recipe Right Non-Sti...Shop on Amazon
  Taylor Stainless Steel Cand...Shop on Amazon
  All-Clad D3 3-Ply Stainless...Shop on Amazon
 ") KitchenAid RKP26M1XWH 6 Qua...Shop on Amazon
KitchenAid RKP26M1XWH 6 Qua...Shop on Amazon  Clabber Girl Corn Starch, 6...Shop on Amazon
  365 by Whole Foods Market, ...Shop on Amazon


 We love creating easy Rice Krispie Treats recipes to share with you and hope you find our tips and instructions helpful. ___ -
Karen
I made these and the recipe turned out perfectly! I had been trying to use your Best Rice Krispies Treat recipe with my homemade marshmallows and I kept getting that "stale" texture you referred to. Not with your recipe though! Thank you for the time you devoted to perfecting the recipe, then writing up the recipe and creating photos and the video. You can't mess this up! Greatly appreciated. 🙂
Beth Klosterboer
That is great to hear, Karen. I'm so glad you found success with this homemade marshmallow Rice Krispie treat recipe! It did take some experimenting to get it just right. I'm happy you enjoyed the treats.
https://www.belgameubelen.be
I am in a HUGE bind. I make marshmallows (along with other desserts) and I have been asked by a client to turn them into rice krispie treats. Like an IDIOT, I said no problem. Who would have thought it would be an issue? Well, guess what? After re-reading the 58,349,648 pages of ALL THREE marshmallow threads, I have learned that homemade marshmallows can make the krispies seem stale. I am sick to my stomach now. Does anyone have any idea how to to yield a crispy Krispies treat with homemade marshmallows? I use Nightscotsman's recipe. Please, please help. Thank you so much.
Beth Klosterboer
I'd suggest you follow my marshmallow recipe then follow my Rice Krispie Treat recipe to make your treats. You need to make the marshmallows and allow them to cool and firm up then use them to make your treats. I created this recipe because another reader was having issues with stale-tasting treats so I did a lot of experimenting to find a homemade marshmallow Rice Krispie treat recipe that produced crispy treats with a good chew. As I mentioned in the post, these treats do not stay fresh as long as treats made with store-bought marshmallows so you will need to make them as close to the event as possible. Also, be sure to store them in an airtight container. Even if you have to package them, it will be best to store them in a Rubbermade or Tupperware-style container or a metal popcorn or cookie tin until the day you plan to serve them. It will keep them crispy and fresh-tasting.
Remi
I made the marshmallows the night before and left them to dry on the counter. The Rice Krispie treats are still stale tasting. Did I do something wrong?
Beth Klosterboer
Hi Remi,
I'm sorry to hear your treats tasted stale. The main reason this happens is that the cereal gets too hot when it is stirred into the marshmallows that is why we recommend you pour the marshmallows over the cereal instead of pouring the cereal into a hot pot or microwaved bowl. The cereal can get soggy when it gets too hot. I hope this helps for the next batch.
Brianna
Can I substitute maple syrup for corn syrup? Do I have to use all the sugar in addition to the corn syrup? I’ve tried twice to make “healthier” rice krispy treats at home, but keep getting that stale texture. After reading your article I learned it’s because I was skipping an important step.
Beth Klosterboer
I have not tried to swap out maple syrup for corn syrup. It is thinner than corn syrup but you cook it in this recipe so it might work. The sugar is the main ingredient in the marshmallows so I'm also not sure how using less will affect the recipe but I'm guessing it isn't a great idea to reduce the amount of it too much. I am very curious about making maple syrup marshmallows and will definitely give that a try. I'll let you know my results.
Mica
Do you think I could freeze the treats for maybe 3 weeks?
Meaghan Mountford
Hi Mica, Absolutely! I'm going to copy and paste some information on our recommendations for freezing Rice Krispie Treats. Thank you for your question!!
How to store marshmallow cereal treats?
Your cereal treats will taste best if eaten within the first few days but they will stay crispy and fresh for up to a week if stored properly in an airtight container or large zip-top bag.
Using salted butter helps to increase the shelf life of a Rice Krispie Treat.
Do not refrigerate the treats as they may become soggy and soft.
You may freeze your cereal treats for up to 3 months.
Wrap the treats in plastic wrap or Glad Press 'n Seal, then overwrap them in tin foil. Place them in a zip-top bag and freeze.
To thaw, remove the cereal treats from the freezer and let them sit, wrapped, on the counter for at least 1 hour before unwrapping.
You can wrap the entire pan of treats or wrap individual treats depending on how you want to use them later.