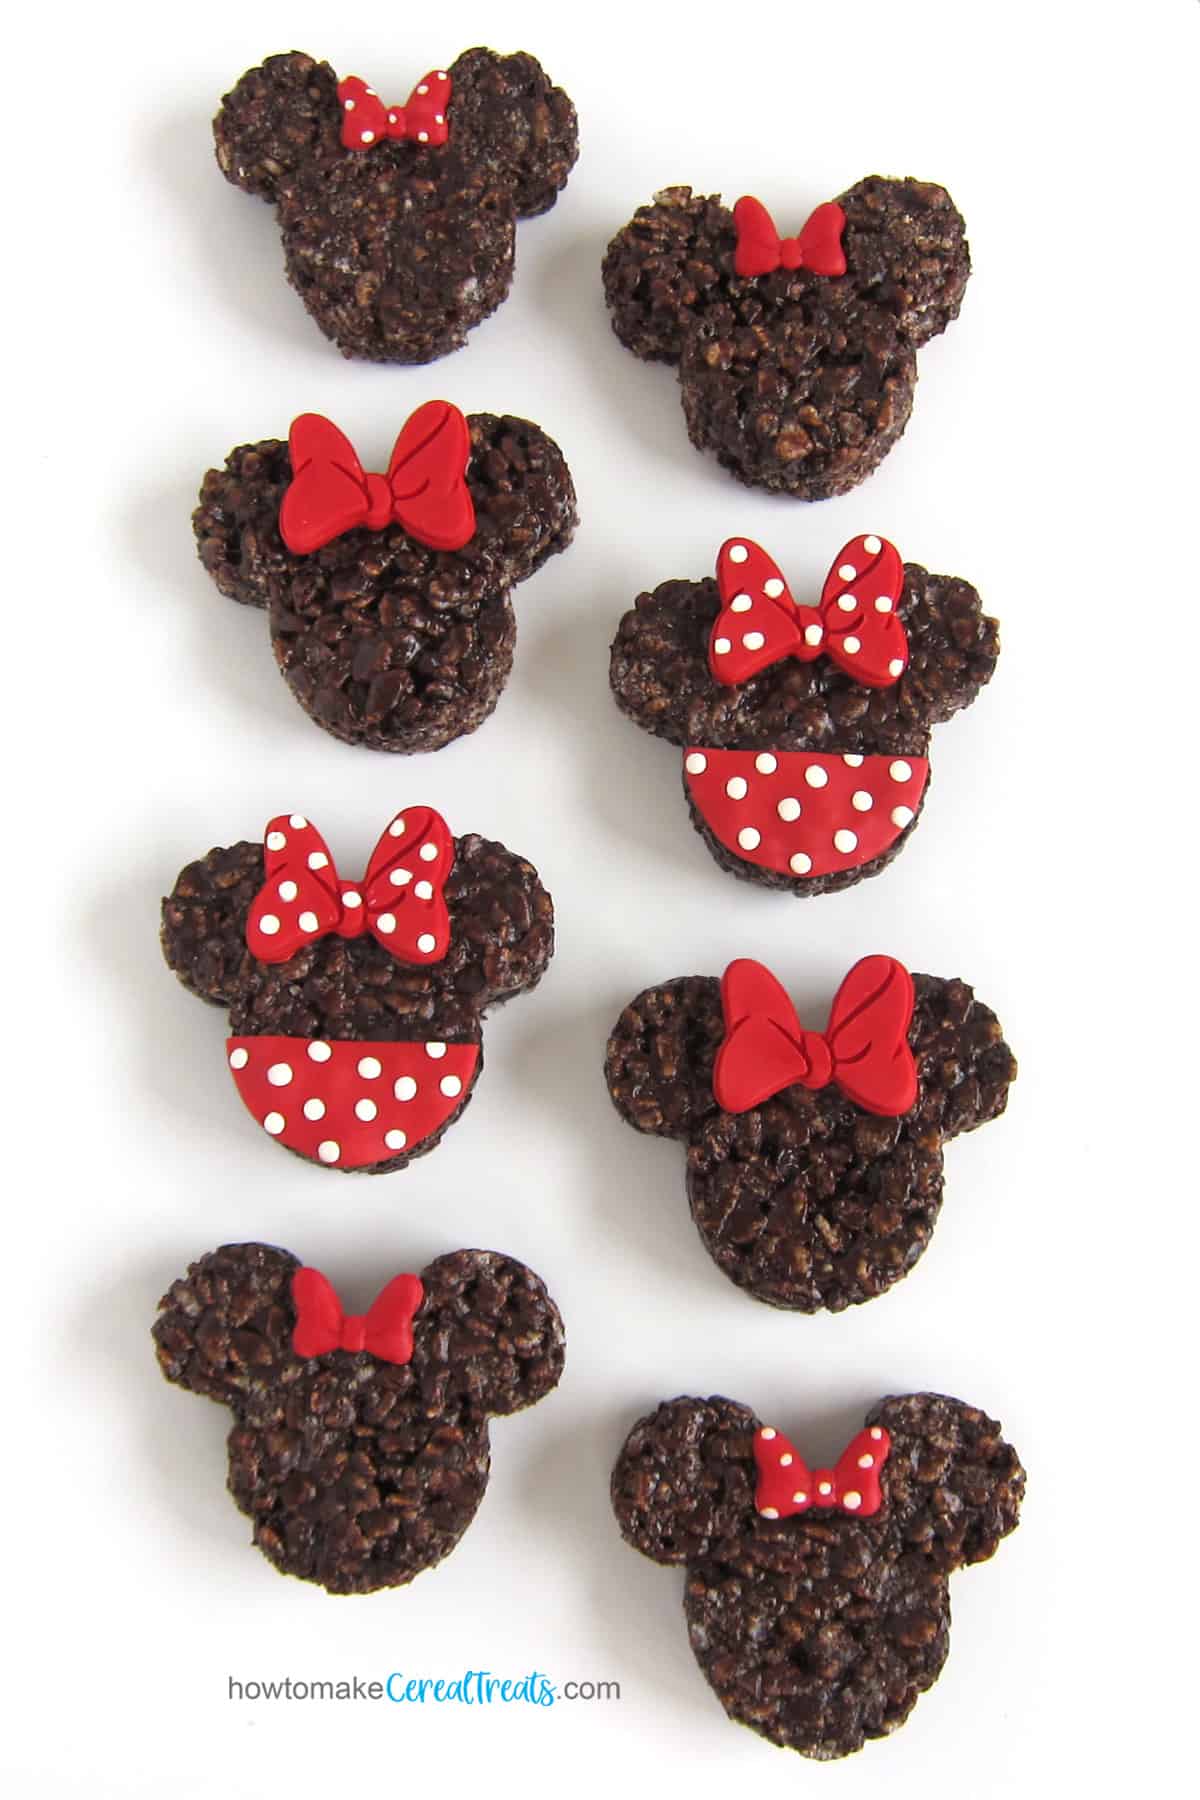
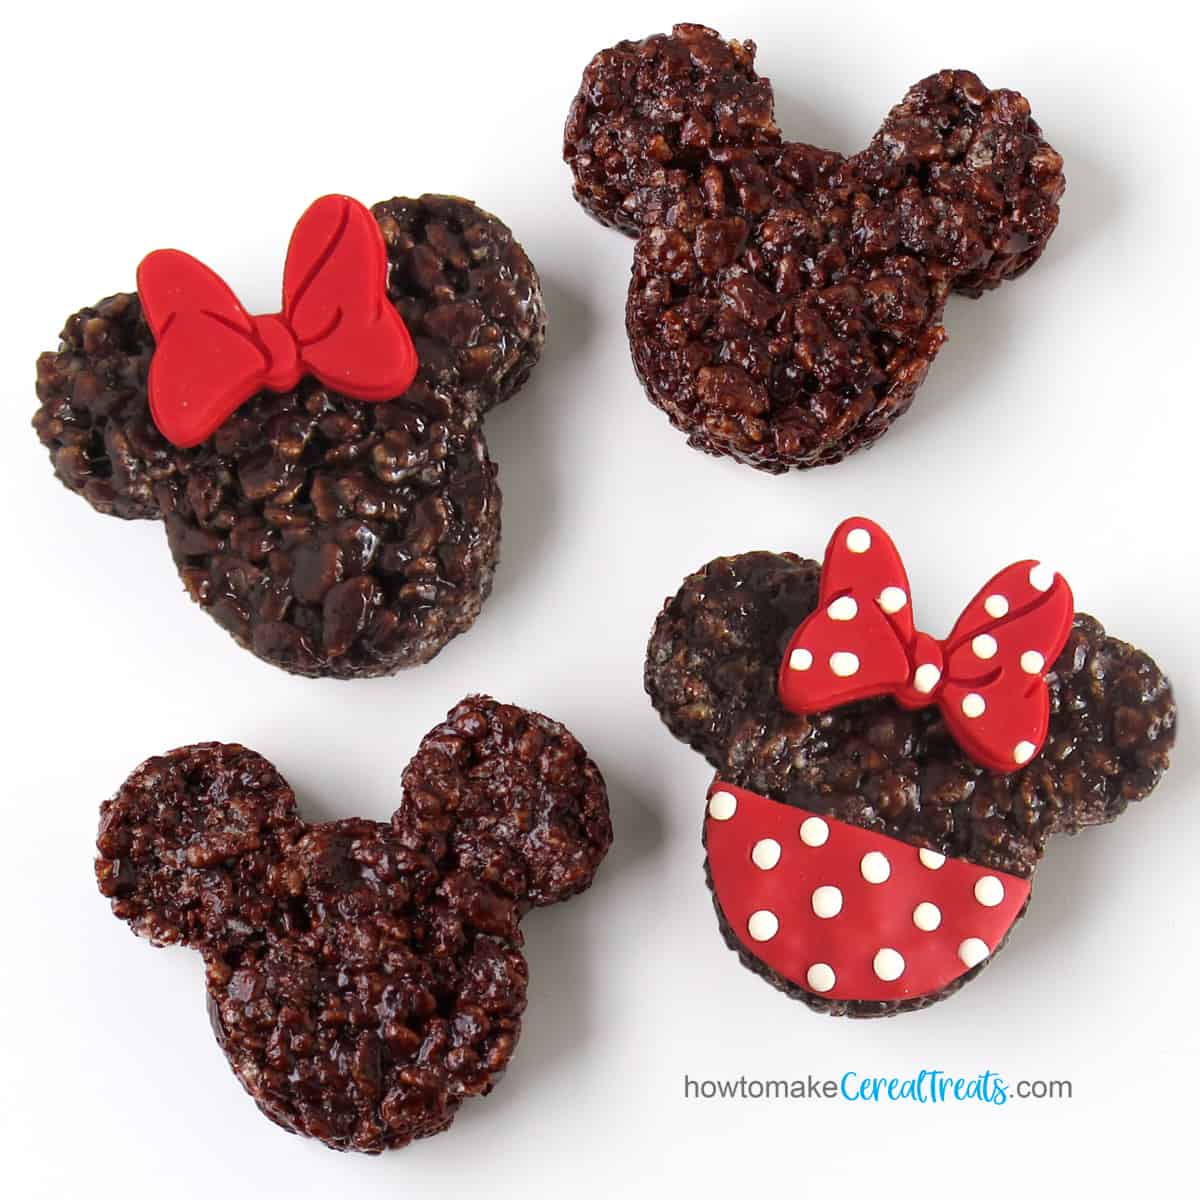
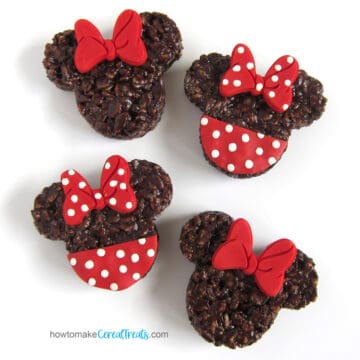
Celebrate a trip to Walt Disney World or a child's birthday by making some adorably cute chocolate Minnie Mouse Rice Krispie Treats. Each chocolatey marshmallow cereal treat is decorated with a pretty red bow.
A while back, I used our rich chocolate rice krispie treats recipe to make Mickey Mouse Rice Krispie Treats. They were so easy to make and tasted great! I shared them with friends and everyone loved them.
Today, I want to share with you a step-by-step tutorial so you can decorate the chocolatey treats to look like Minnie Mouse.
All you need to do is add some pretty bows. They are easy to make using a silicone mold and modeling chocolate or fondant.
You can keep them simple and use homemade 2-ingredient red modeling chocolate or fondant or you can dress them up and add white polka dots. Either way, the Minnie Mouse treats look super cute.
Jump to:
Let's get right to make some treats.
Ingredients
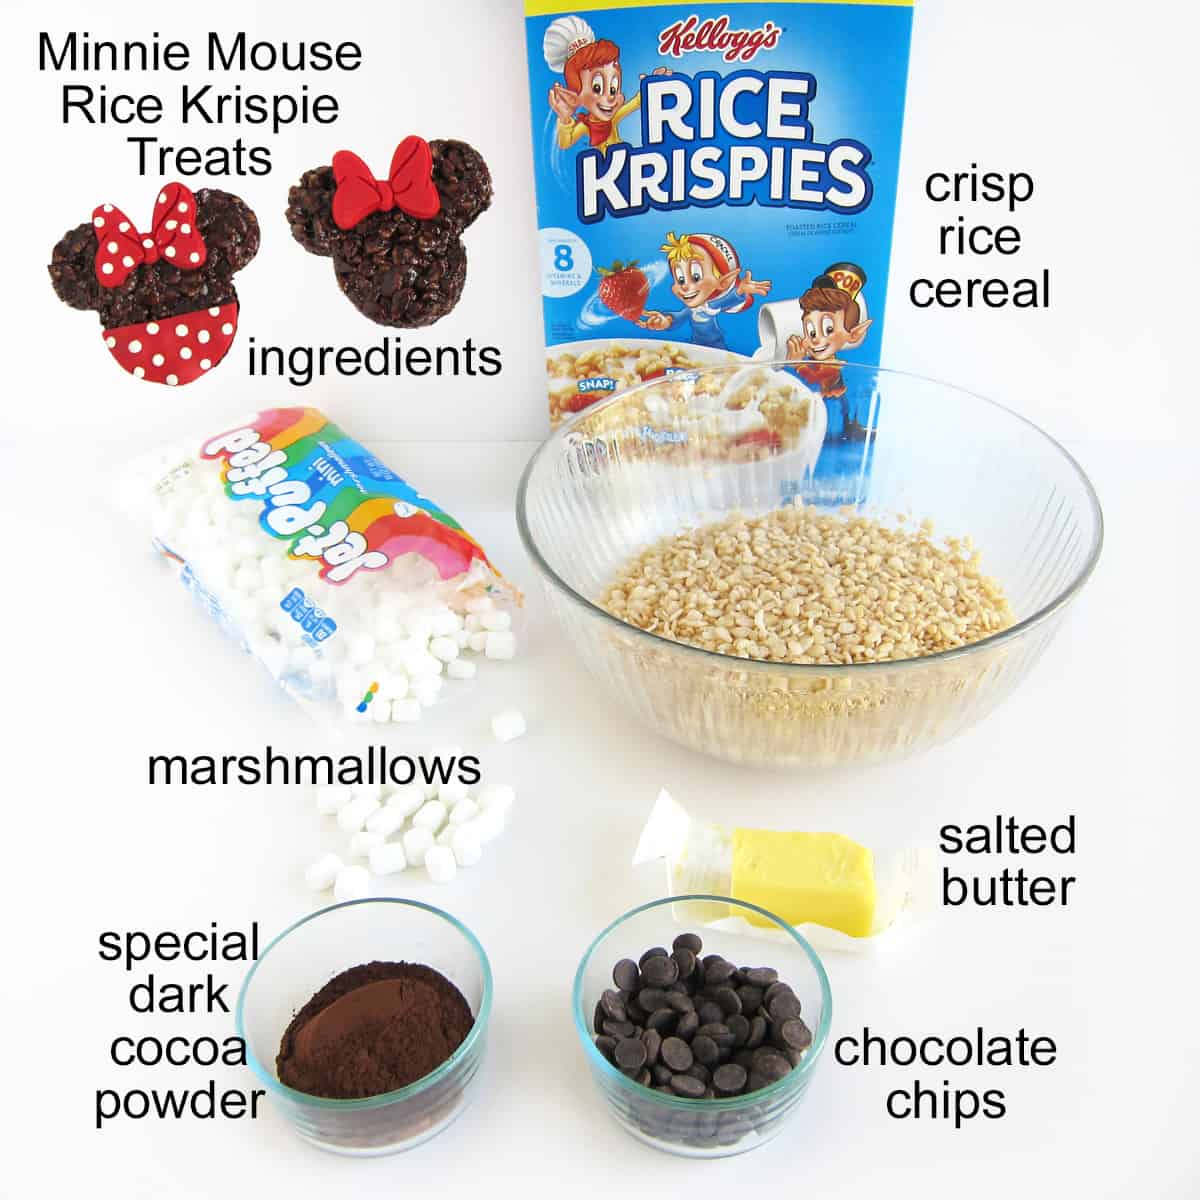
- Rice Krispies Cereal - We always recommend using Kellogg's Rice Krispies as they will give your treats the best texture.
- butter - We recommend using salted European-style butter (with a higher butterfat content than American-made butter) for the very best flavor. See our taste test results for more information.
- marshmallows - We like to use Kraft Jet-Puffed Marshmallows because they produce perfectly chewy treats.
Some store-brand marshmallows are very sticky once melted and are difficult to blend with the crisp rice cereal. If you do use them, you may need to add up to an extra cup of cereal.
You can use mini or large marshmallows. See our marshmallow conversion chart for details about measuring marshmallows. - cocoa powder - If you want your Minnie Mouse treats to be dark, use a dark cocoa powder like Hershey's Special Dark which is what I used.
- chocolate chips - Use your favorite semi-sweet chocolate chips. They'll add a rich chocolate flavor.
- modeling chocolate (or fondant) - I love decorating my sweet treats using homemade modeling chocolate because it tastes like chocolate and can be sculpted into shapes like Minnie's bows easily. You can use store-bought or homemade fondant if you prefer.
See the recipe card for quantities.
Equipment
- extra-large mixing bowl - You want to use a bowl that allows you room to mix the cereal and marshmallows together.
- medium-large (3 or 4-quart) saucepan - I like using a non-stick pan so the marshmallows don't stick too badly.
- 9x13-inch baking pan - If you use a non-stick pan and grease it with butter, the treats will easily slide out of the pan. If you use a glass pan or aluminum pan, you might want to line it with parchment paper or non-stick tin foil.
- silicone spatula - If you grease a silicone spatula (or Spoonula) with butter or baking spray, the cereal treat mixture won't stick. You can also use a wooden spoon but I'd grease it too.
- optional, zip-top bag or disposable pastry bag - Use this or a spoon to drizzle the white chocolate over your treats.
Instructions
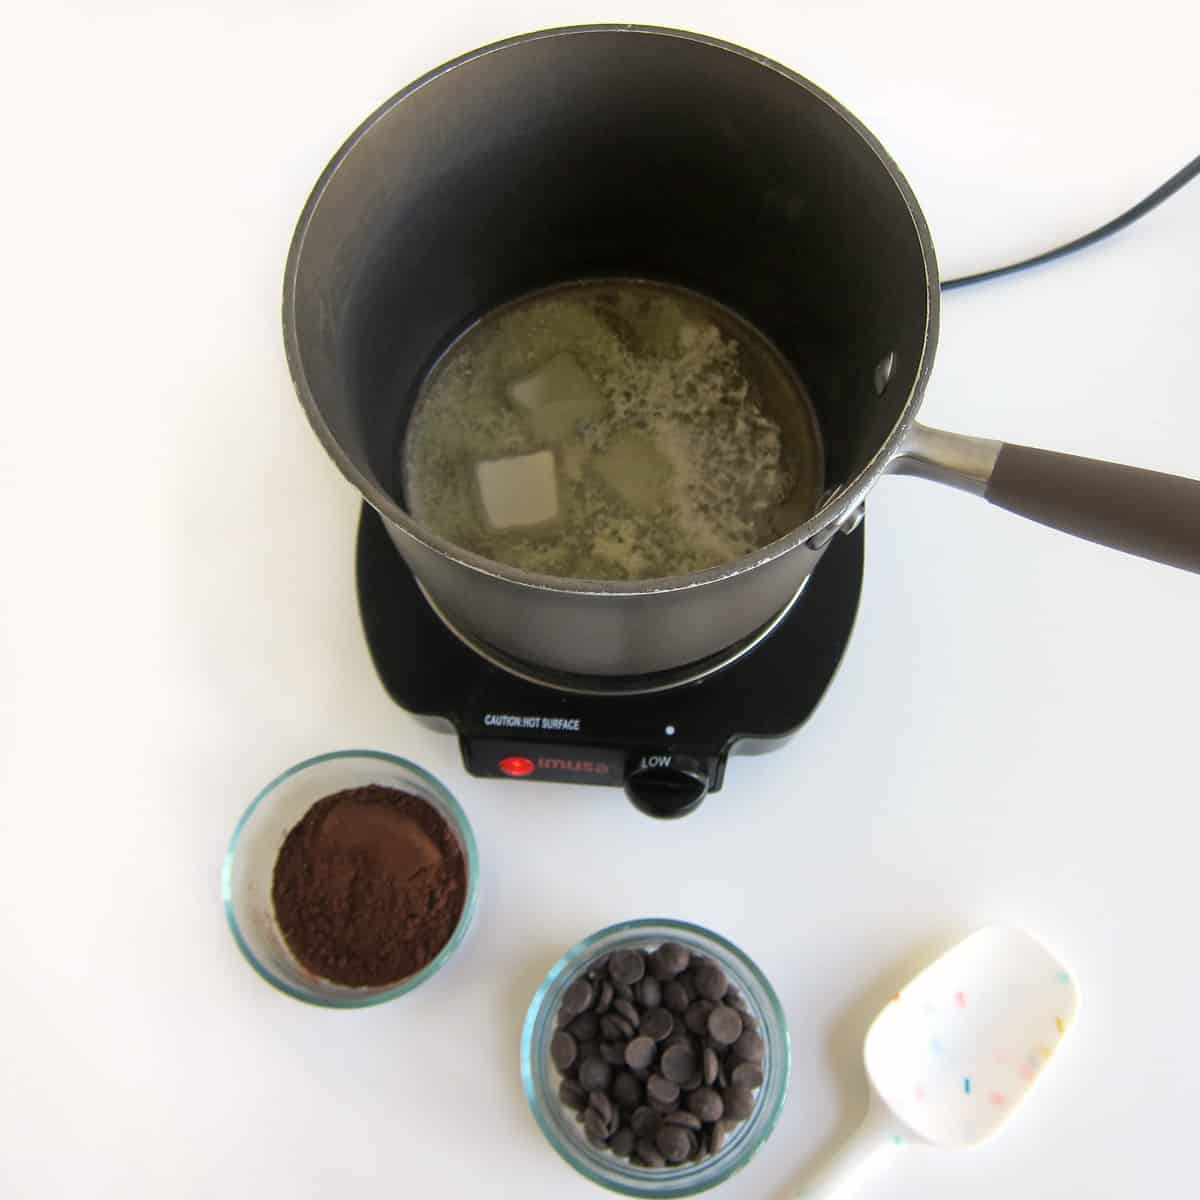
Cut the butter into thin slices and place them in a medium-large saucepan. Set it over LOW heat.
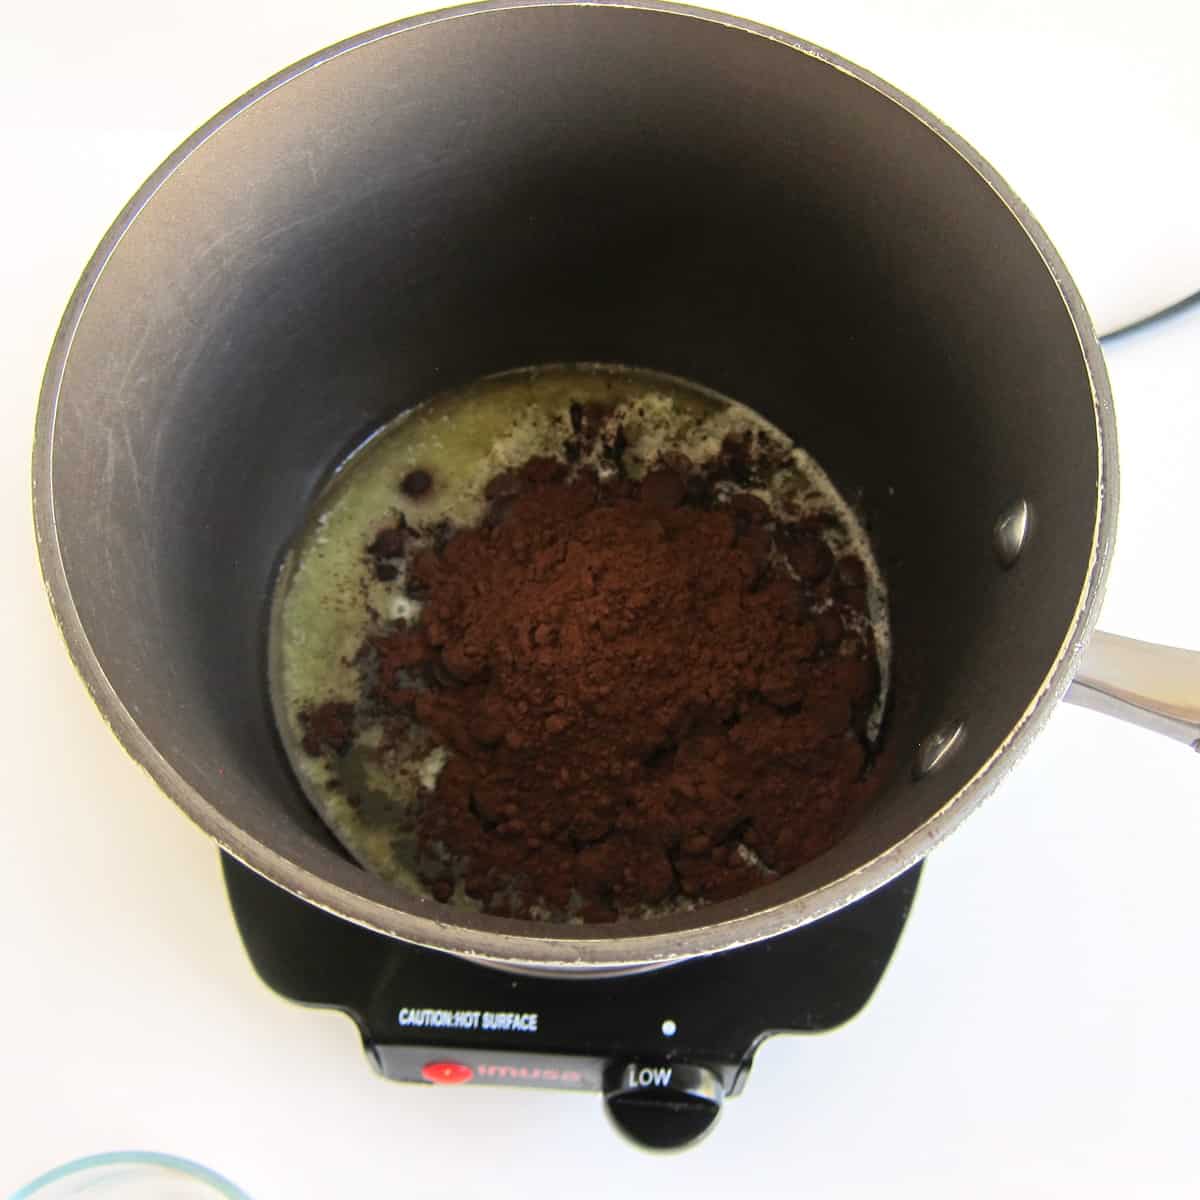
Allow the butter to begin to melt then add the chocolate chips and cocoa powder.
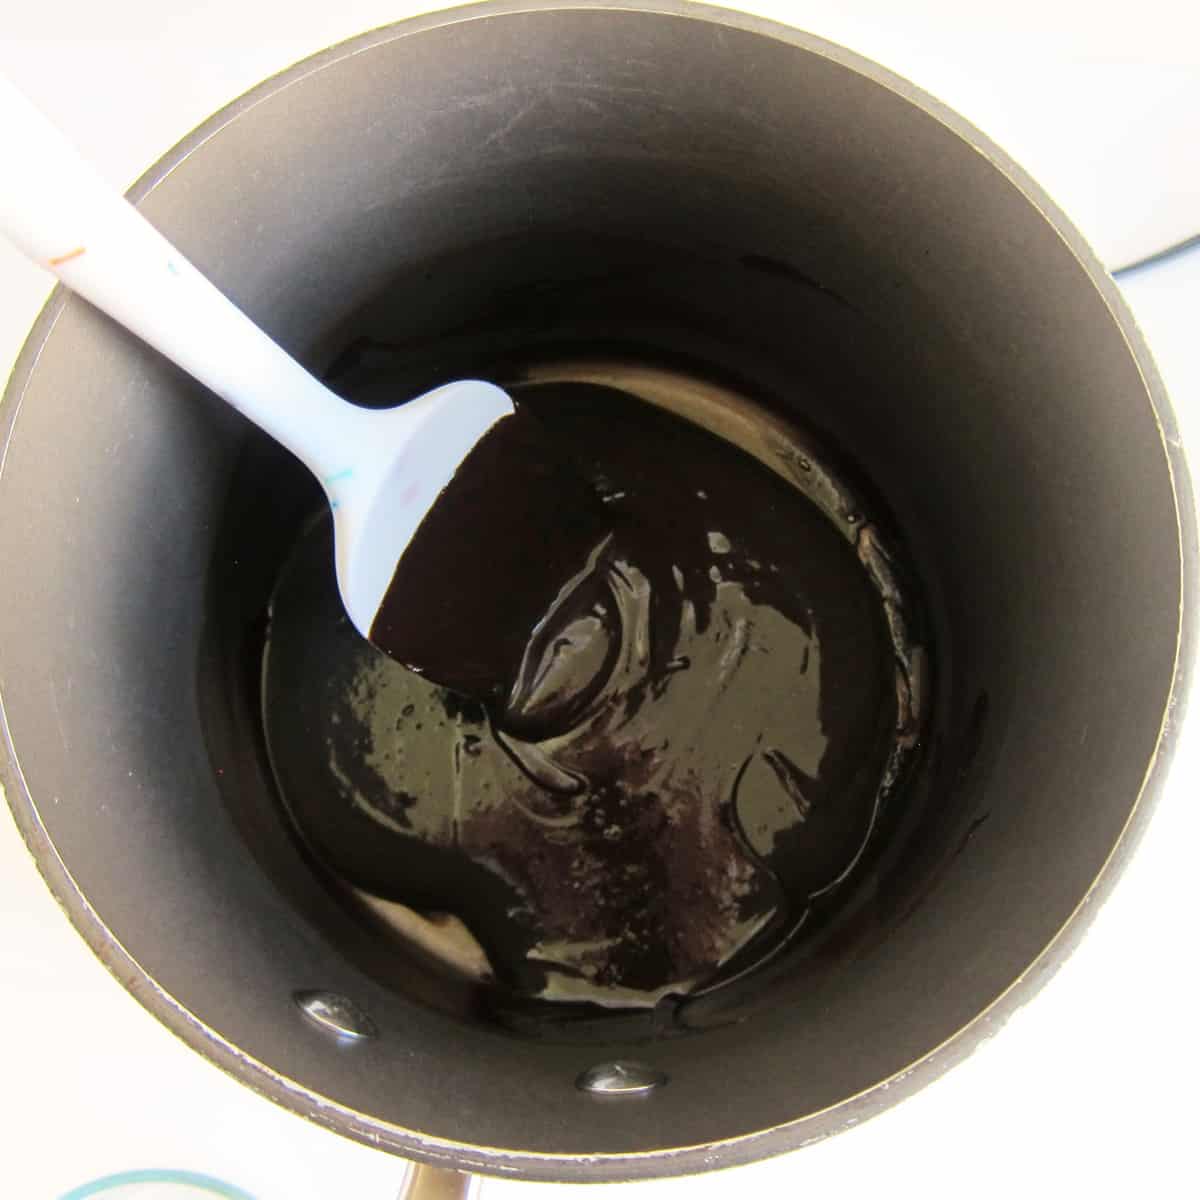
Stir until smooth.
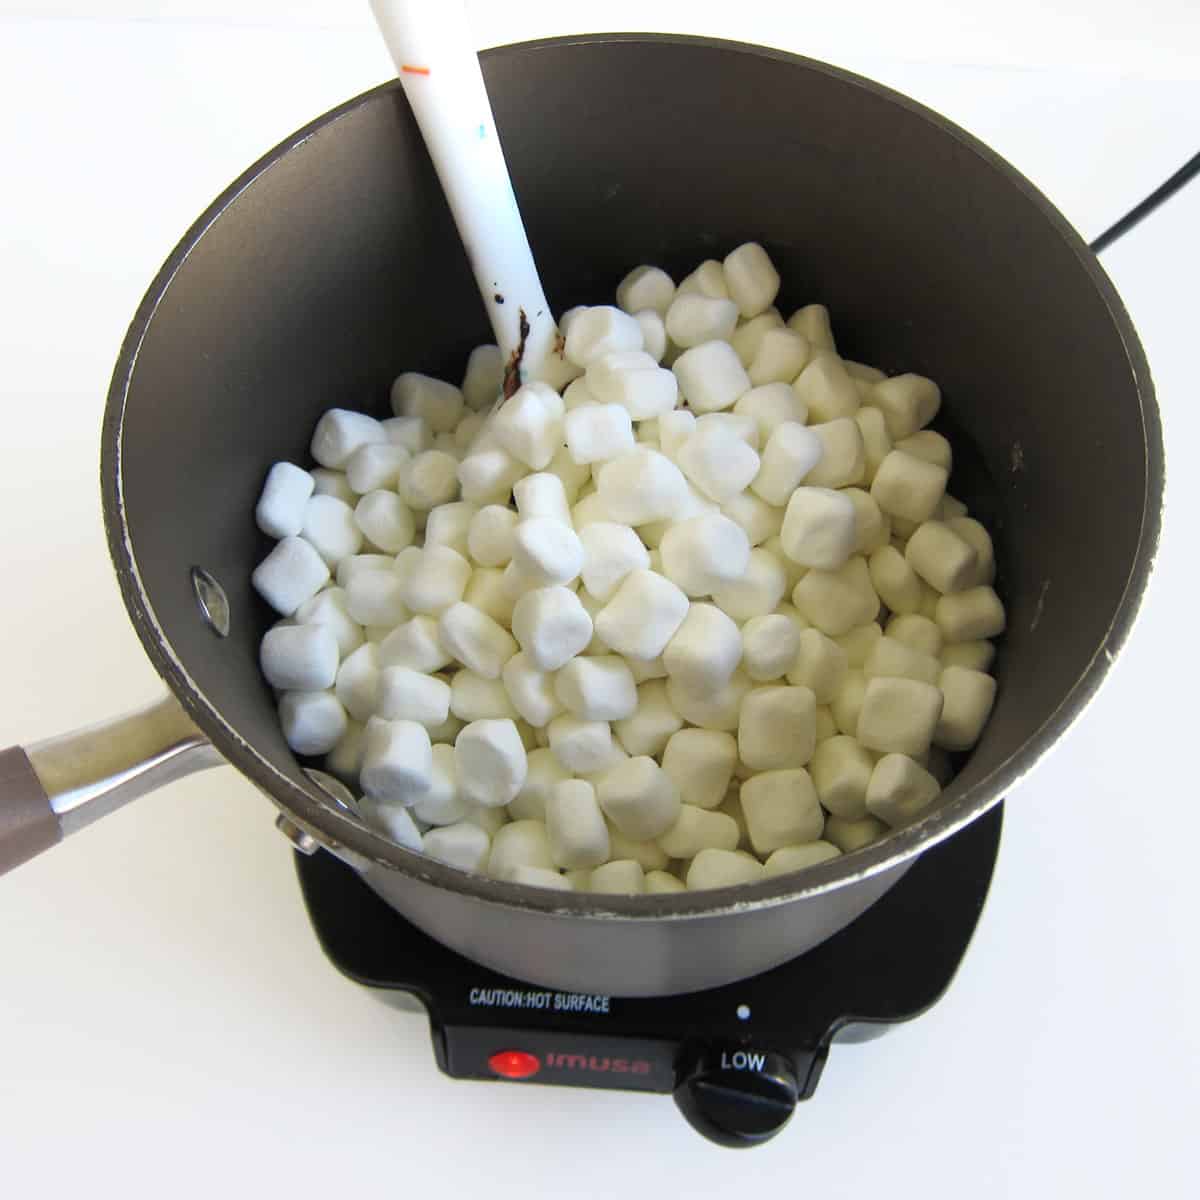
Pour the marshmallows into the pan.
Stir the chocolate mixture and marshmallows.
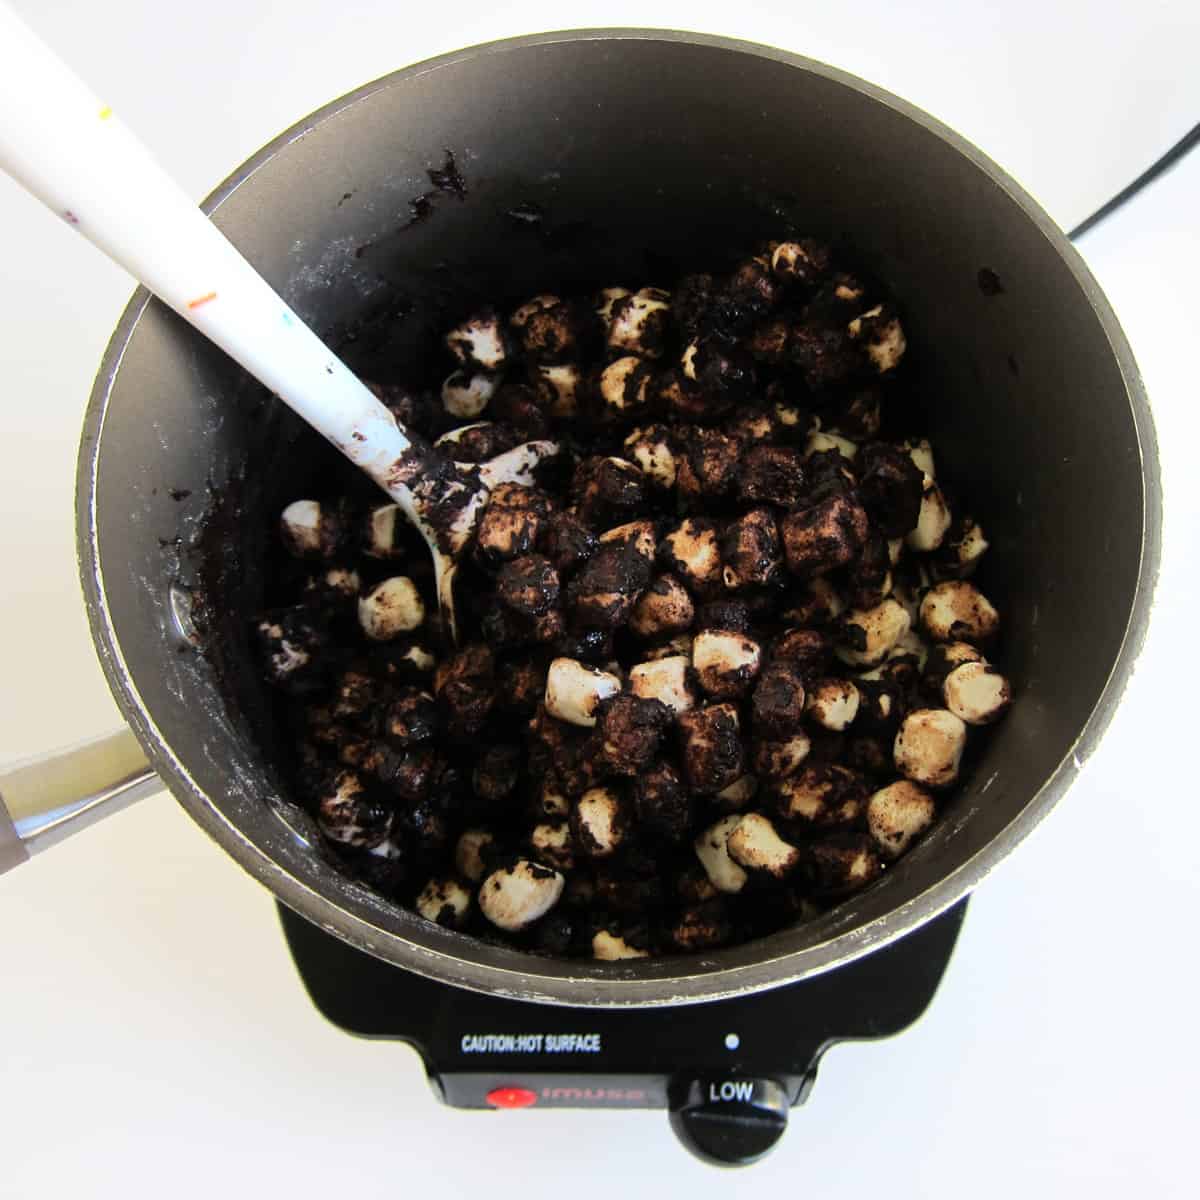
Continue to stir often until 75% of the marshmallows have melted.
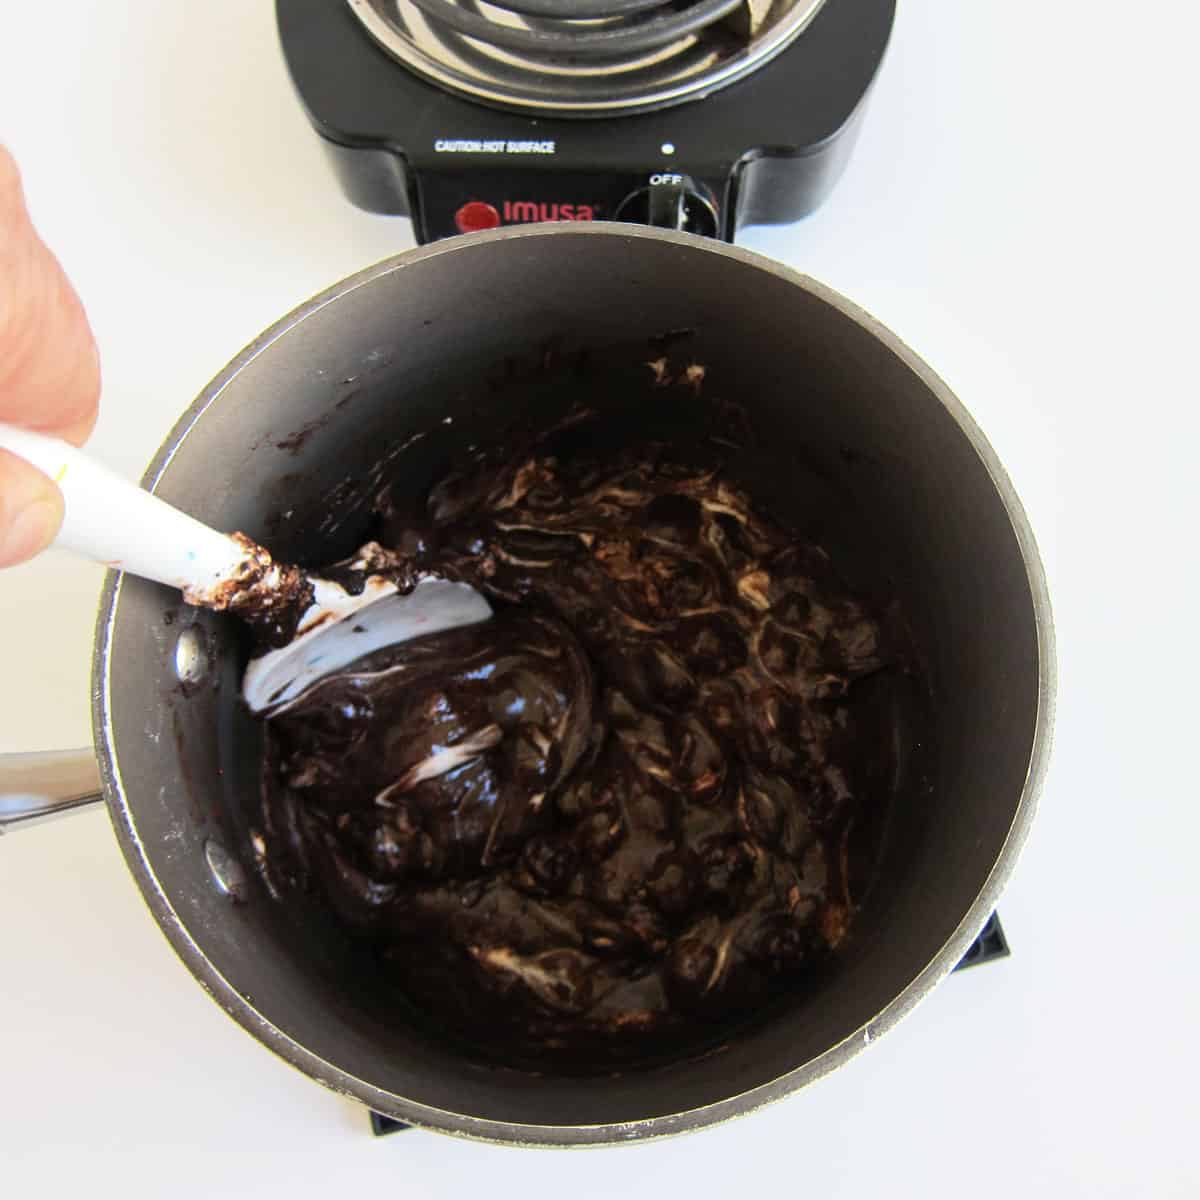
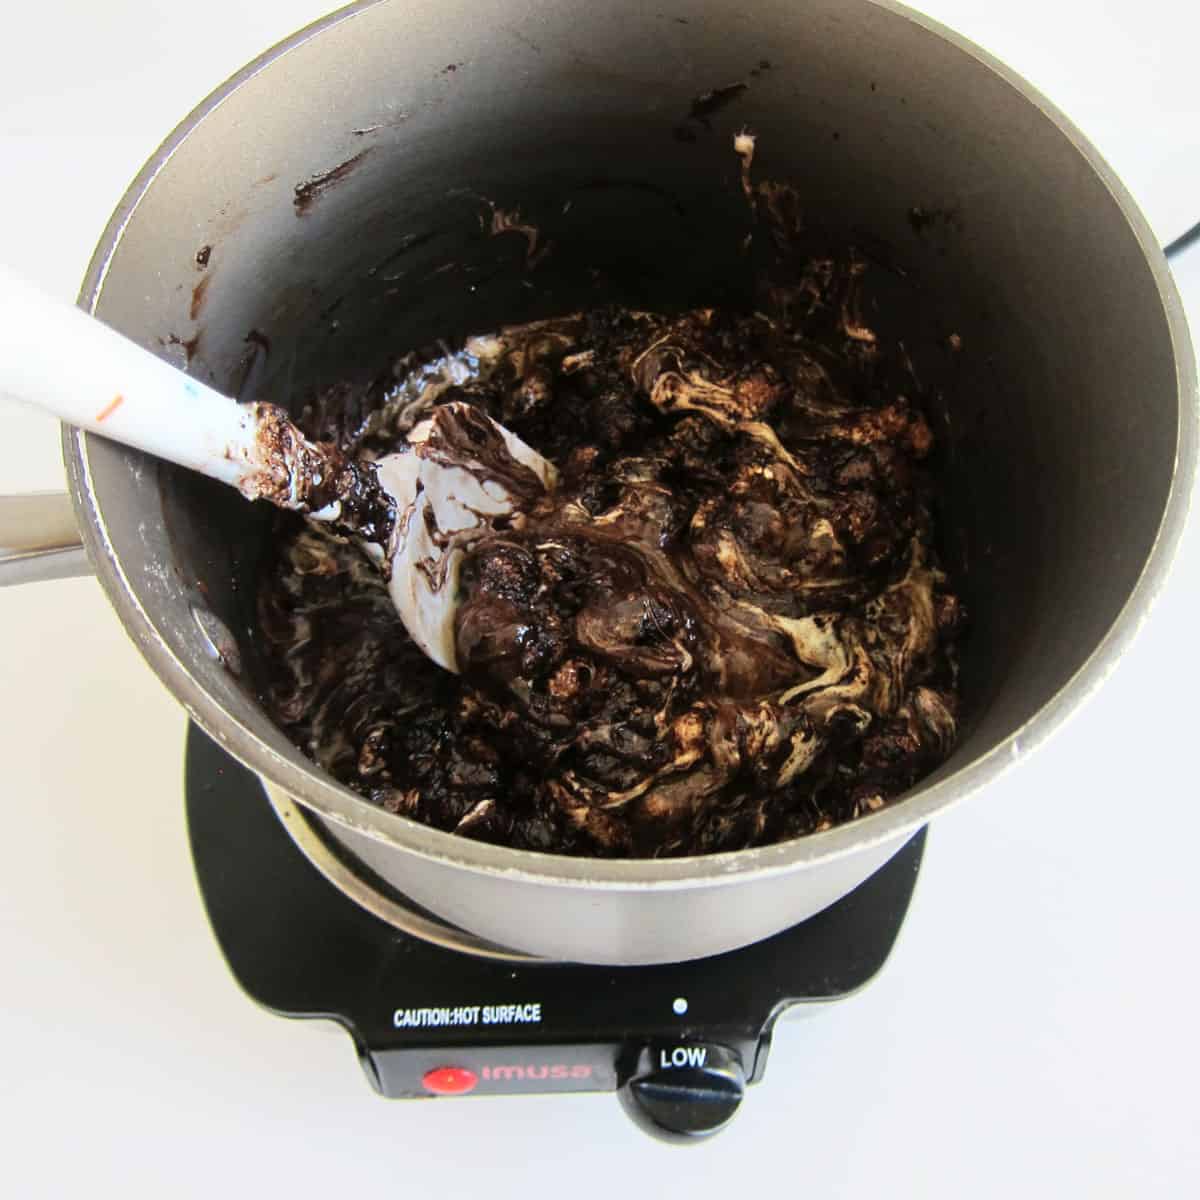
Remove the pan from the heat and stir...
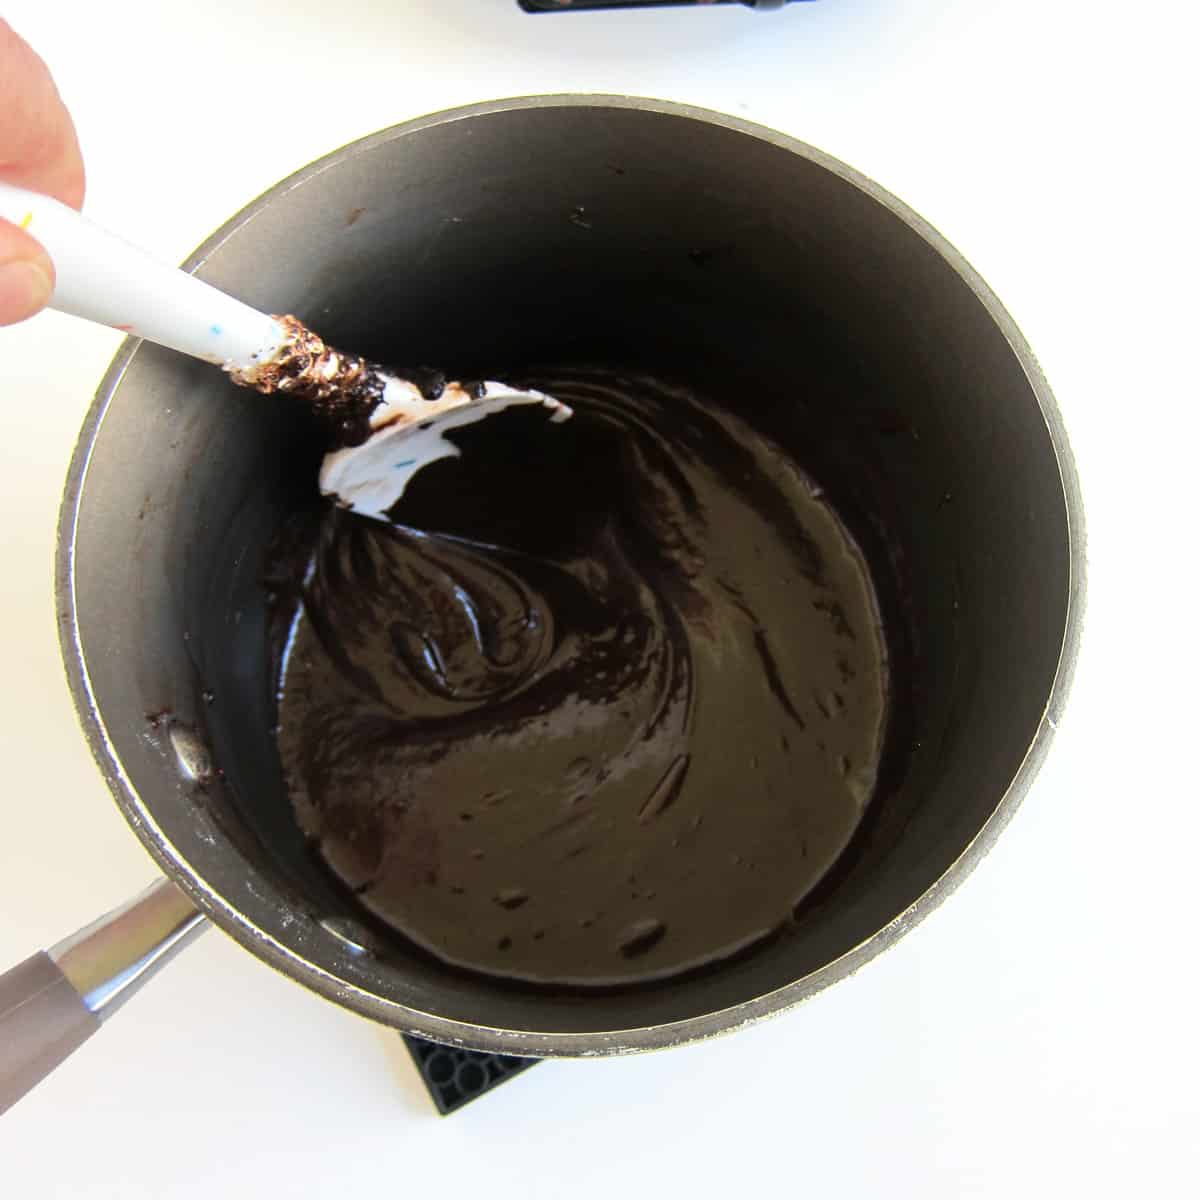
until creamy and smooth.
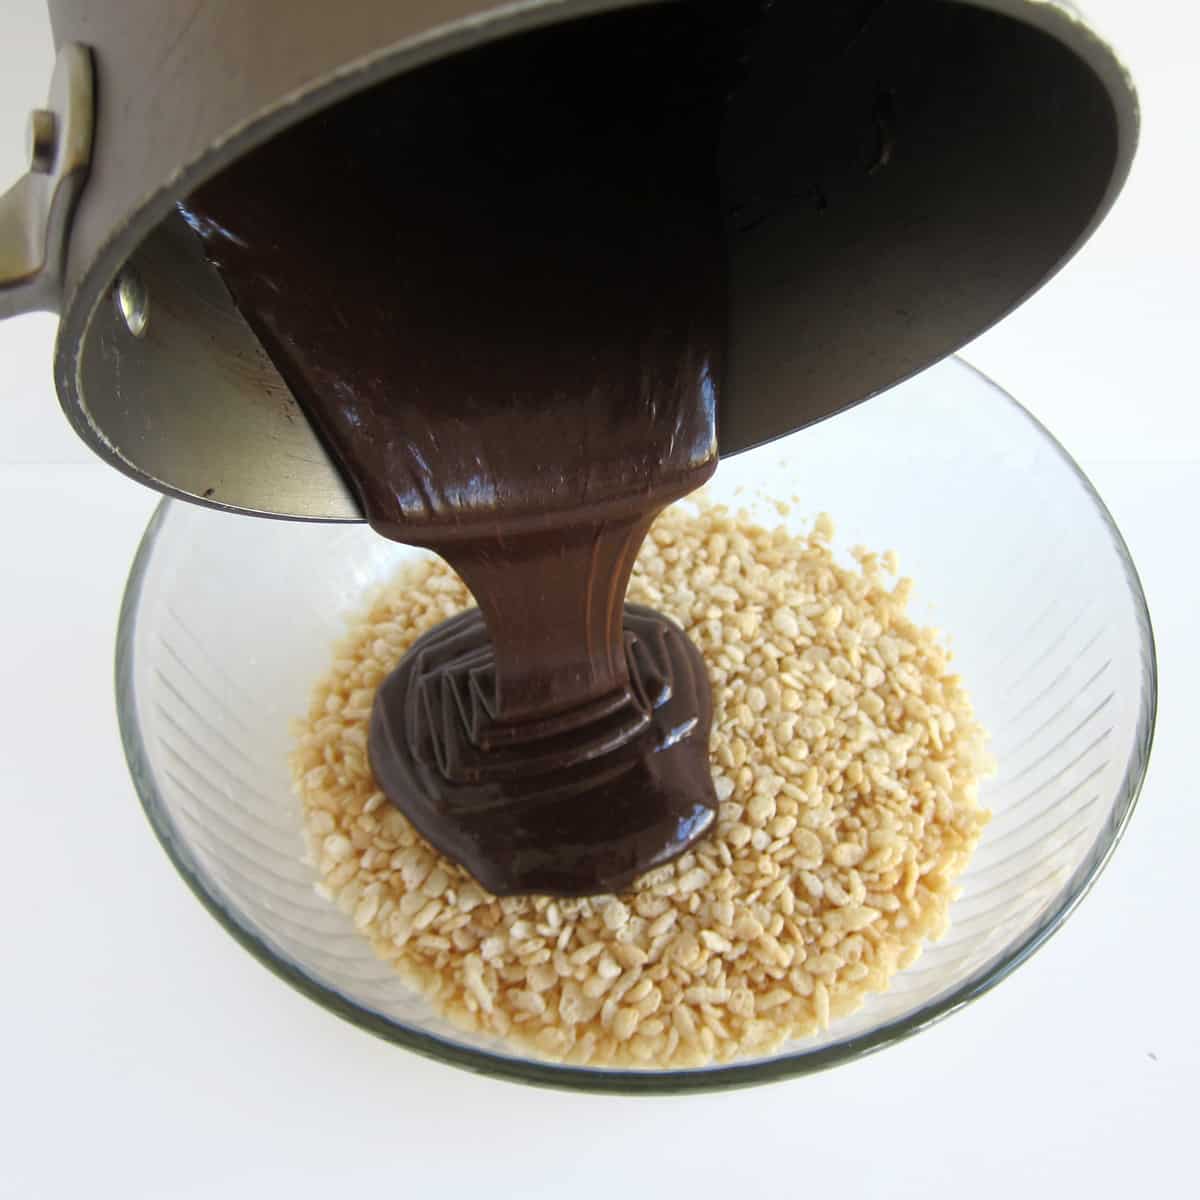
Pour the melted chocolate mixture over the Rice Krispies Cereal.
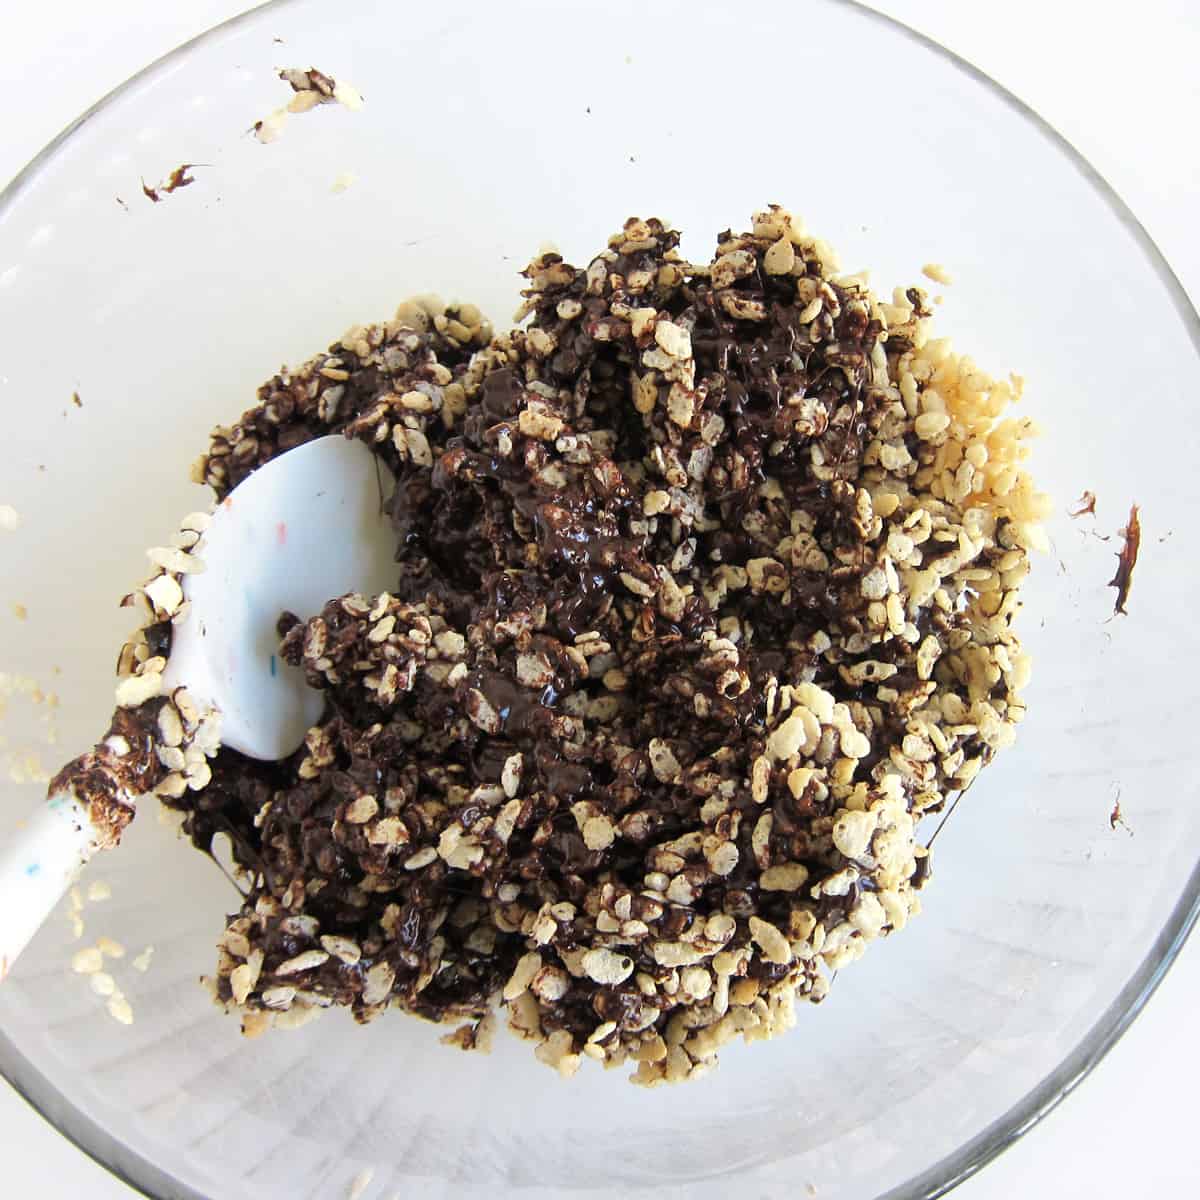
Stir the cereal and chocolate marshmallow mixture together.
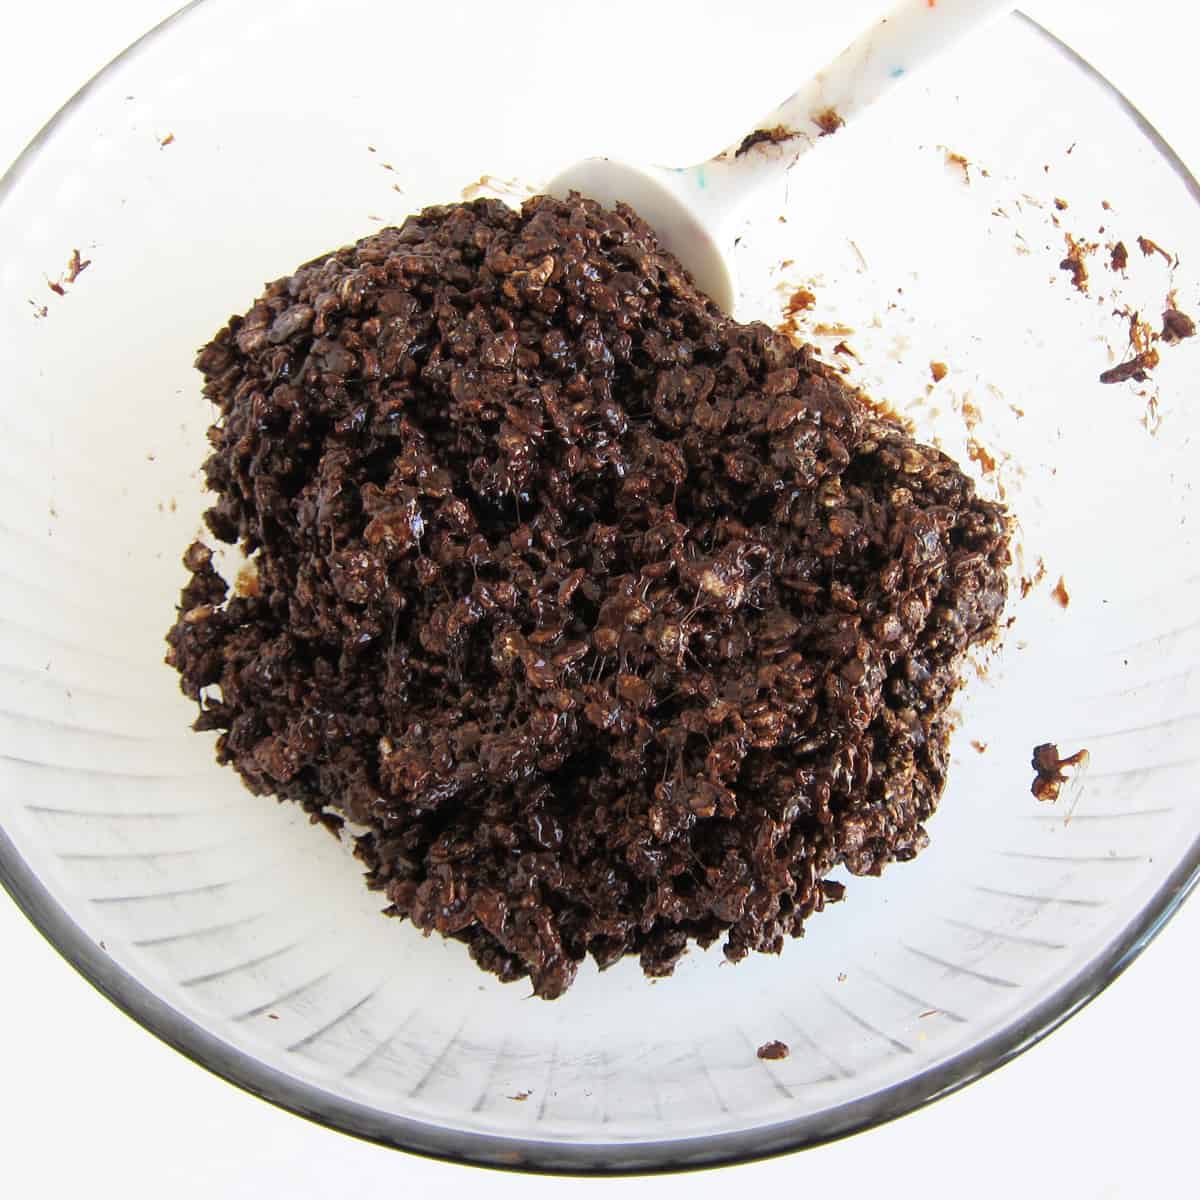
Mix until the chocolate coats all of the chocolate.
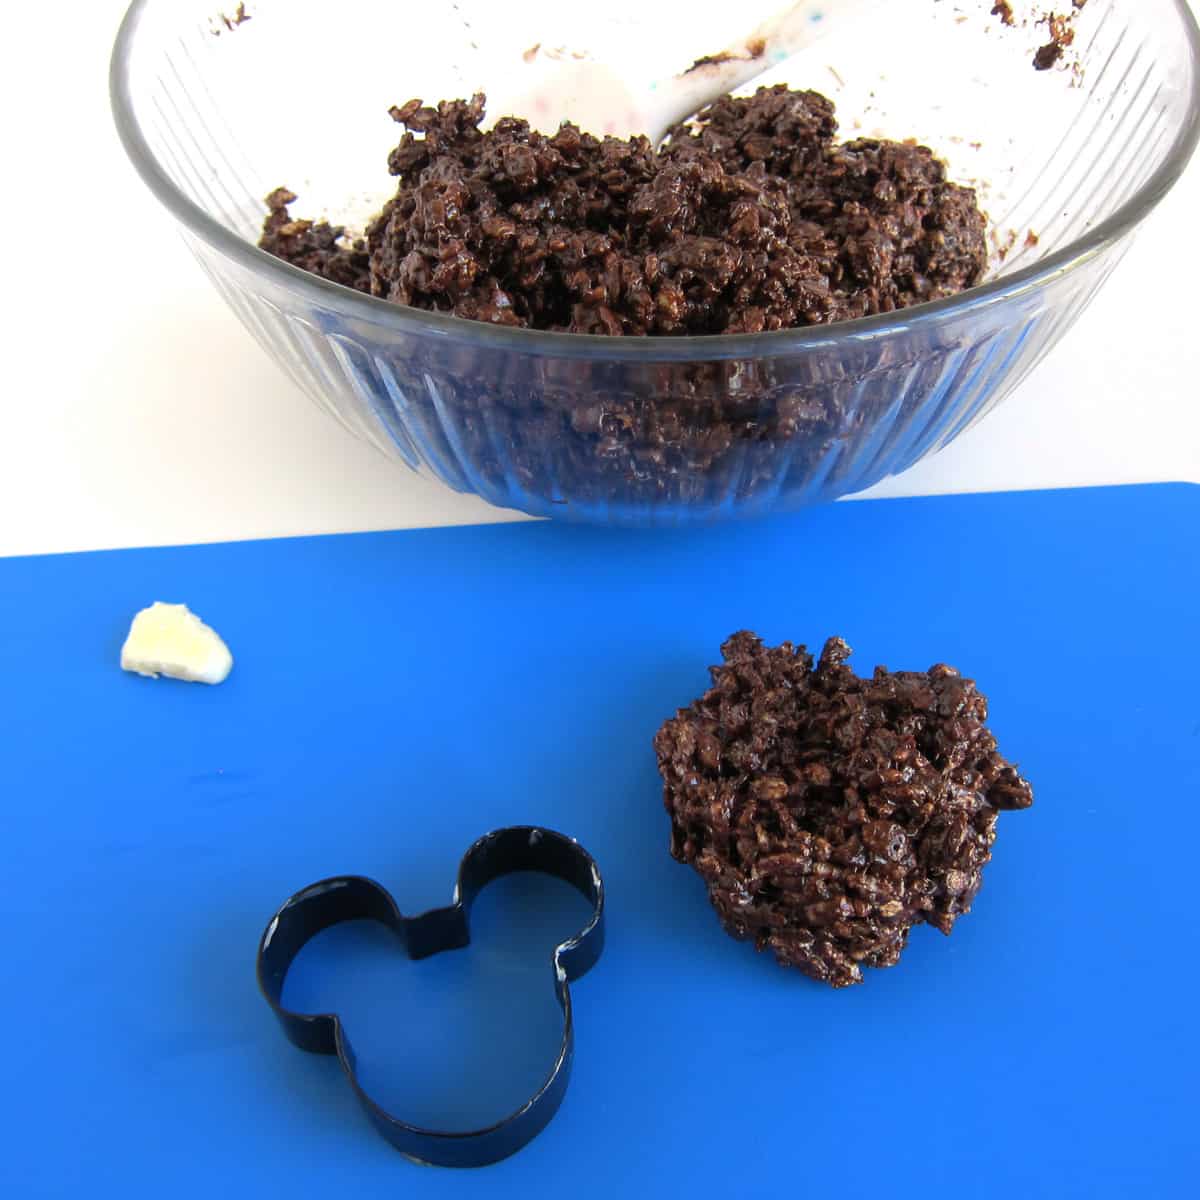
Grease the inside of a Mickey Mouse cookie cutter with butter.

Press the chocolate Rice Krispie treat mixture into the cookie cutter.
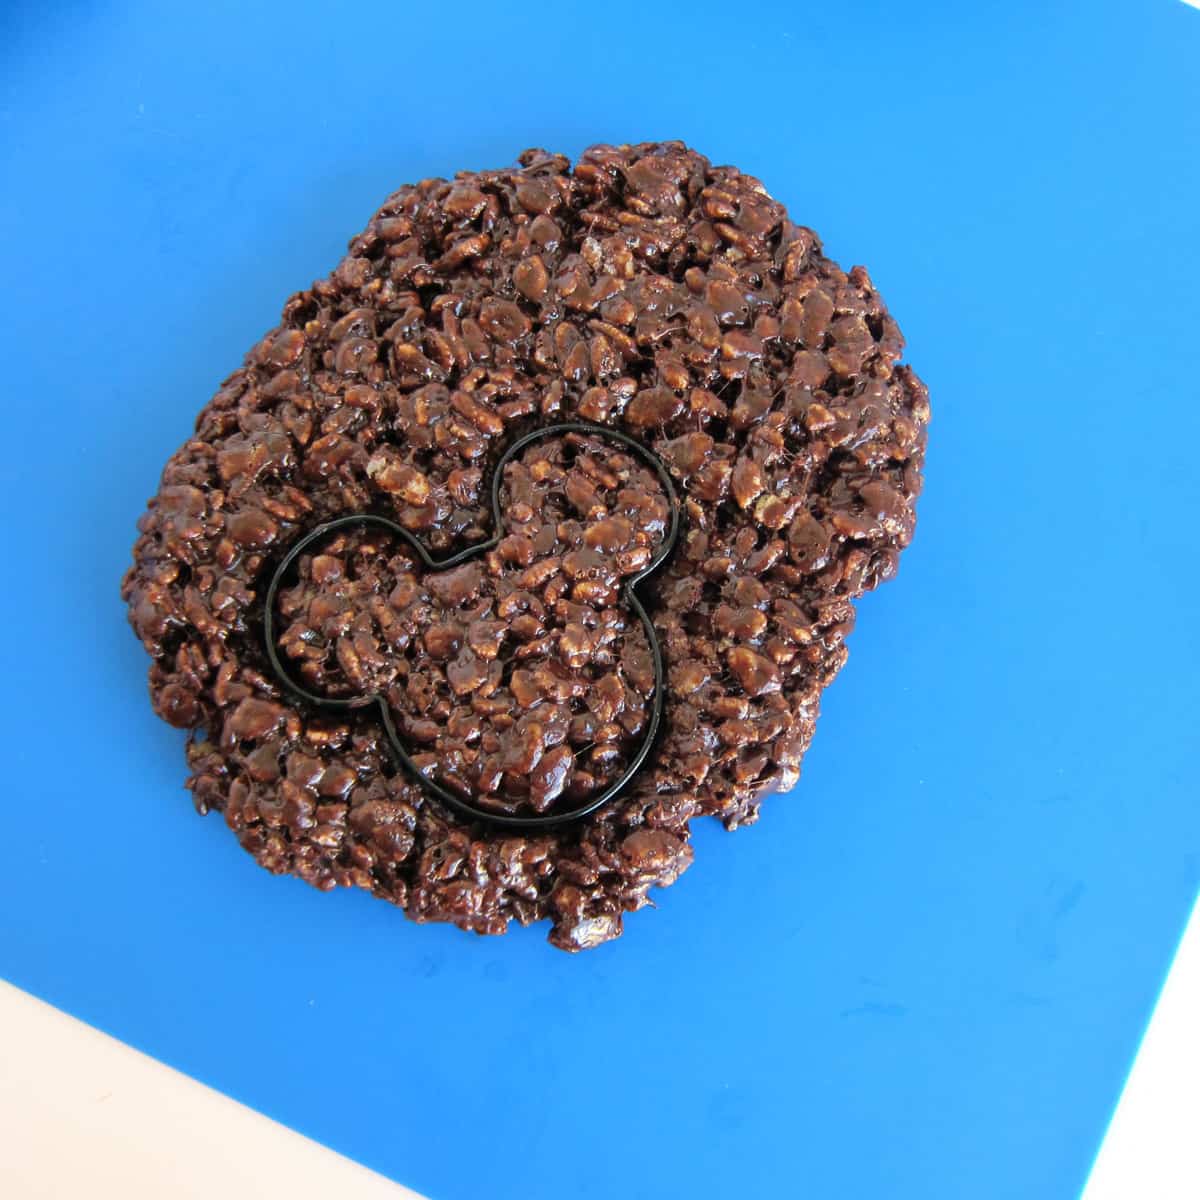
Or, spread the treat mixture out and cut it using the cookie cutter.
NOTE: I like to press the Rice Krispie Treat mixture into a cookie cutter so that I don't waste any of my cereal treat mixture. If you prefer, you can gently press the cereal treat mixture into a 9x13-inch pan, then cut out the shapes using the cookie cutter. You will end up with a lot of waste that way.
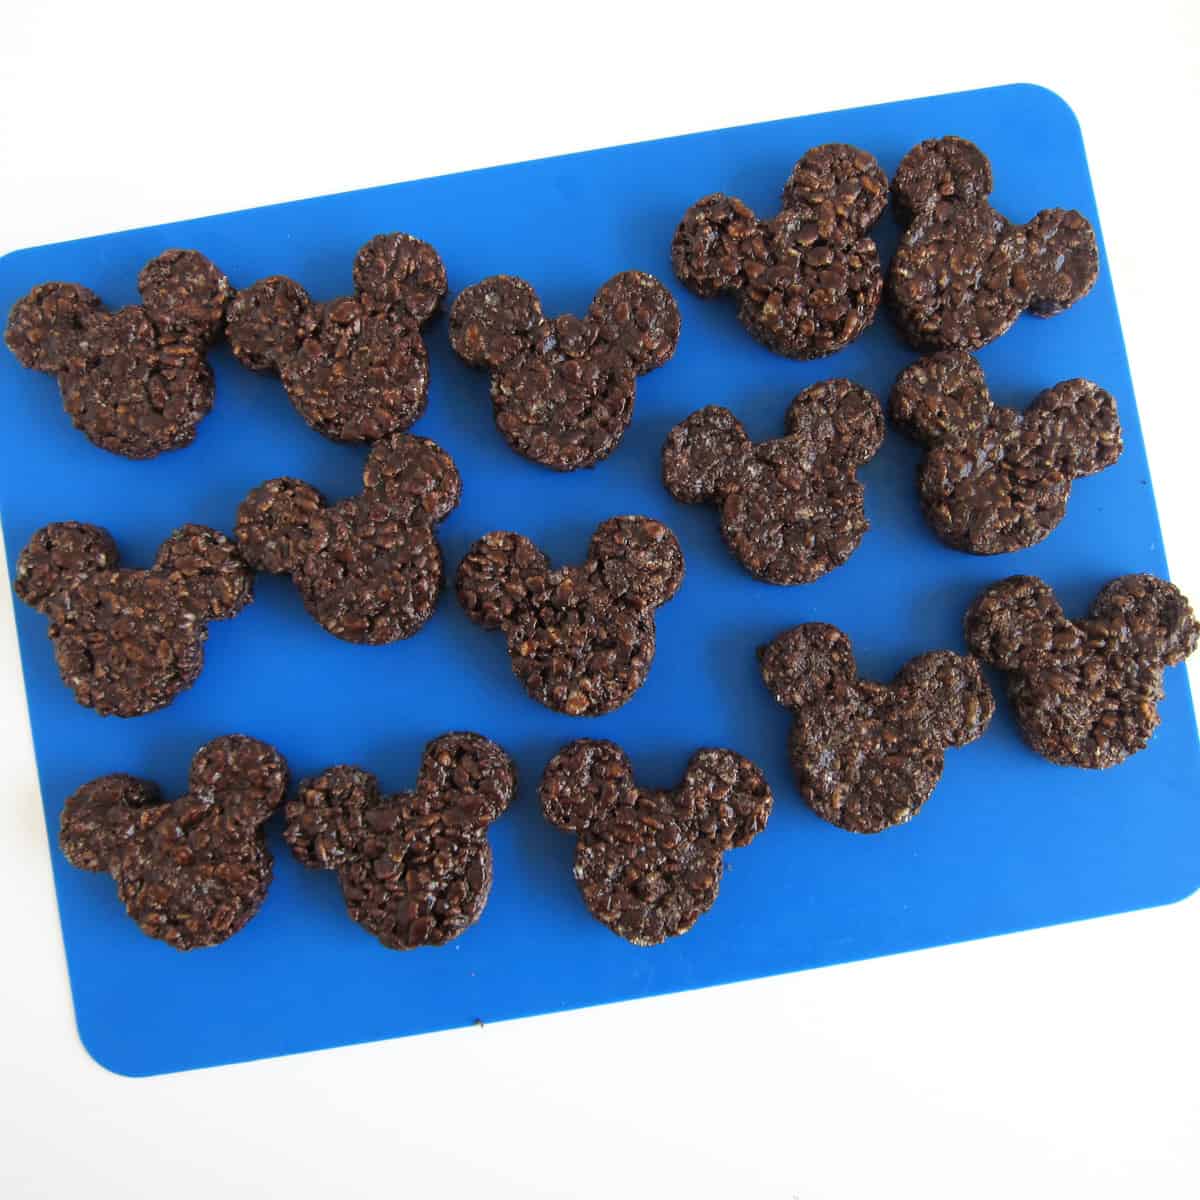
I got 15 Mickey Mouse/Minnie Mouse-shaped treats out of one batch of these chocolate Rice Krispie treats by pressing the mixture into the cutter. You'll probably get 9 treats if you cut them out instead.

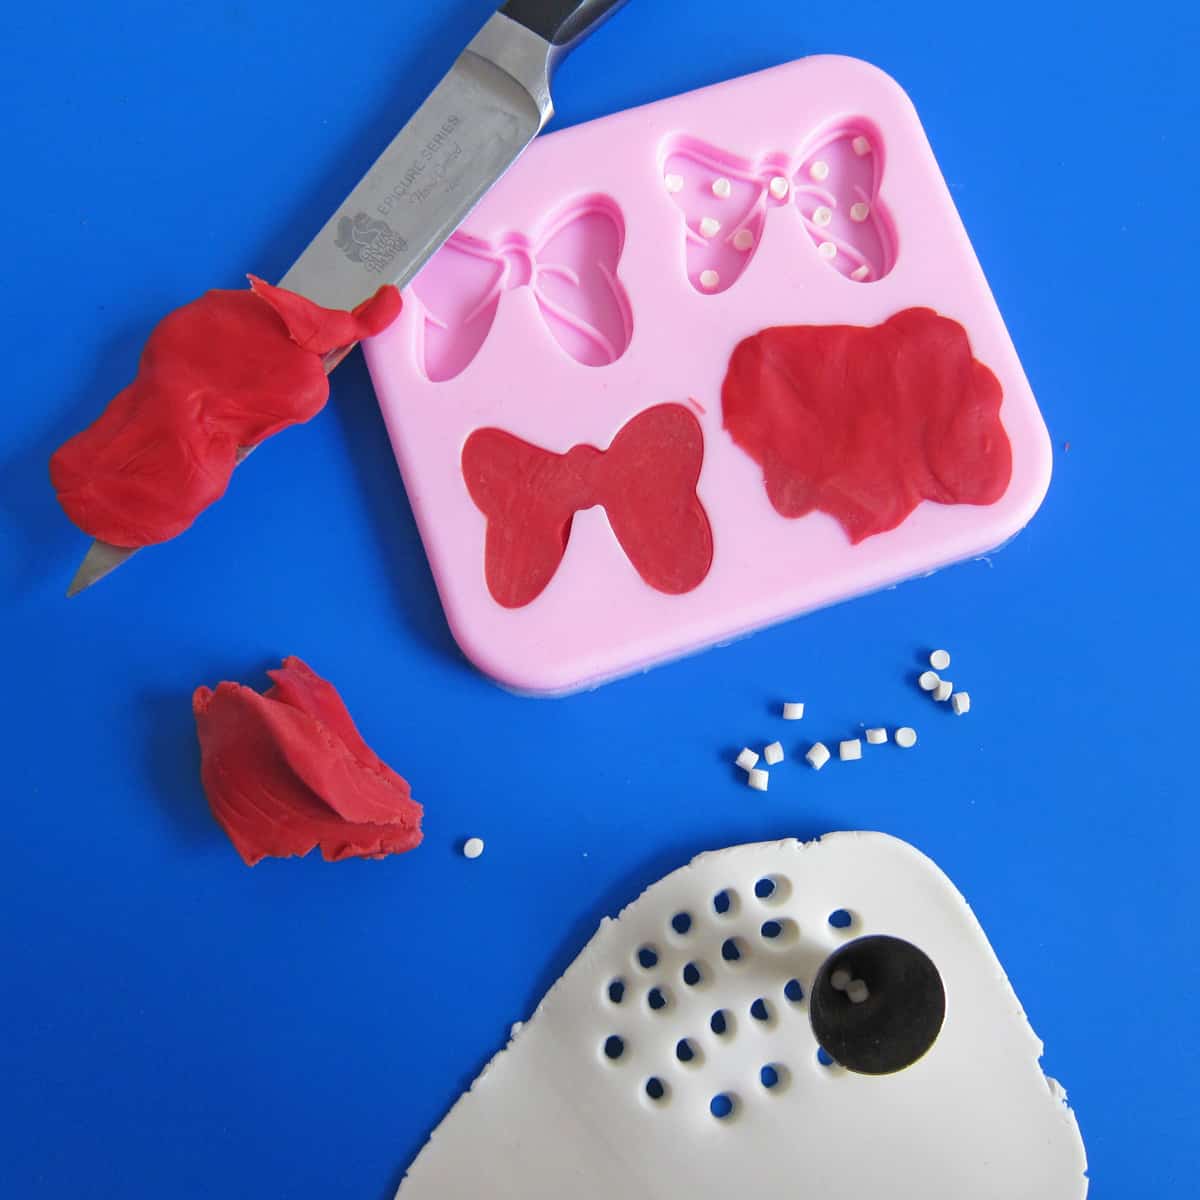
To make bows, dust a silicone Minnie Mouse bow mold lightly with cornstarch. Tap out the excess. Pinch off small pieces of red modeling chocolate or fondant to use to fill the bow mold. Roll out the white modeling chocolate really thin.
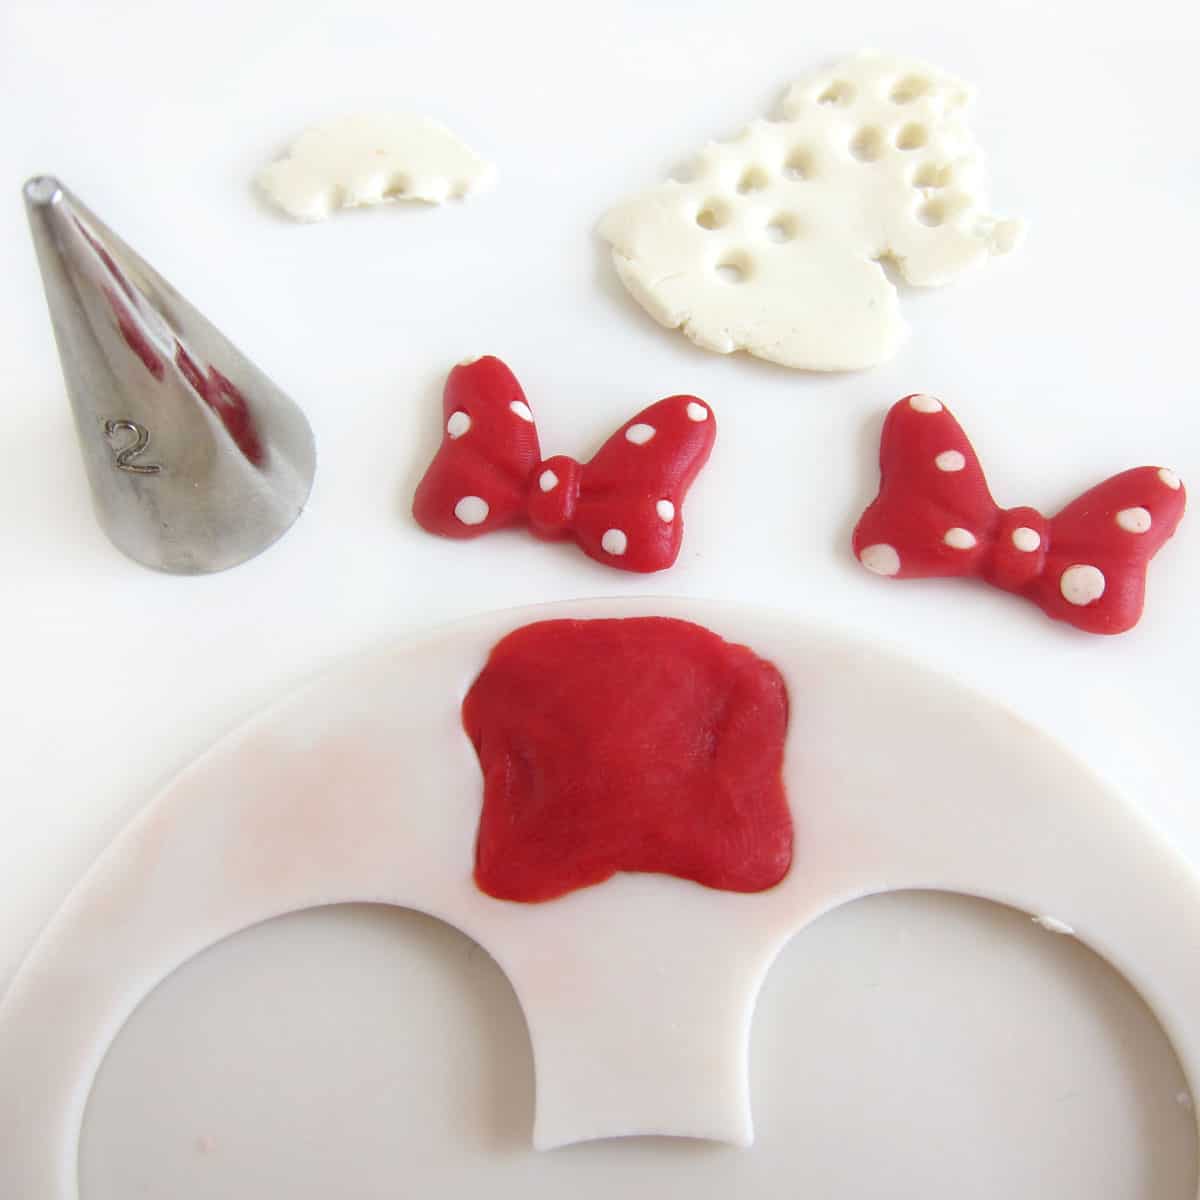
Cut tiny polka dots out of the white modeling chocolate by pressing a small #2 pastry tip into the modeling chocolate. Cut several circles out then turn the tip over and tap it so the dots fall out. Set the dots in the mold then cover them with red.
Scrape off the excess red modeling chocolate using a sharp knife. To unmold the bow, tug at the mold then press on the mold underneath the bow. The modeling chocolate bow should pop out.
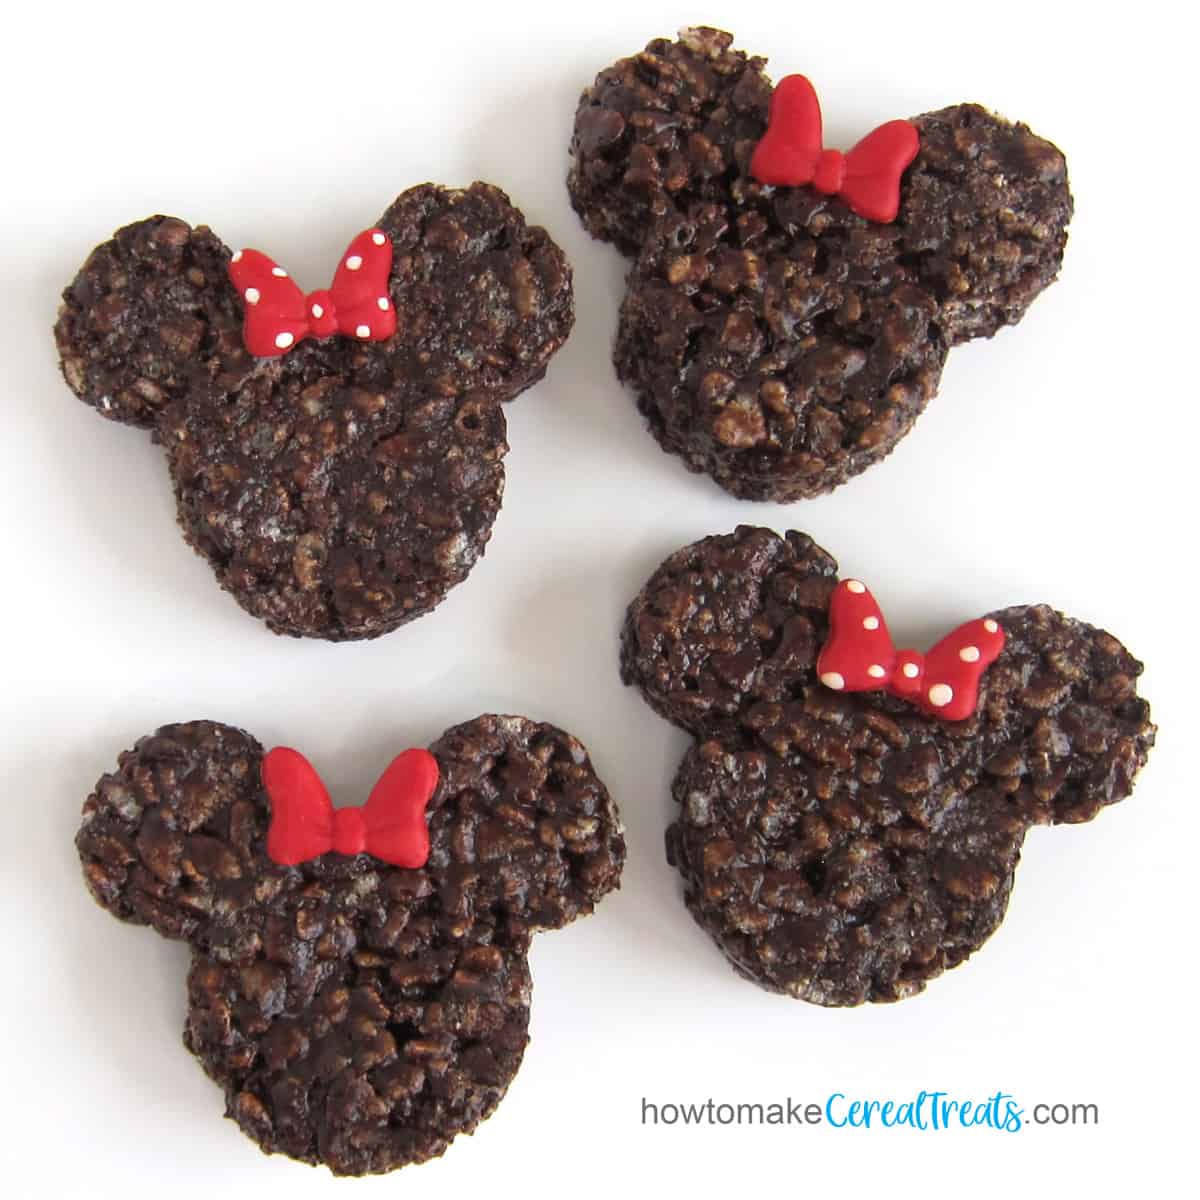
Attach the bows to the chocolate cereal treats using melted chocolate chips or by simply pressing them onto the treats. If the marshmallows are still sticky, the bows will stay in place.
Use the same technique to make larger bows using a silicone Minnie Mouse bow mold. You may want to use a #3 pastry tip to make the polka dots for the larger bows.
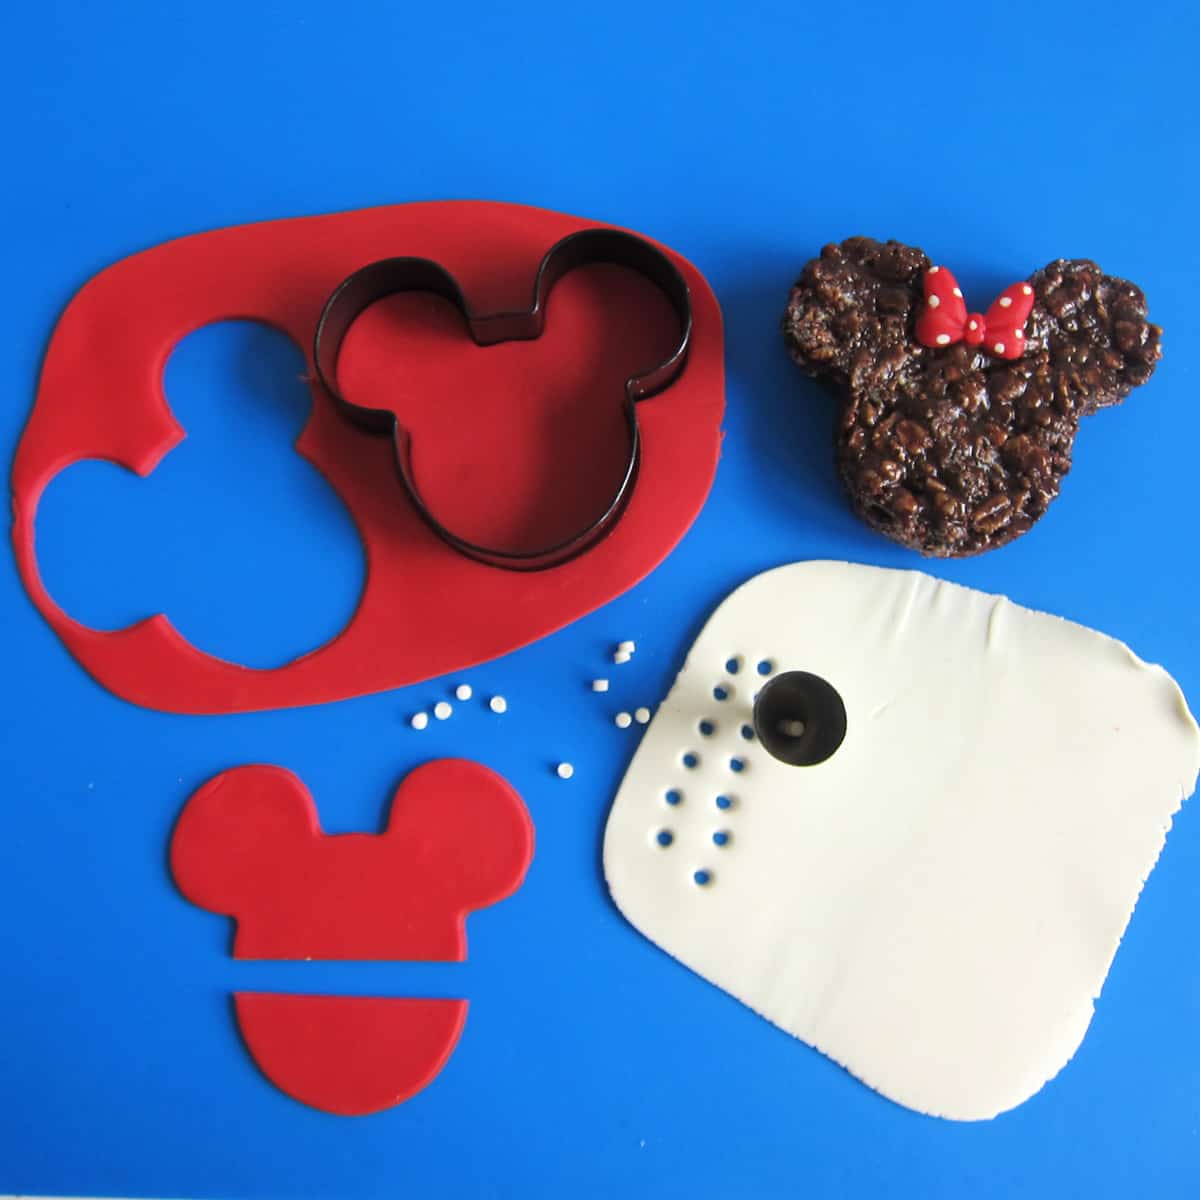
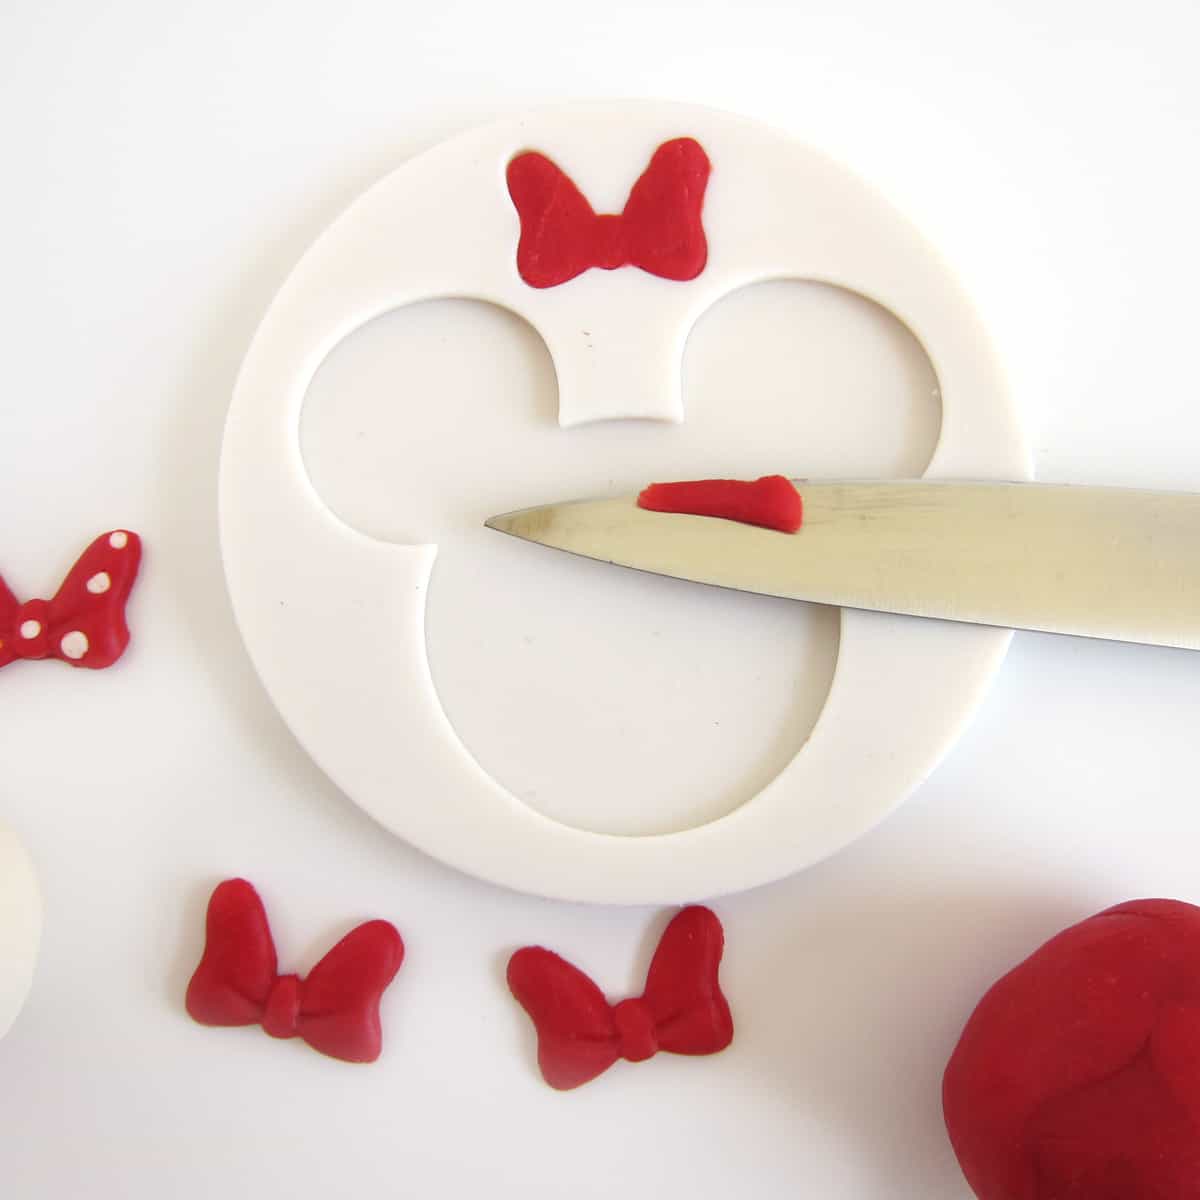
Roll out some red modeling chocolate then cut out Mickey Mouse shapes using the same cutter you used to cut the treats. Cut them in half creating a half-moon shape.
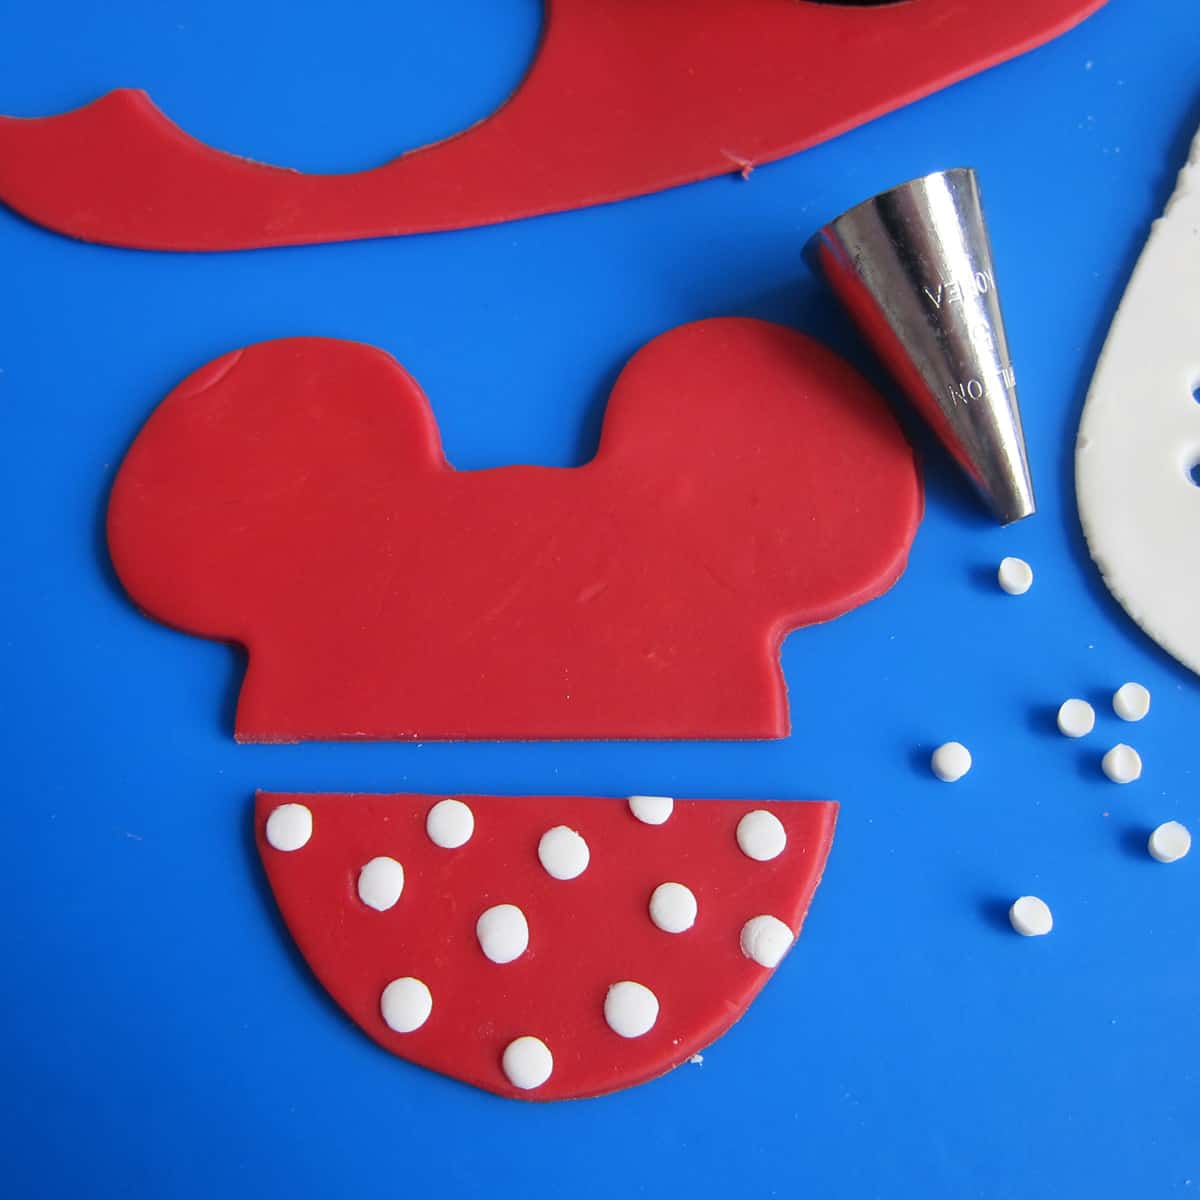
Cut and press some white polka dots onto the half-moon-shaped modeling chocolate. If the dots don't stick, brush a very tiny amount of water on one side of the polka dot and press the wet side onto the red modeling chocolate.
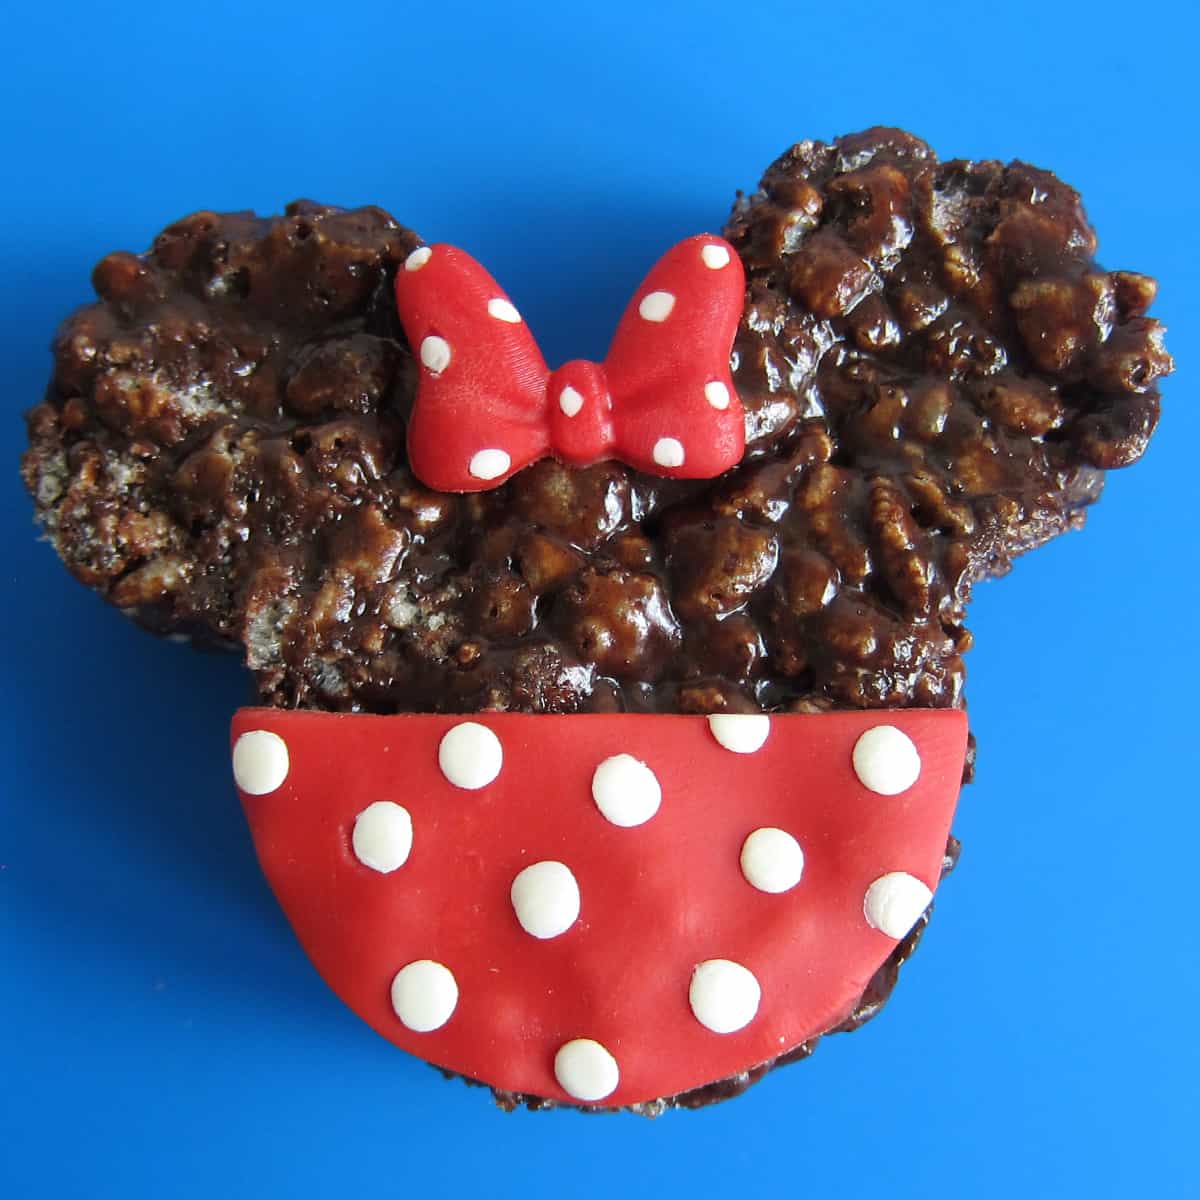
Attach the half-moon-shaped red and white polka dot dress to the bottom half of the chocolate Minnie Mouse cereal treat using a small amount of melted chocolate. If the treats are still sticky, you won't need to use the chocolate.
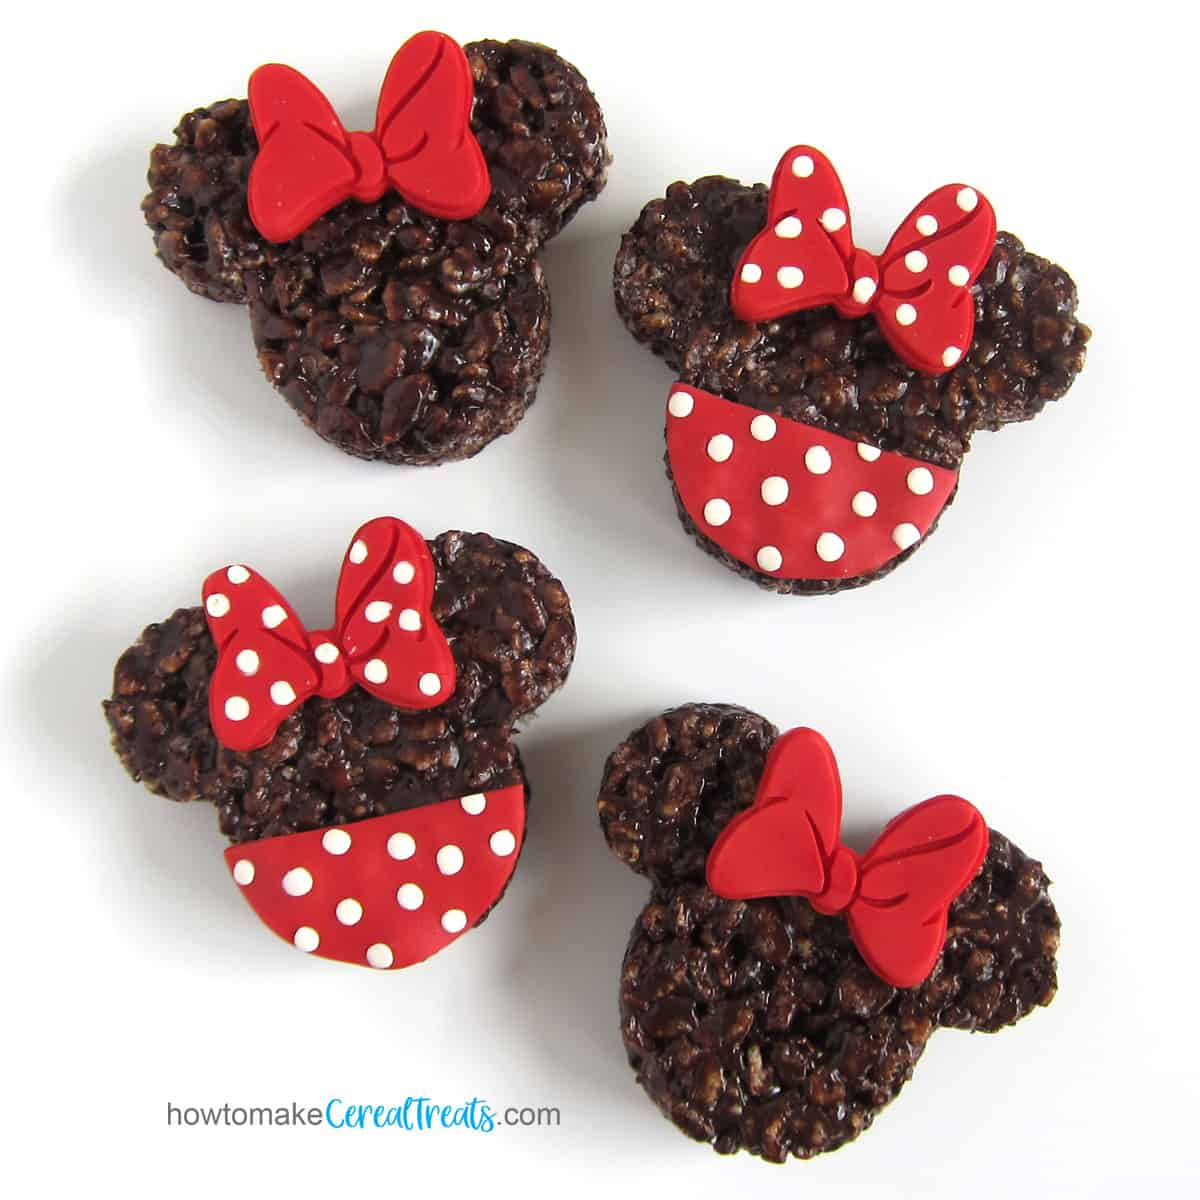
The treats look super cute with the larger bows with or without the red and white polka dot dress. Which do you prefer, the treats with or without the dress (the half-moon-shaped decoration)?
Tips
Do NOT overheat your marshmallows and chocolate. Burnt chocolate will taste bad and overheated marshmallows will make your treats too hard.
I personally recommend gently pressing the cereal treat mixture into the cookie cutter as opposed to cutting the treats. You'll get more treats with no waste and the edges of the treats will look nicer.
Substitutions
You can swap out coconut oil for the butter and use vegan marshmallows and vegan and gluten-free crisp rice cereal to make vegan and gluten-free cereal treats.
Storage
Store these treats in an airtight container at room temperature for up to 5 days.
To keep them longer, you can freeze them in an airtight container or zip-top bag for up to 3 months.
Do not freeze them with the modeling chocolate decorations on them. I recommend making the decorations and storing them in a zip top bag. Attach them to thawed treats.
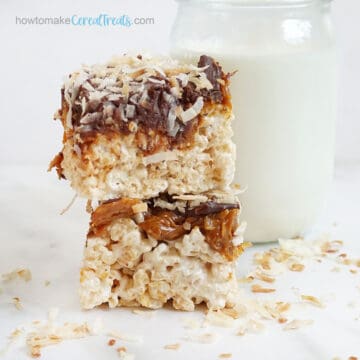
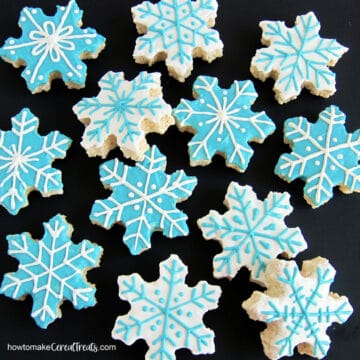
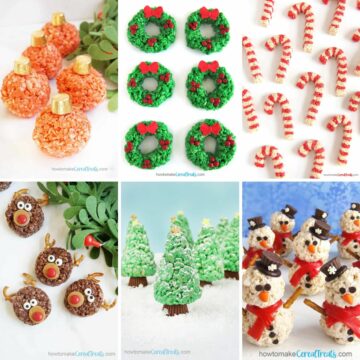
Related Recipes
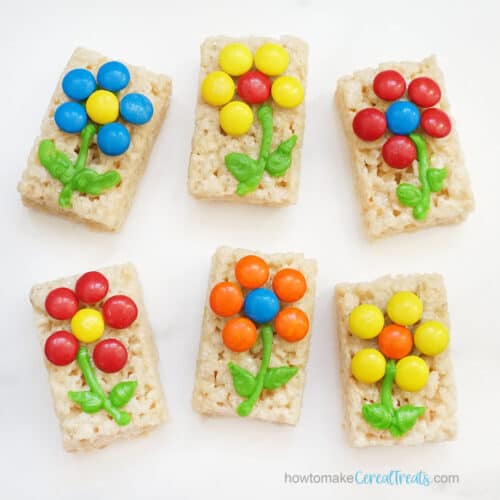
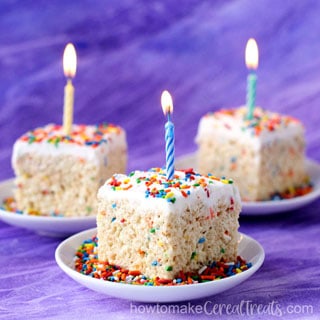
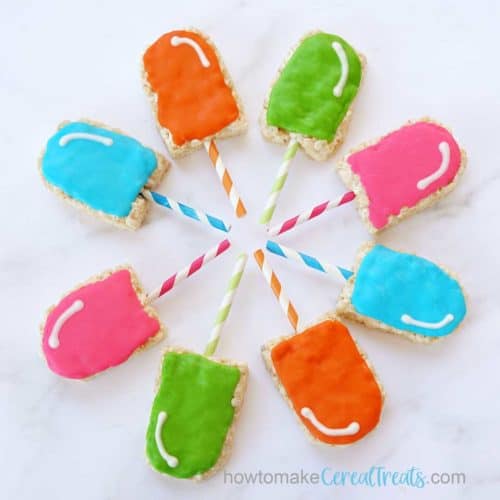
If you'd like to make other fun treats for a birthday or celebration.

Recipe
Minnie Mouse Rice Krispie Treats
Equipment
- 1 Mickey Mouse Cookie Cutter
- 1 silicone rolling pin
- 1 silicone mat (optional)
- 1 #2 or 3 round pastry tip
- 1 silicone Minnie Mouse bow mold (see the tutorial for details)
Ingredients
- 4 ⅔ cups Kellogg's Rice Krispies Cereal
- 4 tablespoons salted butter
- ¼ cup Hershey's Special Dark Cocoa Powder
- ½ cup (3 ounces) semi-sweet chocolate chips
- 10 ounces Kraft Jet-Puffed Marshmallows
- 4 ounces modeling chocolate or fondant (red and white)
- 1 teaspoon corn starch (to dust silicone molds)
Optional
- 1 ounce chocolate chips, melted (to use as edible glue to attach the modeling chocolate decorations to the treats)
Instructions
- Pour the Rice Krispies cereal into a well buttered (greased) mixing bowl and set aside.
- Cut the butter into slices and begin melting them in a medium-large saucepan set over low heat.
- Stir in the cocoa powder and chocolate chips.
- Allow it all to melt stirring until smooth.
- Stir in the marshmallows.
- Continue stirring occasionally until about 75% of the marshmallows have melted. This should take 5-8 minutes depending on your stove and pan.
- Remove from heat and continue to stir until completely melted. This will keep your marshmallows from getting too hot. Overheated marshmallows will cause your treats to be too hard.
- Pour the chocolate marshmallow mixture over the cereal.
- Stir until well blended.
- Allow the cereal to cool for about 5 minutes until you can easily handle it.
- Butter your hands and the inside of a 3-inch Mickey Mouse (Minnie Mouse) cookie cutter.
- Gently press some of the cereal mixture into the cookie cutter, filling it completely.
- Press on the cereal mixture, allowing the Minnie Mouse shaped treat to fall out of the cutter.
- Set on a silicone mat or wax paper.
- Repeat creating 15 Minnie Mouse treats.
- Alternatively, you can spread all of the cereal treat mixture into a buttered 9x13-inch pan, allow it to cool for 15 minutes, then cut out the shapes using your cookie cutter. You'll get about 9 treats using this method.
- To make Minnie's bows, press red modeling chocolate into a silicone bow mold, scrape off the excess using a sharp knife, and then unmold.
- To add polka dots, roll out white modeling chocolate really thin, cut out circles by pressing a #2 or #3 pastry tip into the modeling chocolate. Cut several polka dots, then turn the pastry tip upside down and tap it on the counter. The white modeling chocolate polka dots will fall out.
- Sprinkle some of the polka dots into the bow mold then press red modeling chocolate over the top. Scrape off the excess then unmold.
- To create the half-moon-shaped dresses for Minnie, roll out red modeling chocolate and cut using the same Mickey Mouse cookie cutter. Then, cut it in half creating the half-moon shaped dress. Cut some polka dots using a #3 or #4 pastry tip then press them onto the red dress. If they won't stick, use a tiny bit of water to attach them. Brush the water onto one side of a polka dot then press that wet side down onto the red modeling chocolate.
- Attach the bows and the red half-moon-shaped dress by simply pressing them onto the sticky treats. If they won't stick, melt some chocolate chips and use that as "glue" to attach the decorations.
 We love creating easy Rice Krispie Treats recipes to share with you and hope you find our tips and instructions helpful. ___ -
Please leave a comment.