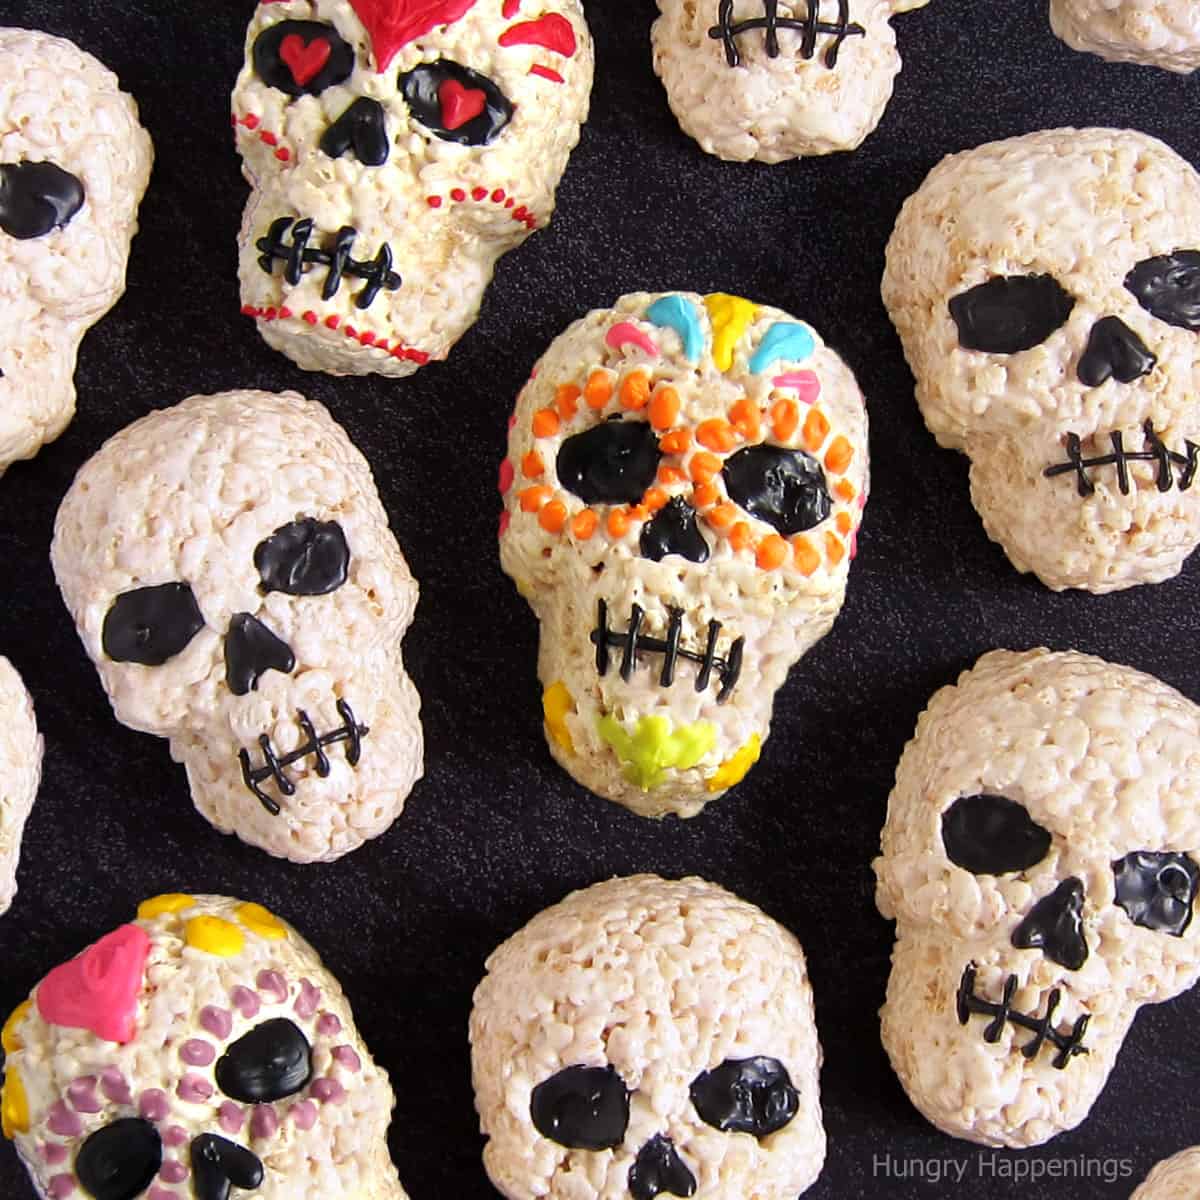
Celebrate Halloween or the Day of the Dead by making and sharing these cool-looking Rice Krispie Treat Skulls. Each white chocolate marshmallow cereal treat is shaped into a realistic-looking skull and can be decorated to look like a sugar skull for Dia de los Muertos.
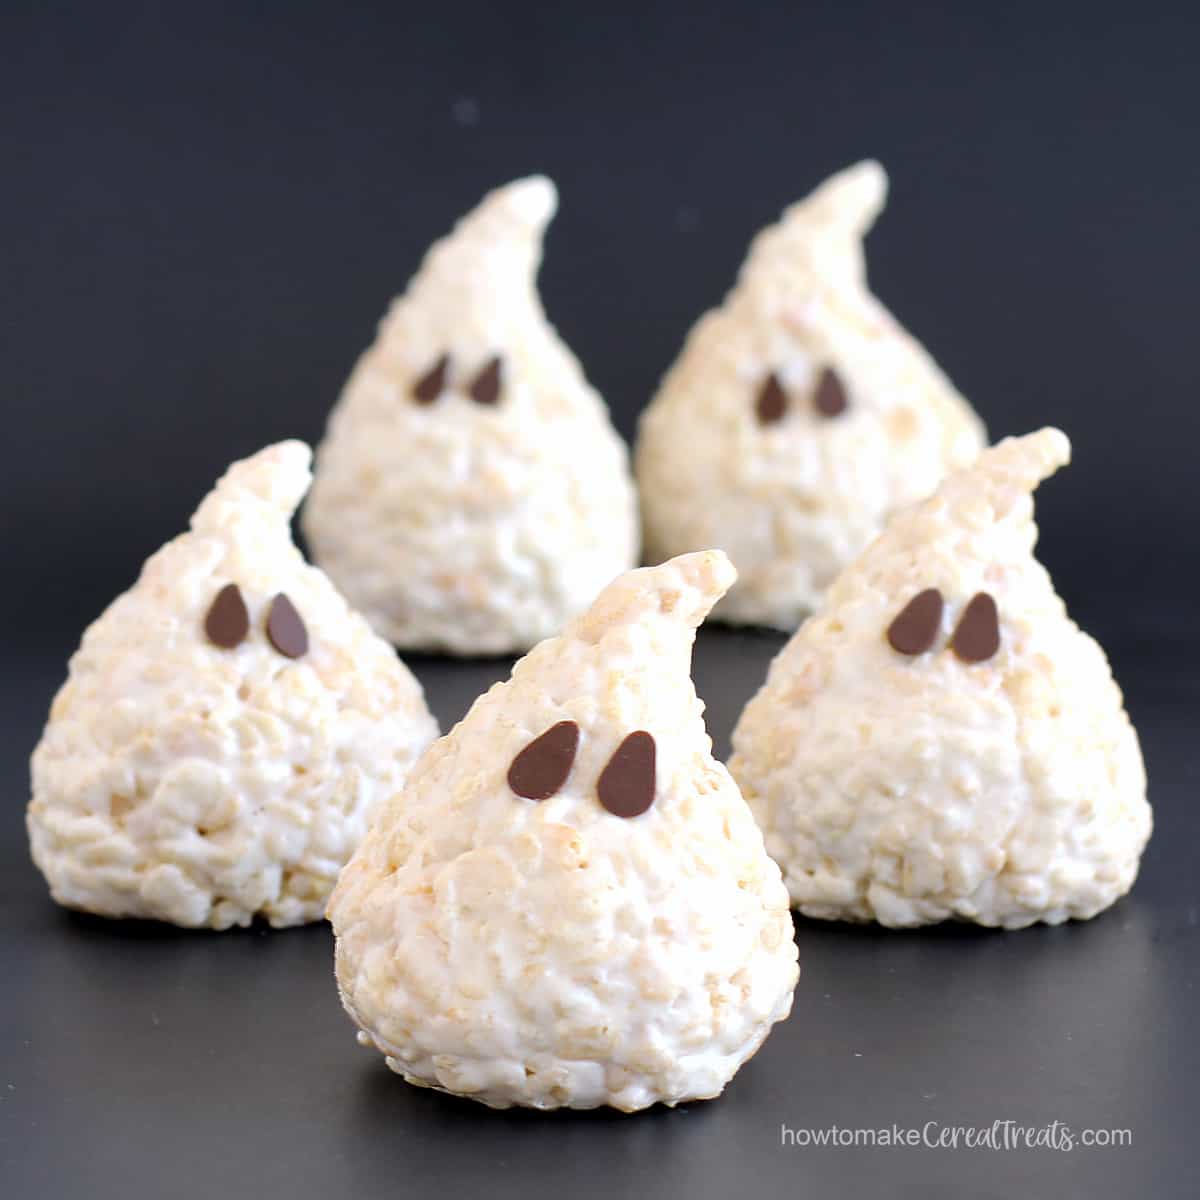
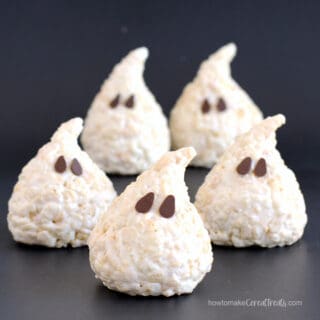
Last Halloween, I showed you how to make simple Rice Krispie Treat Ghosts made using our White Chocolate Rice Krispie Treats recipe. The addition of white chocolate adds a nice white color, sweet vanilla flavor, and more structure to the treats.
They will hold their shape when sculpted or shaped using a mold or cake pan. You will use a Nordic Ware Skull Pan to create these skull-shaped treats. You simply press the cereal treat mixture into the pan and it comes out looking like a skull.
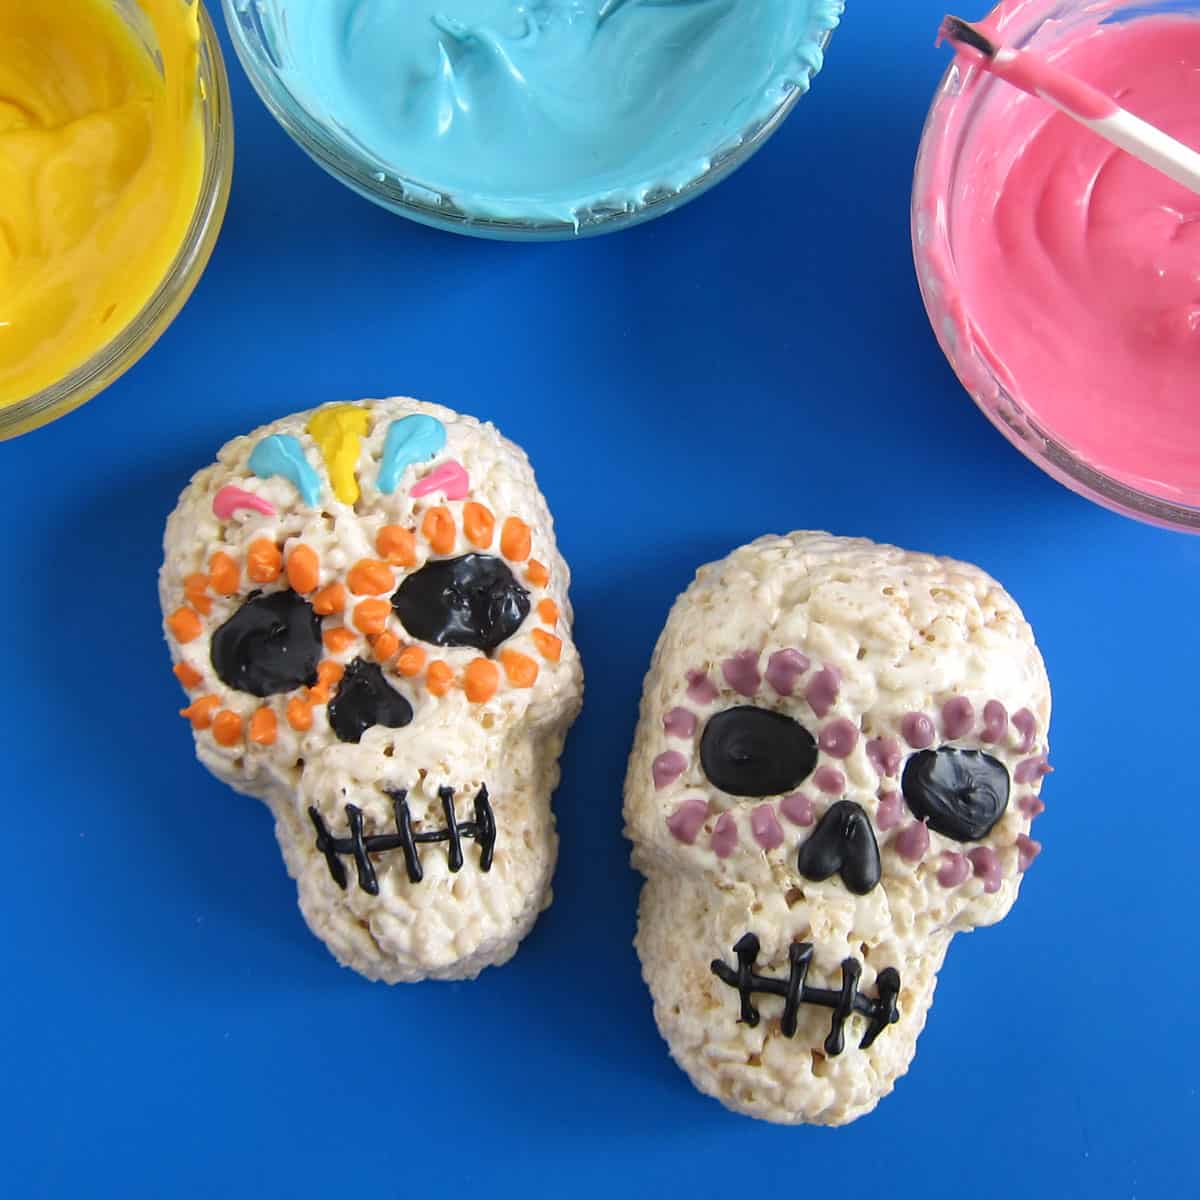
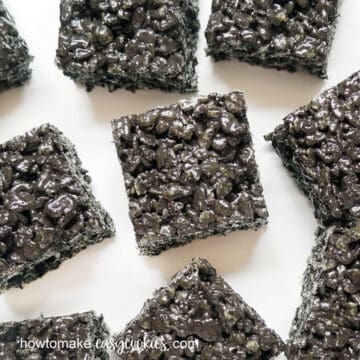
To make the details pop, you'll add black candy melts or dark chocolate to the eye sockets, nose, and mouth. If desired, you can then decorate your skulls with colorful candy melts or royal icing to look like Sugar Skulls for Dia de los Muertos (Day of the Dead).
Let's make some skulls. You'll need to grab just a few items first.
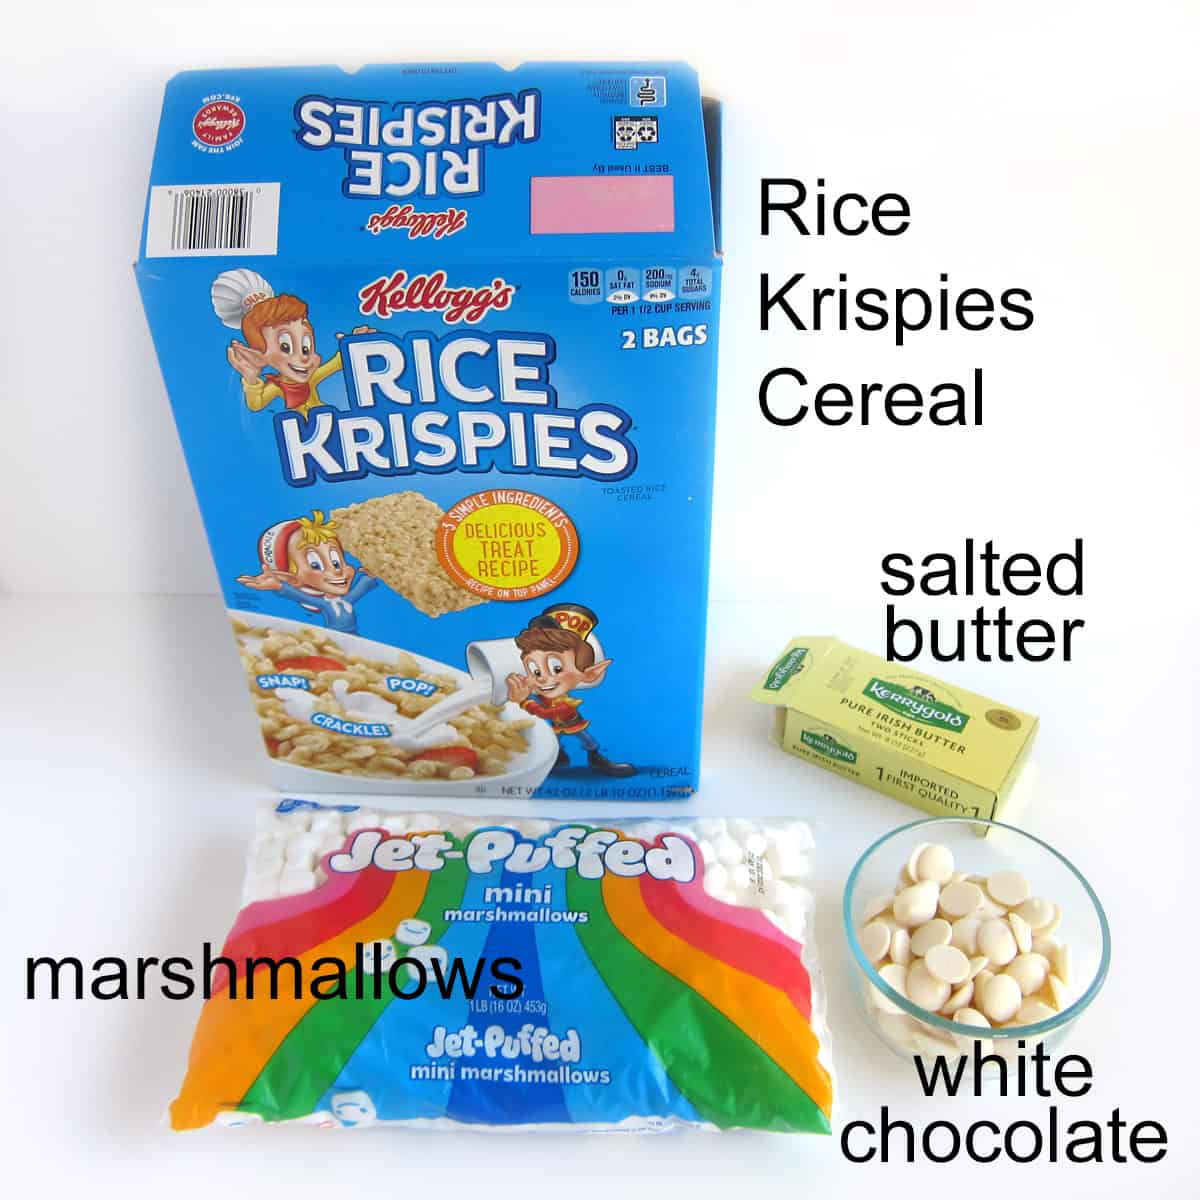
Ingredients
- Rice Krispies Cereal - We always recommend using Kellogg's Rice Krispies as they will give your treats the best texture.
- salted butter - We recommend using salted European-style butter like Kerrygold Butter (with a higher butterfat content than American-made butter) for the very best flavor. See our taste test results for more information.
- marshmallows - We like to use Kraft Jet-Puffed Marshmallows because they produce perfectly chewy treats.
Some store-brand marshmallows are very sticky once melted and are difficult to blend with the crisp rice cereal. If you do use them, you may need to add up to an extra cup of cereal.
You can use mini or large marshmallows. See our marshmallow conversion chart for details about measuring marshmallows. - white candy melts or white chips - It's best to use compound chocolate made with palm kernel oil (Wilton Candy Melts, almond bark, Ghirardelli melting wafers, Merckens melting wafers, etc.) or white chips like Nestle Premier White Morsels.
- black candy melts or dark cocoa candy melts - These are both easy to melt and use to decorate your skulls. If you prefer using pure dark chocolate (made with cocoa butter) you will need to melt and temper it (heat and cool it to exact temperatures. Check out the Chocolate Making Tips page on my Hungry Happenings blog for details on melting candy melts and chocolate.
- optional: colored candy melts or colored royal icing - You can use either to decorate your Rice Krispie Treat Sugar Skulls.
See the recipe card for exact quantities.
Equipment
- extra-large mixing bowl - You want to use a bowl that allows you room to mix the cereal and marshmallows together.
- medium-large (3 or 4-quart) saucepan - I like using a non-stick pan so the marshmallows don't stick too badly.
- Nordic Ware Skull Pan - Use the 6-cavity skull cakelet pan to make the same size treats. You can also use the larger or smaller pans to make a variety of sizes.
- silicone spatula - If you grease a silicone spatula (or Spoonula) with butter or baking spray, the cereal treat mixture won't stick. You can also use a wooden spoon but I'd grease it too.
- Squeeze bottle, zip-top bag or disposable pastry bag - Use this to pipe black candy melts on the skulls.
You can find items used to make these skull treats on Amazon. I earn a small commission when you use any of the Amazon affiliate links on this post at no extra cost to you.
 Nordic Ware Halloween Bakew...Shop on Amazon
 ") Rice Krispies Cold Breakfas...Shop on Amazon
Rice Krispies Cold Breakfas...Shop on Amazon ") Jet-Puffed Marshmallows (1 ...Shop on Amazon
Jet-Puffed Marshmallows (1 ...Shop on Amazon  Wilton White Candy Melts, 1...Shop on Amazon
  Wilton Candy Melts, Bright ...Shop on Amazon
 ") GHIRARDELLI White Vanilla F...Shop on Amazon
GHIRARDELLI White Vanilla F...Shop on Amazon  Wilton Black Candy Melts® ...Shop on Amazon
Instructions

Grease an extra-large mixing bowl with butter, and then pour the Rice Krispies Cereal into the bowl. Set it aside.
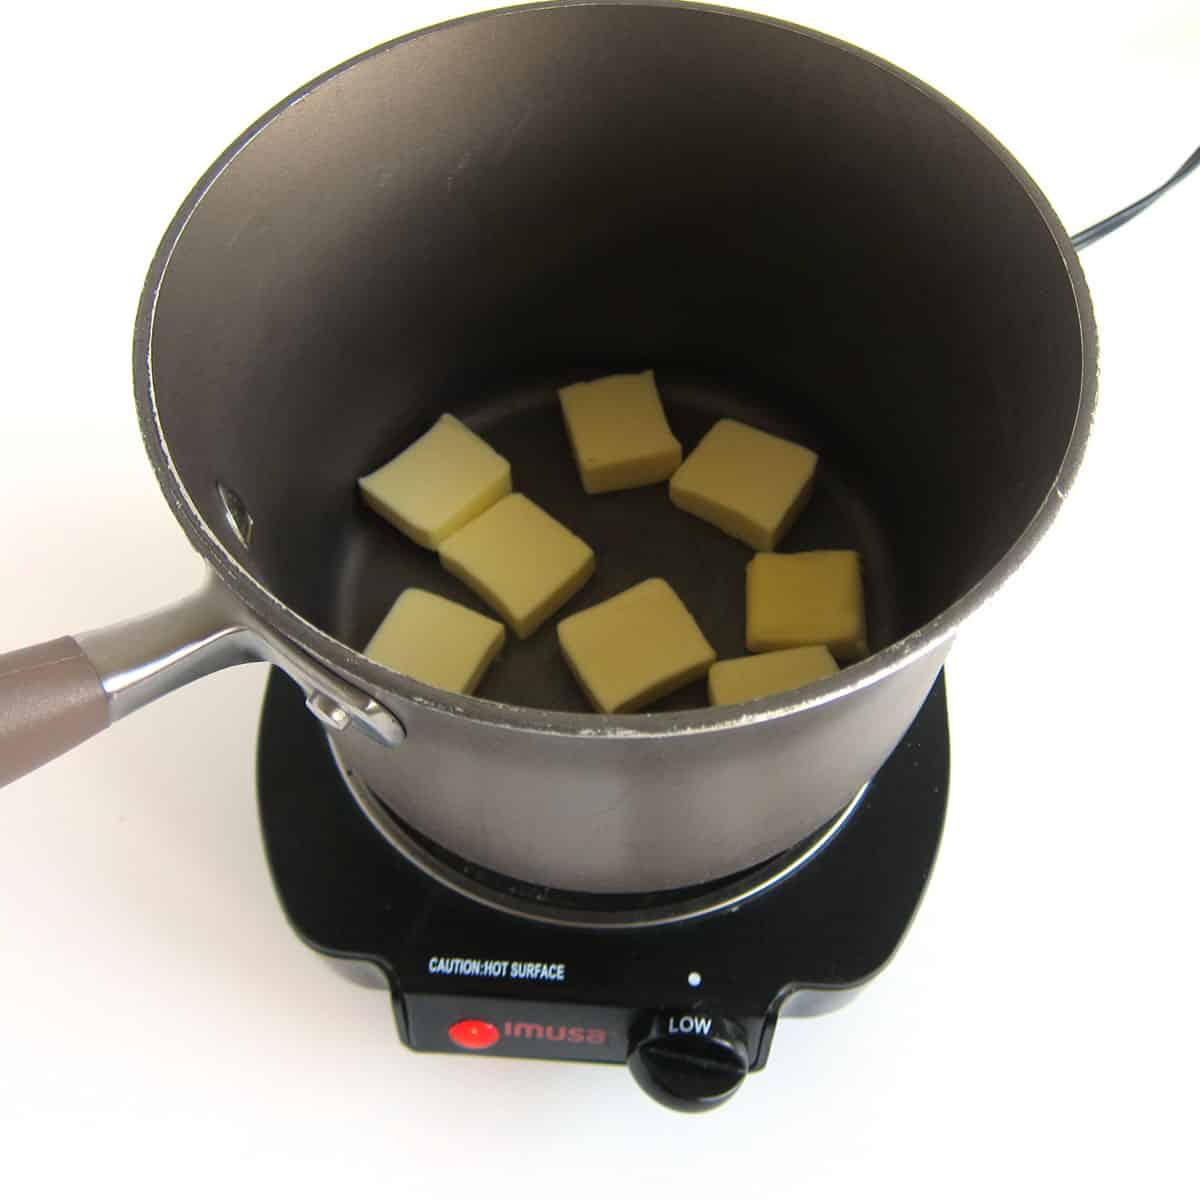
Cut 6 tablespoons of salted butter into thin slices and begin melting them in a saucepan over LOW heat.
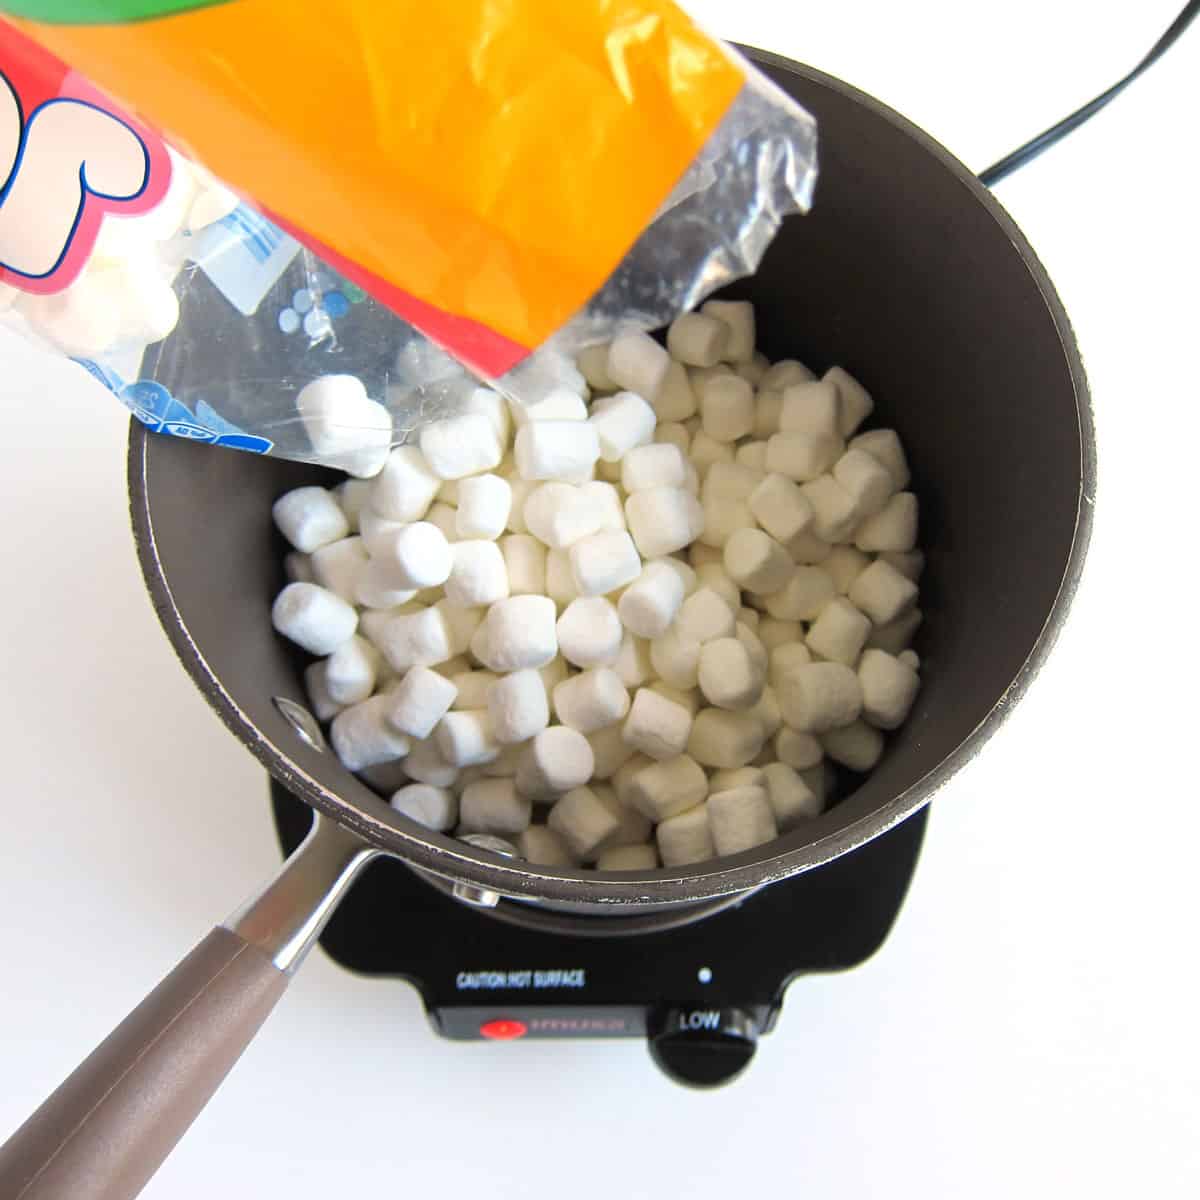
Add the marshmallows...

and the white candy melts wafers.
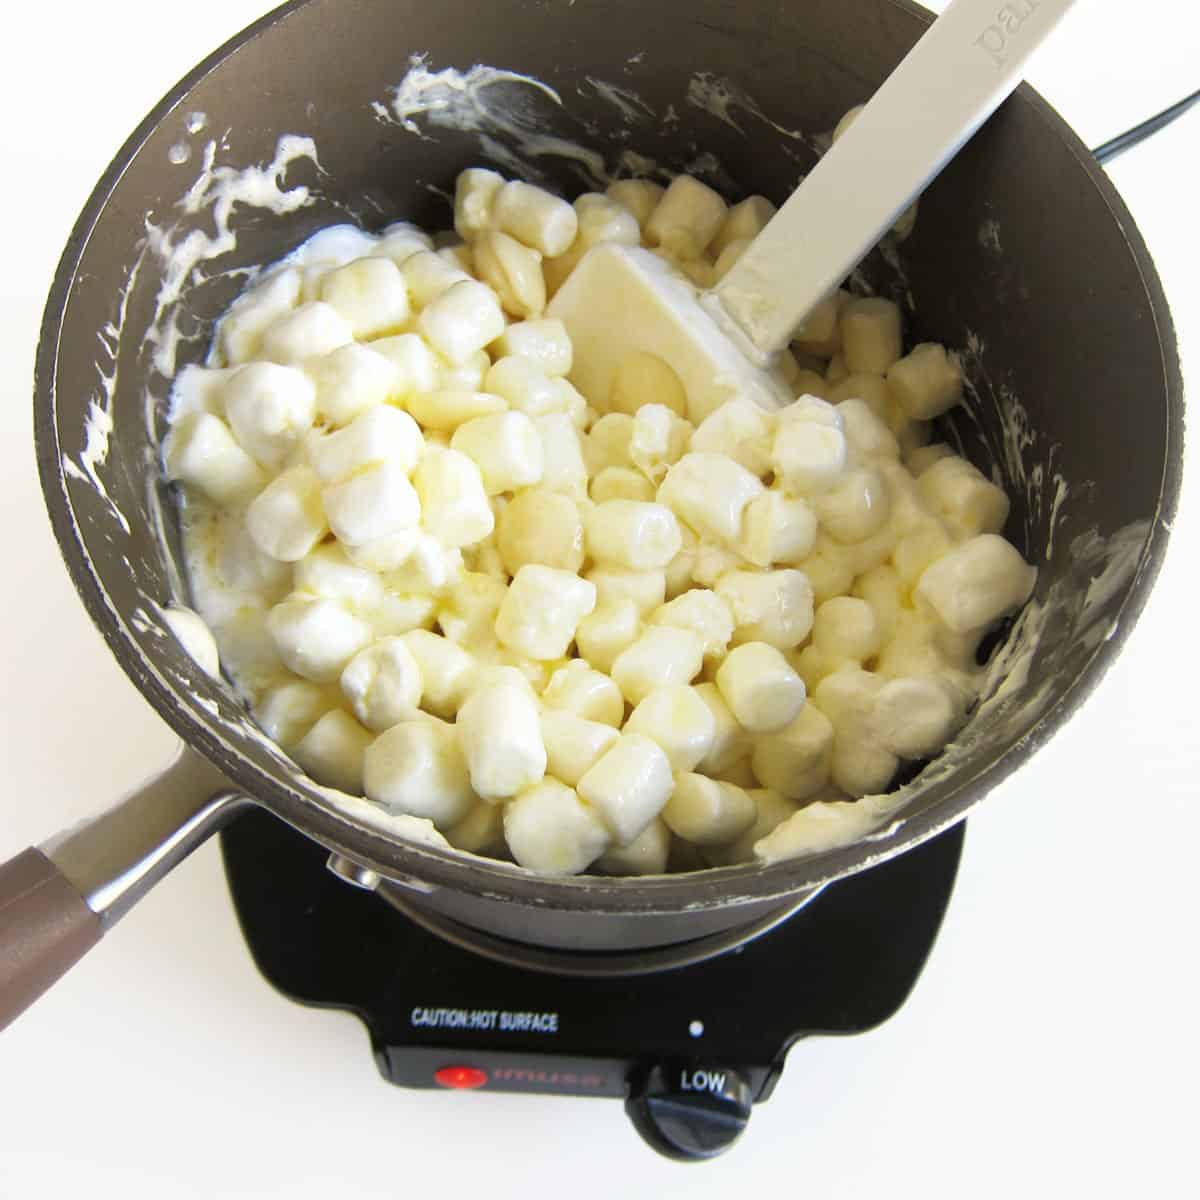
Stir into the melted butter.
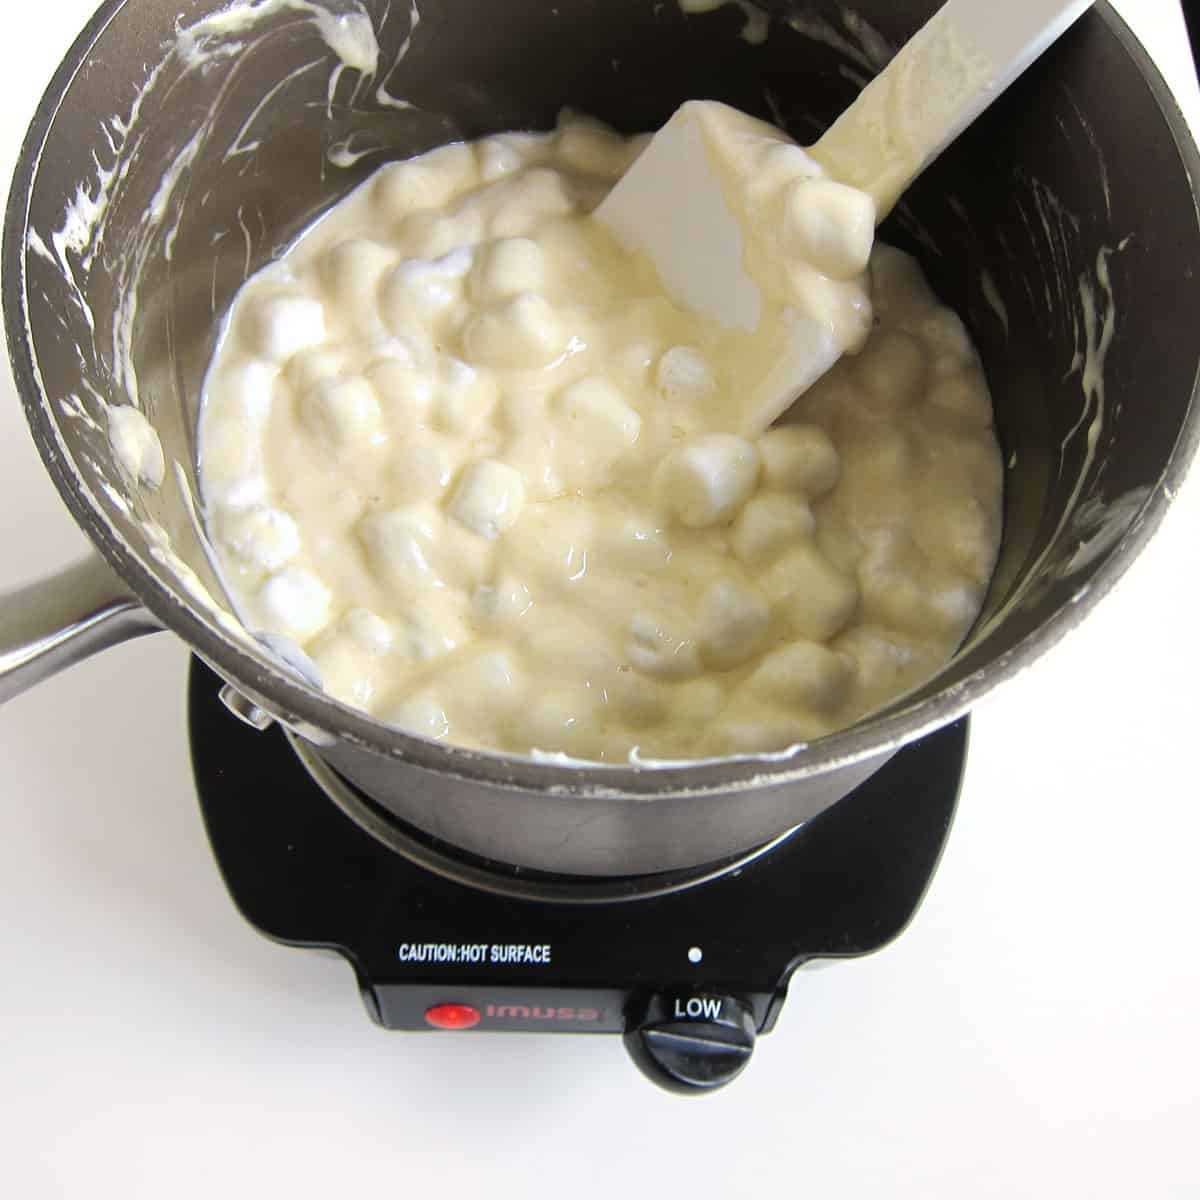
Stir often until 75% of the marshmallows have melted.
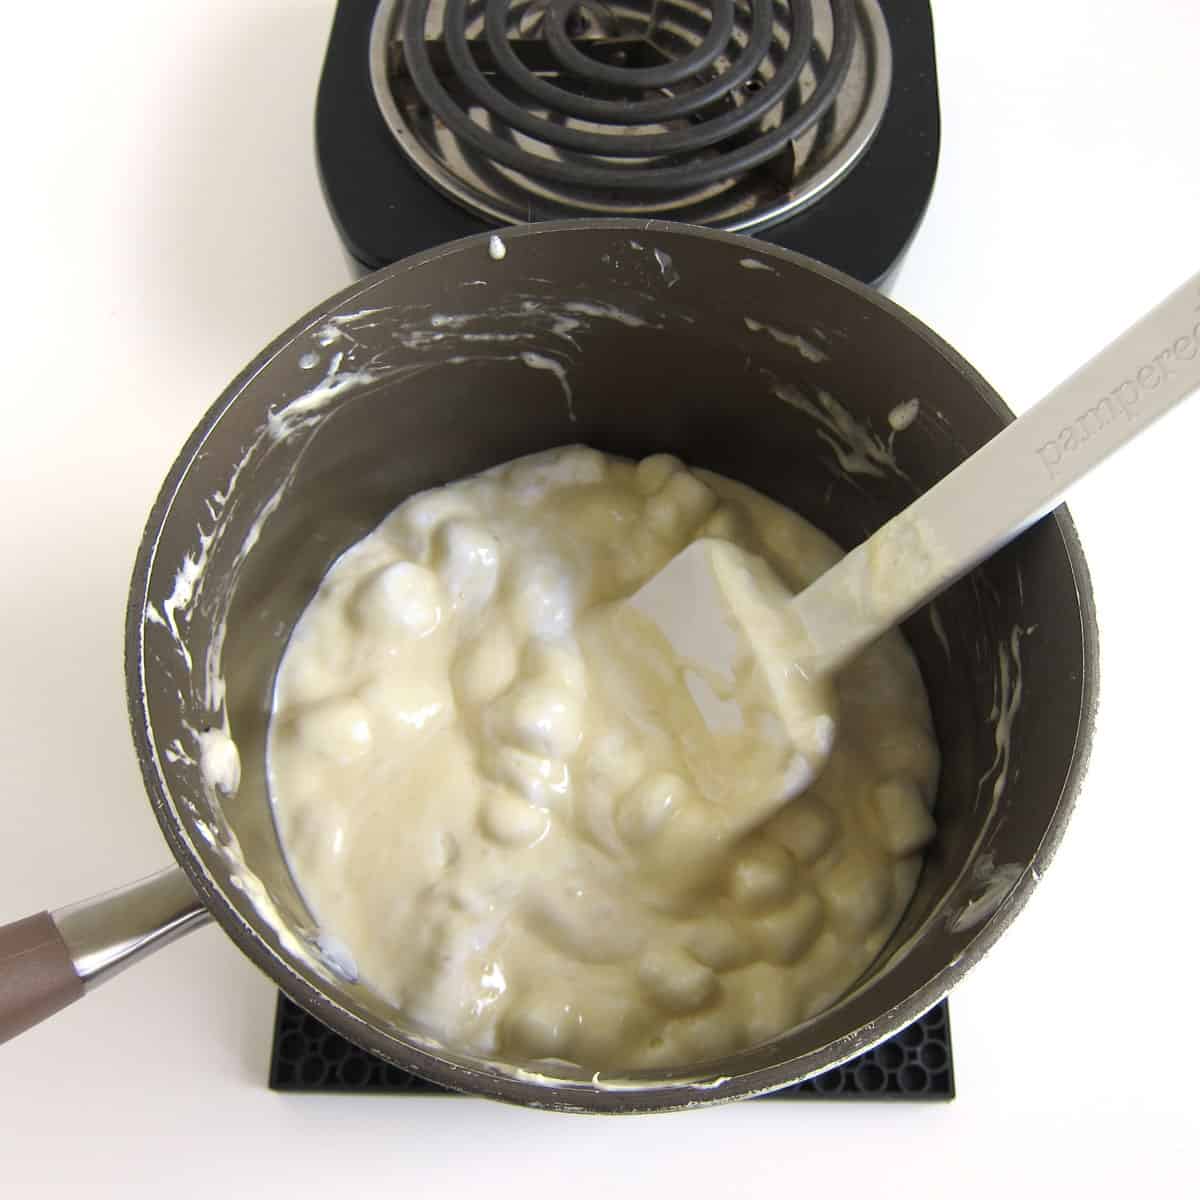
Remove the pan from the heat and stir...
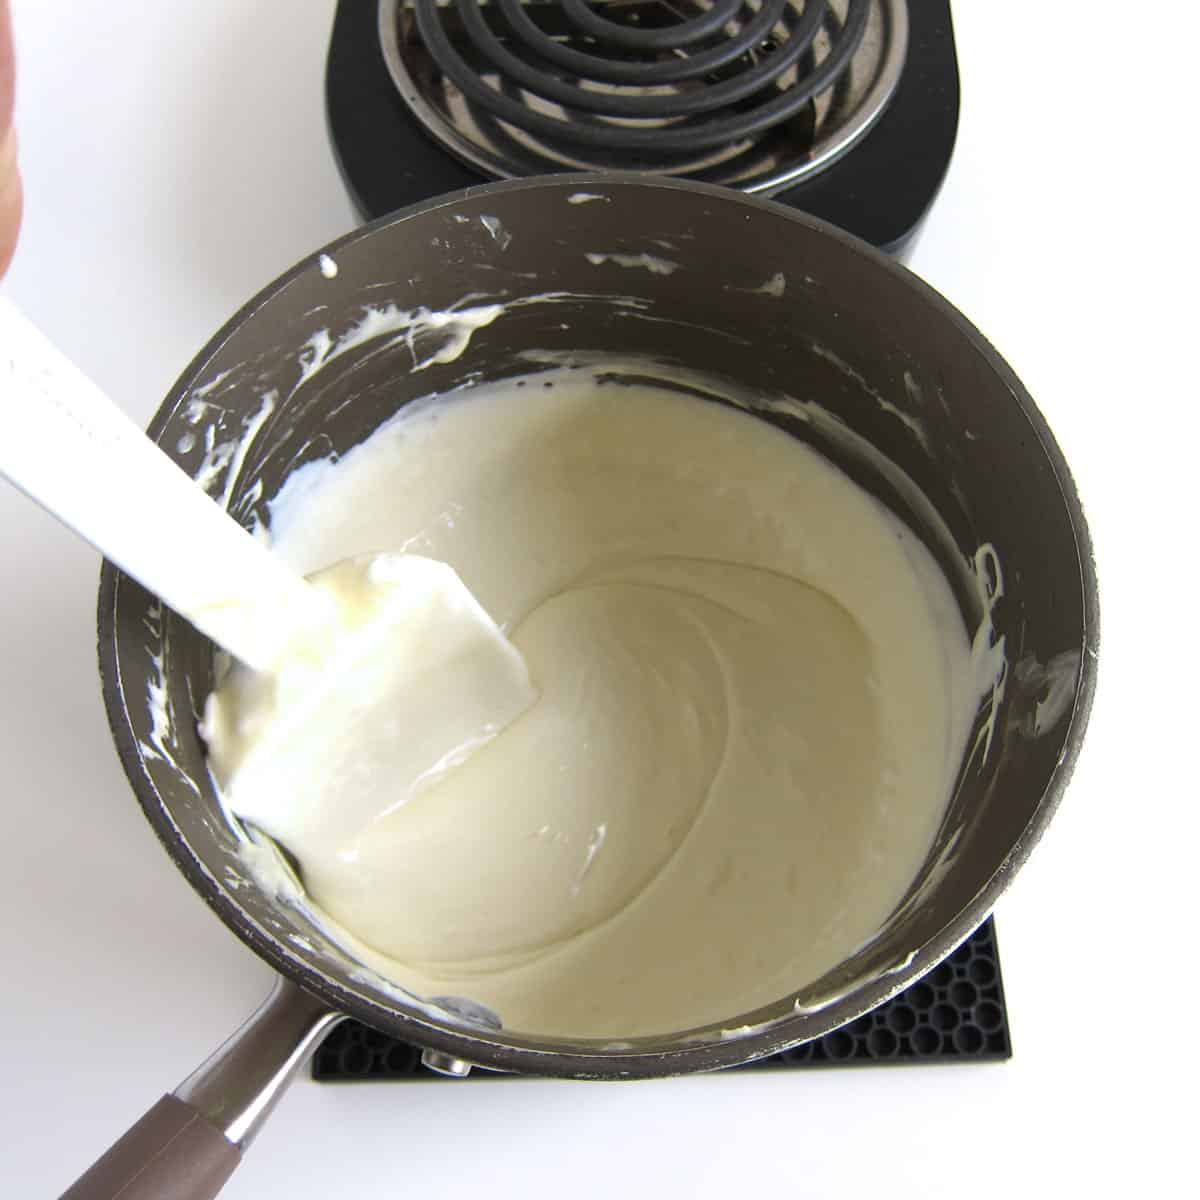
until creamy and smooth.
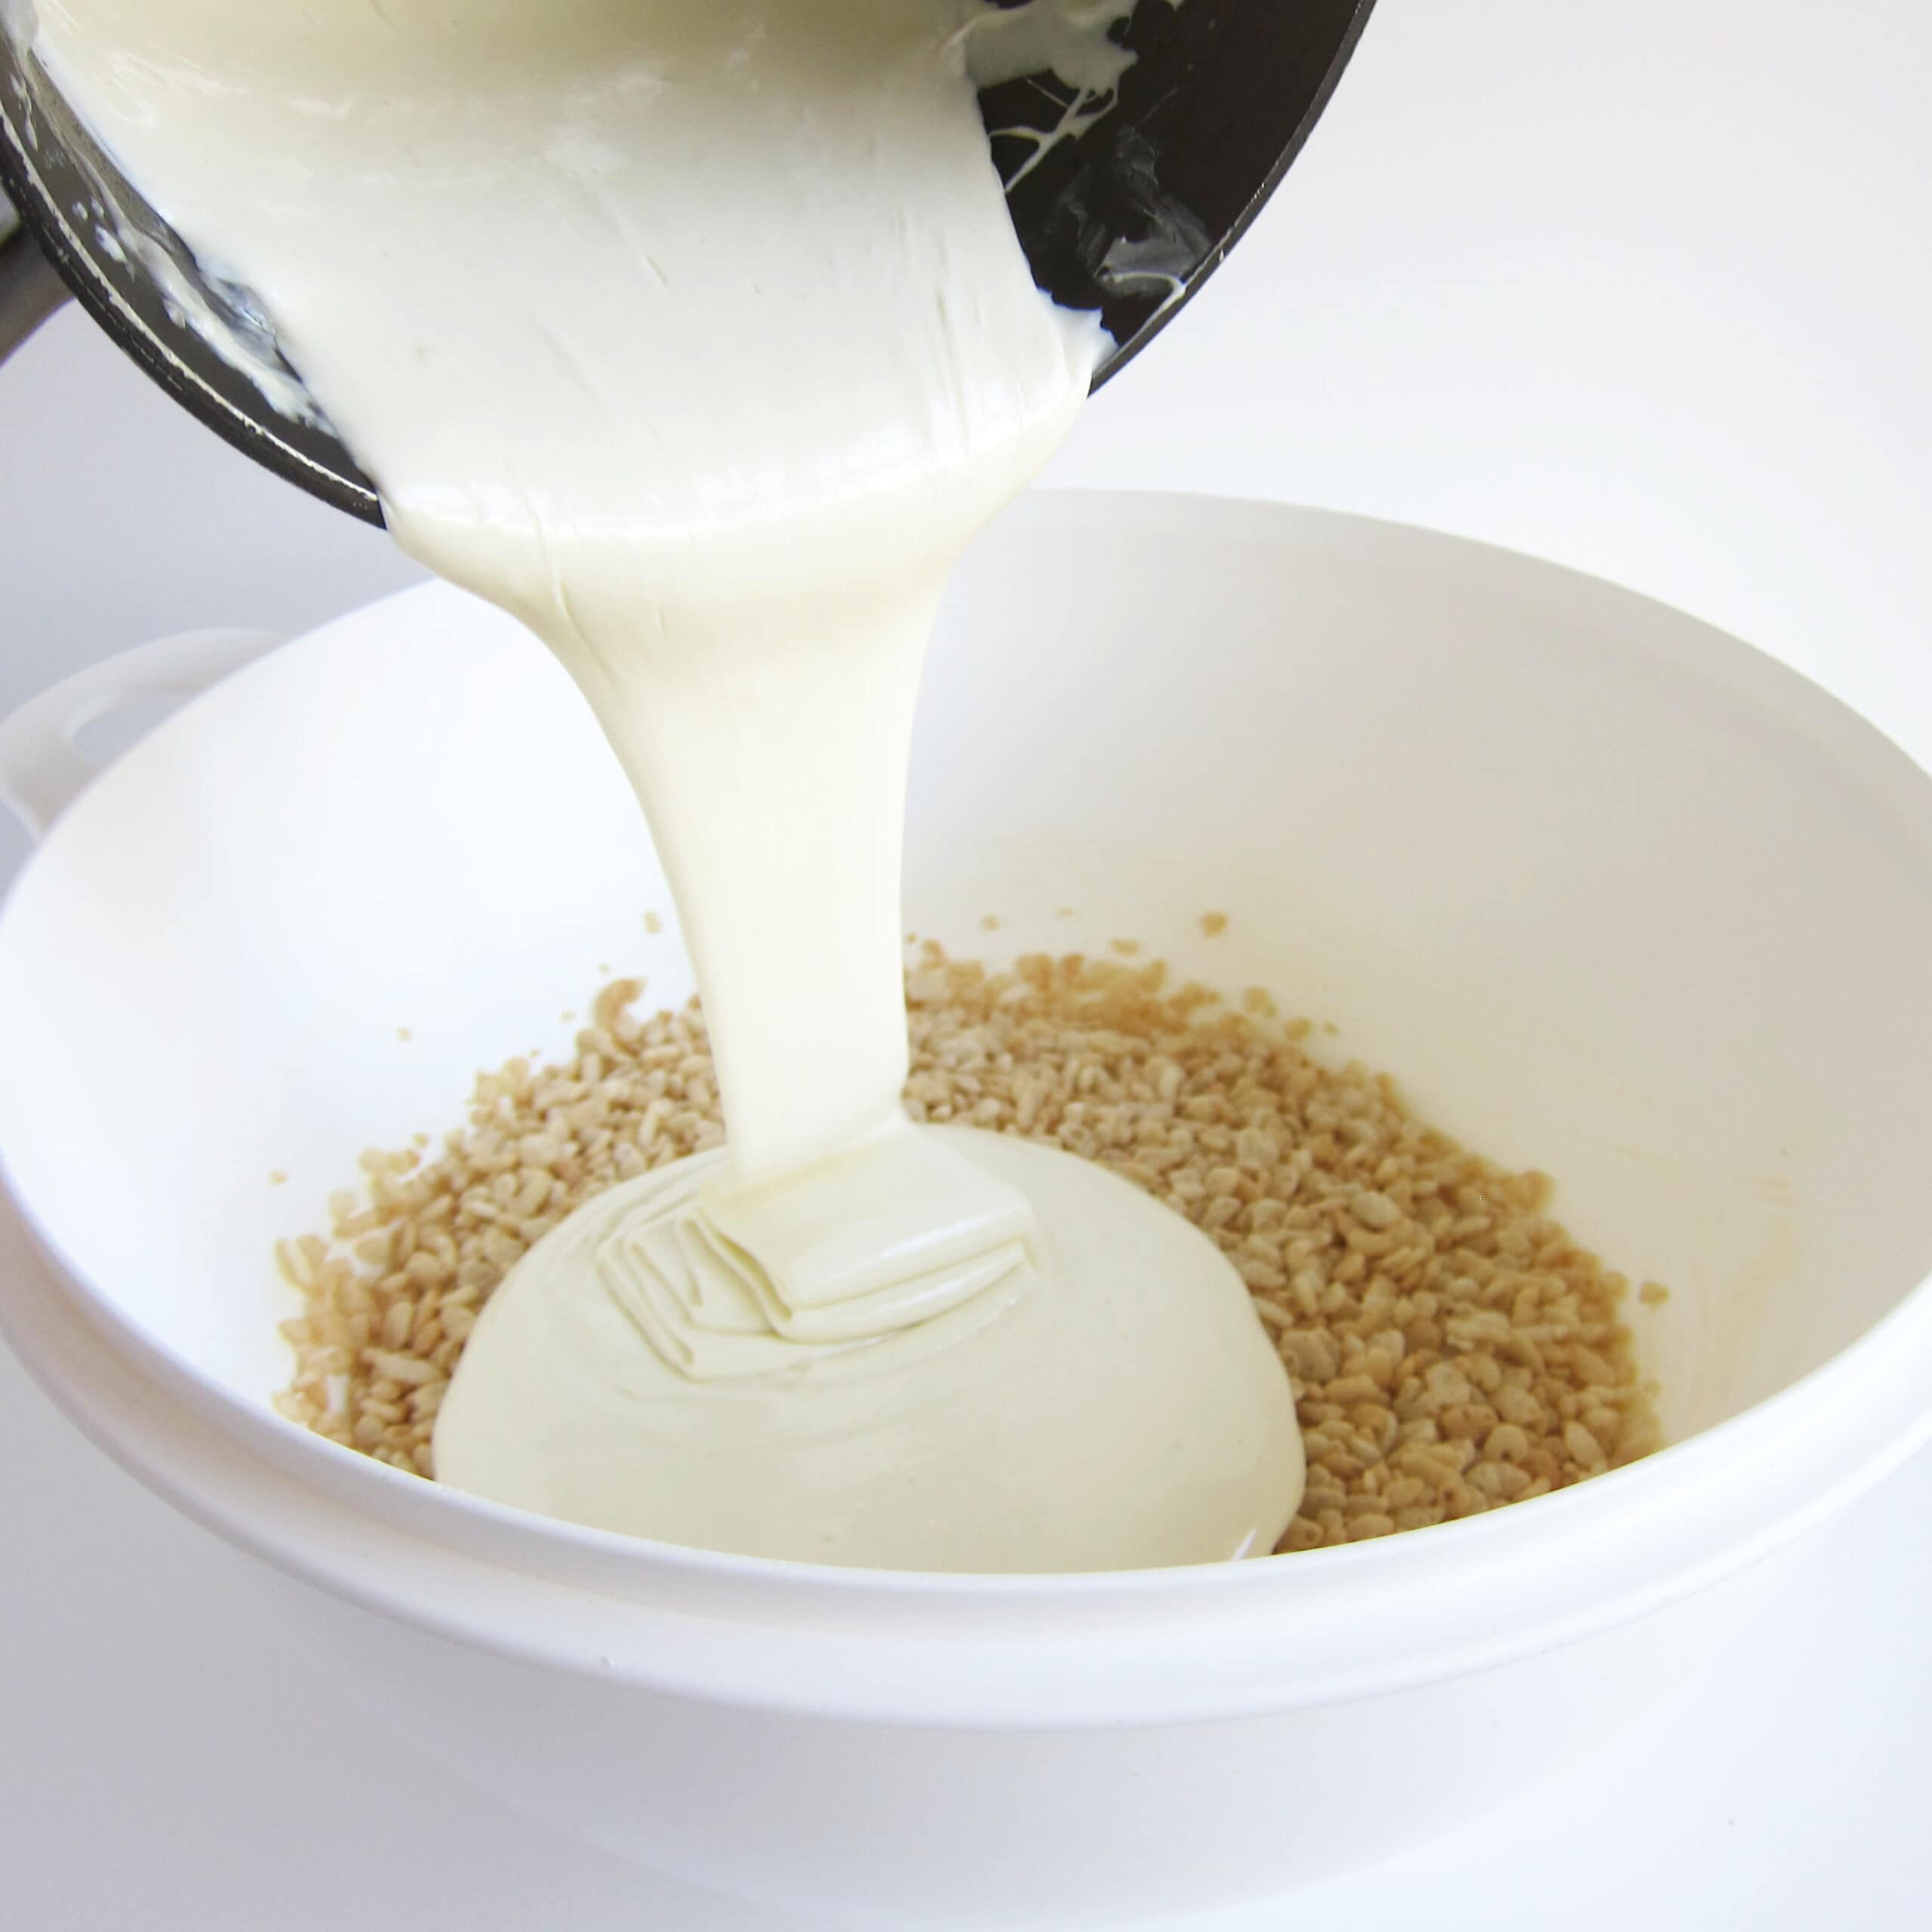
Pour the melted white chocolate and marshmallows over the Rice Krispies Cereal.
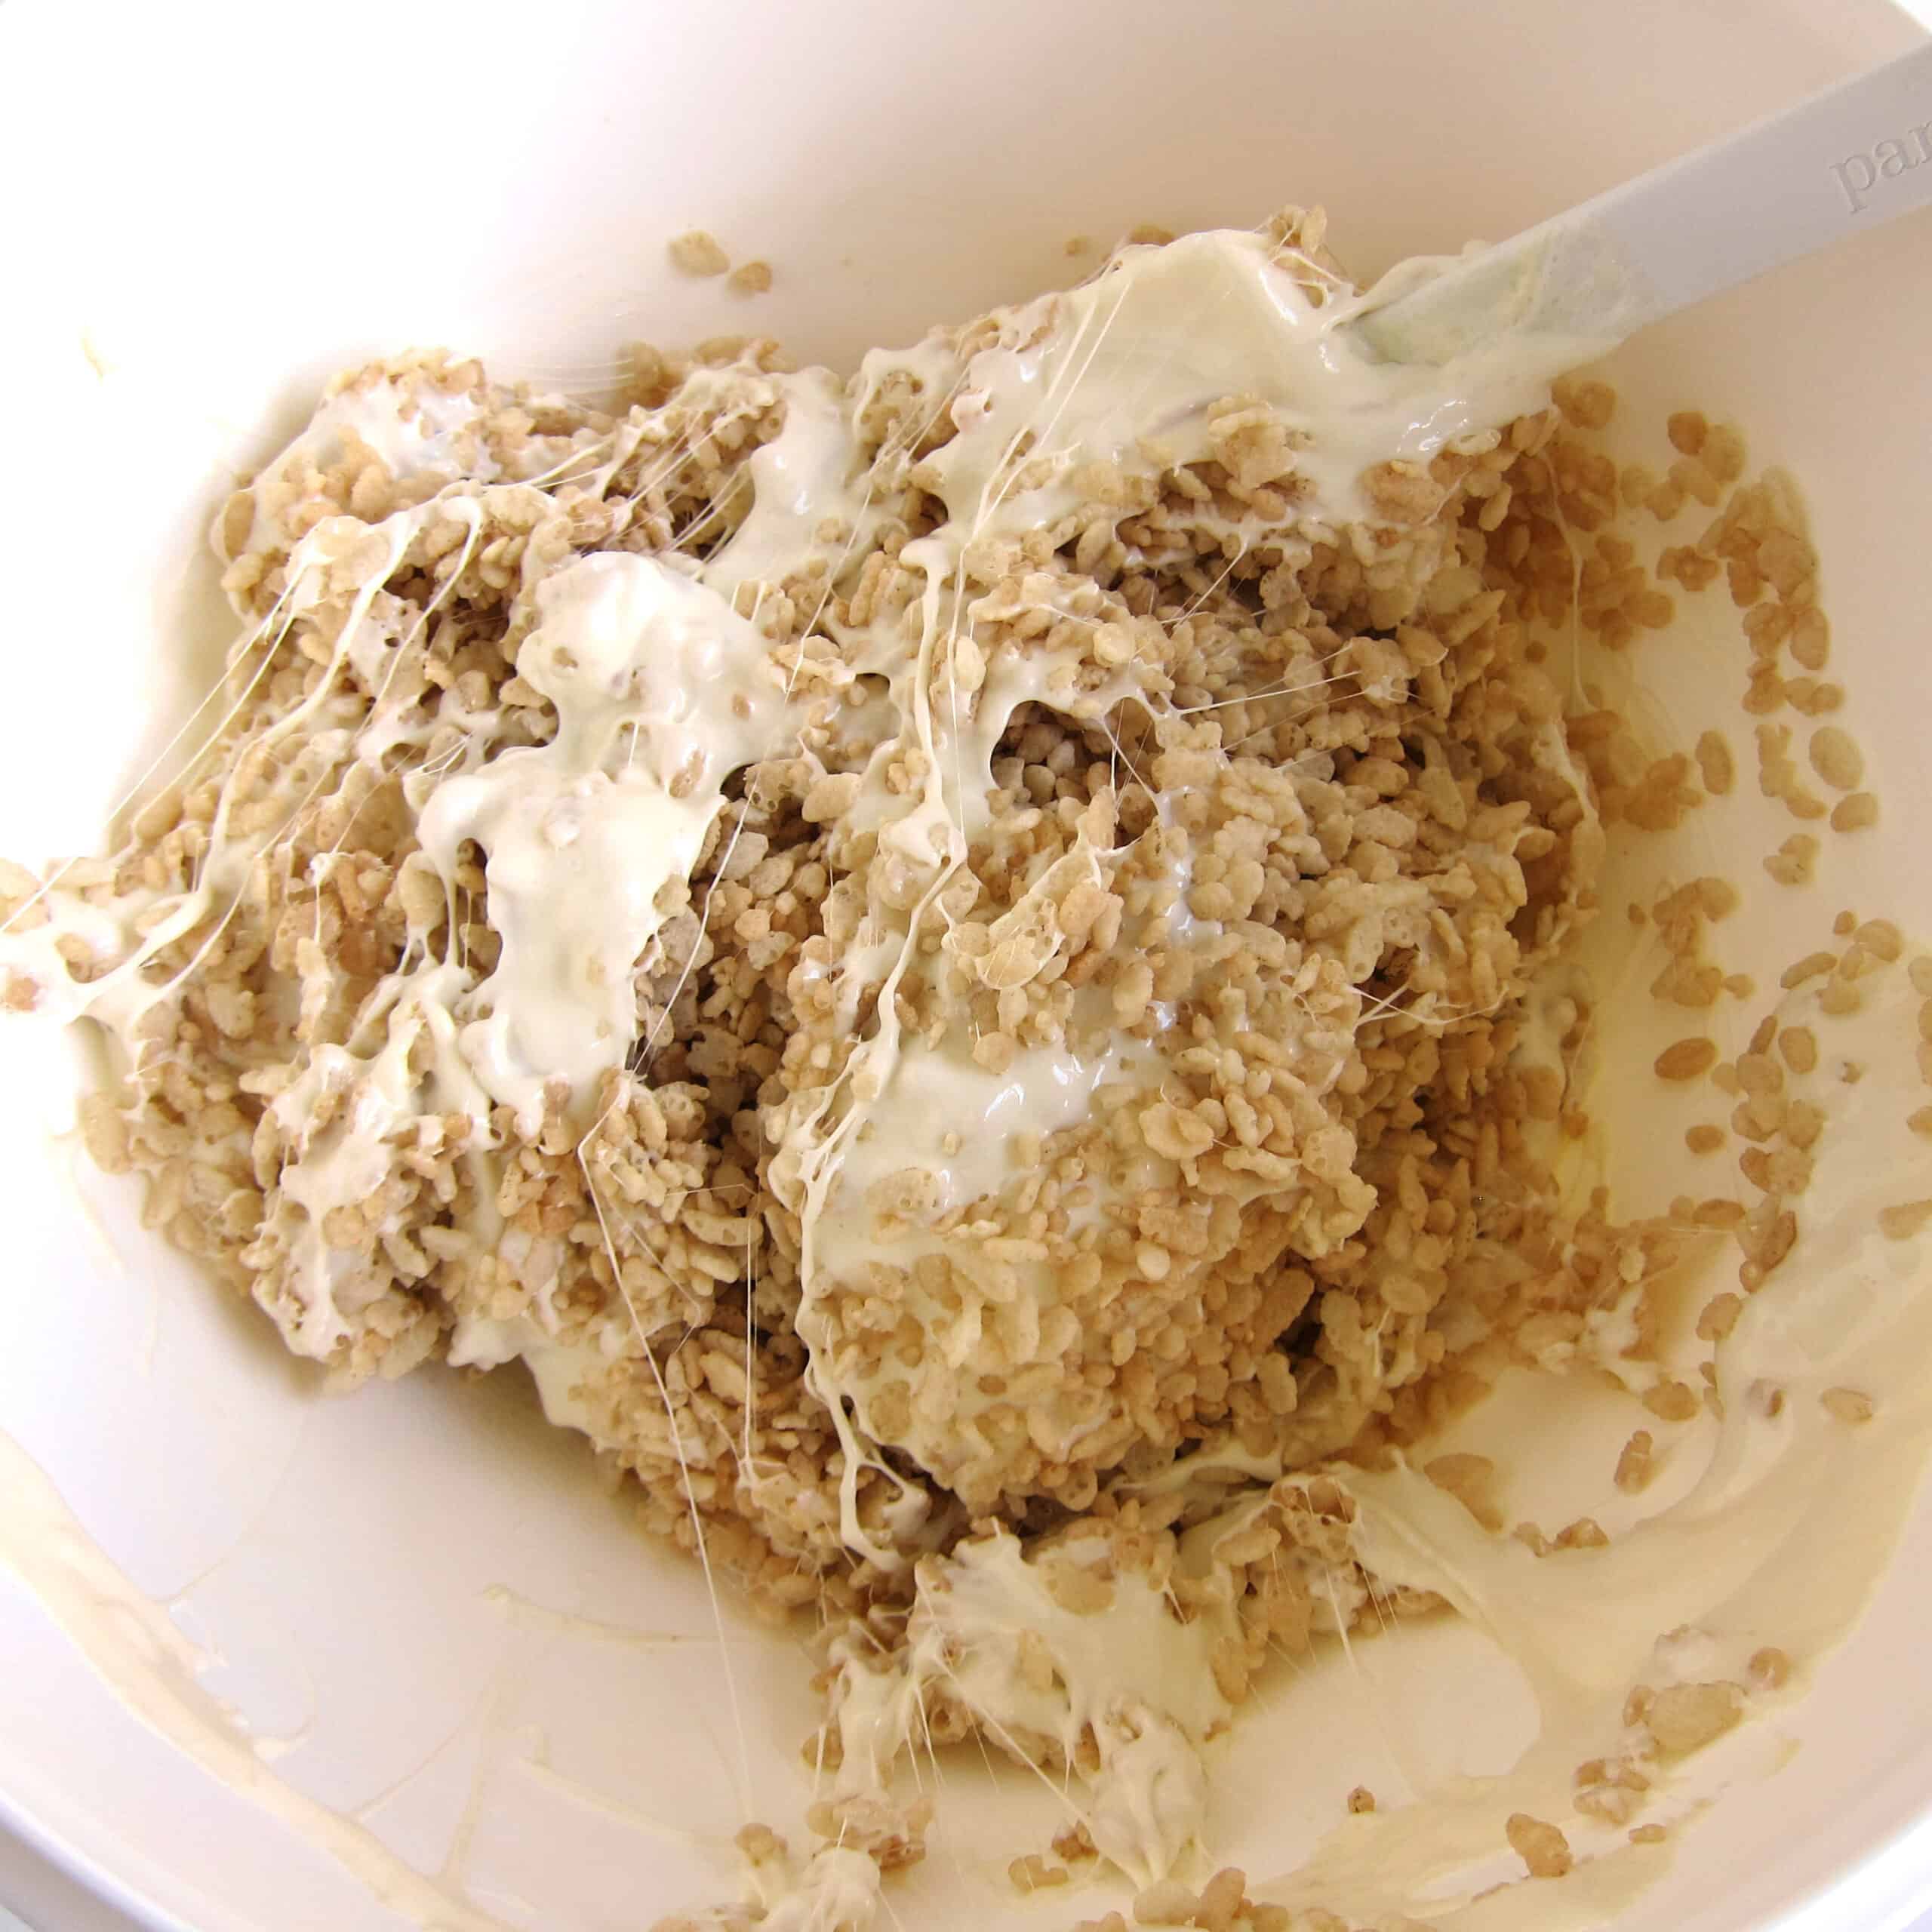
Toss the melted mixture with the cereal. Do not smash them or you'll break down the cereal.
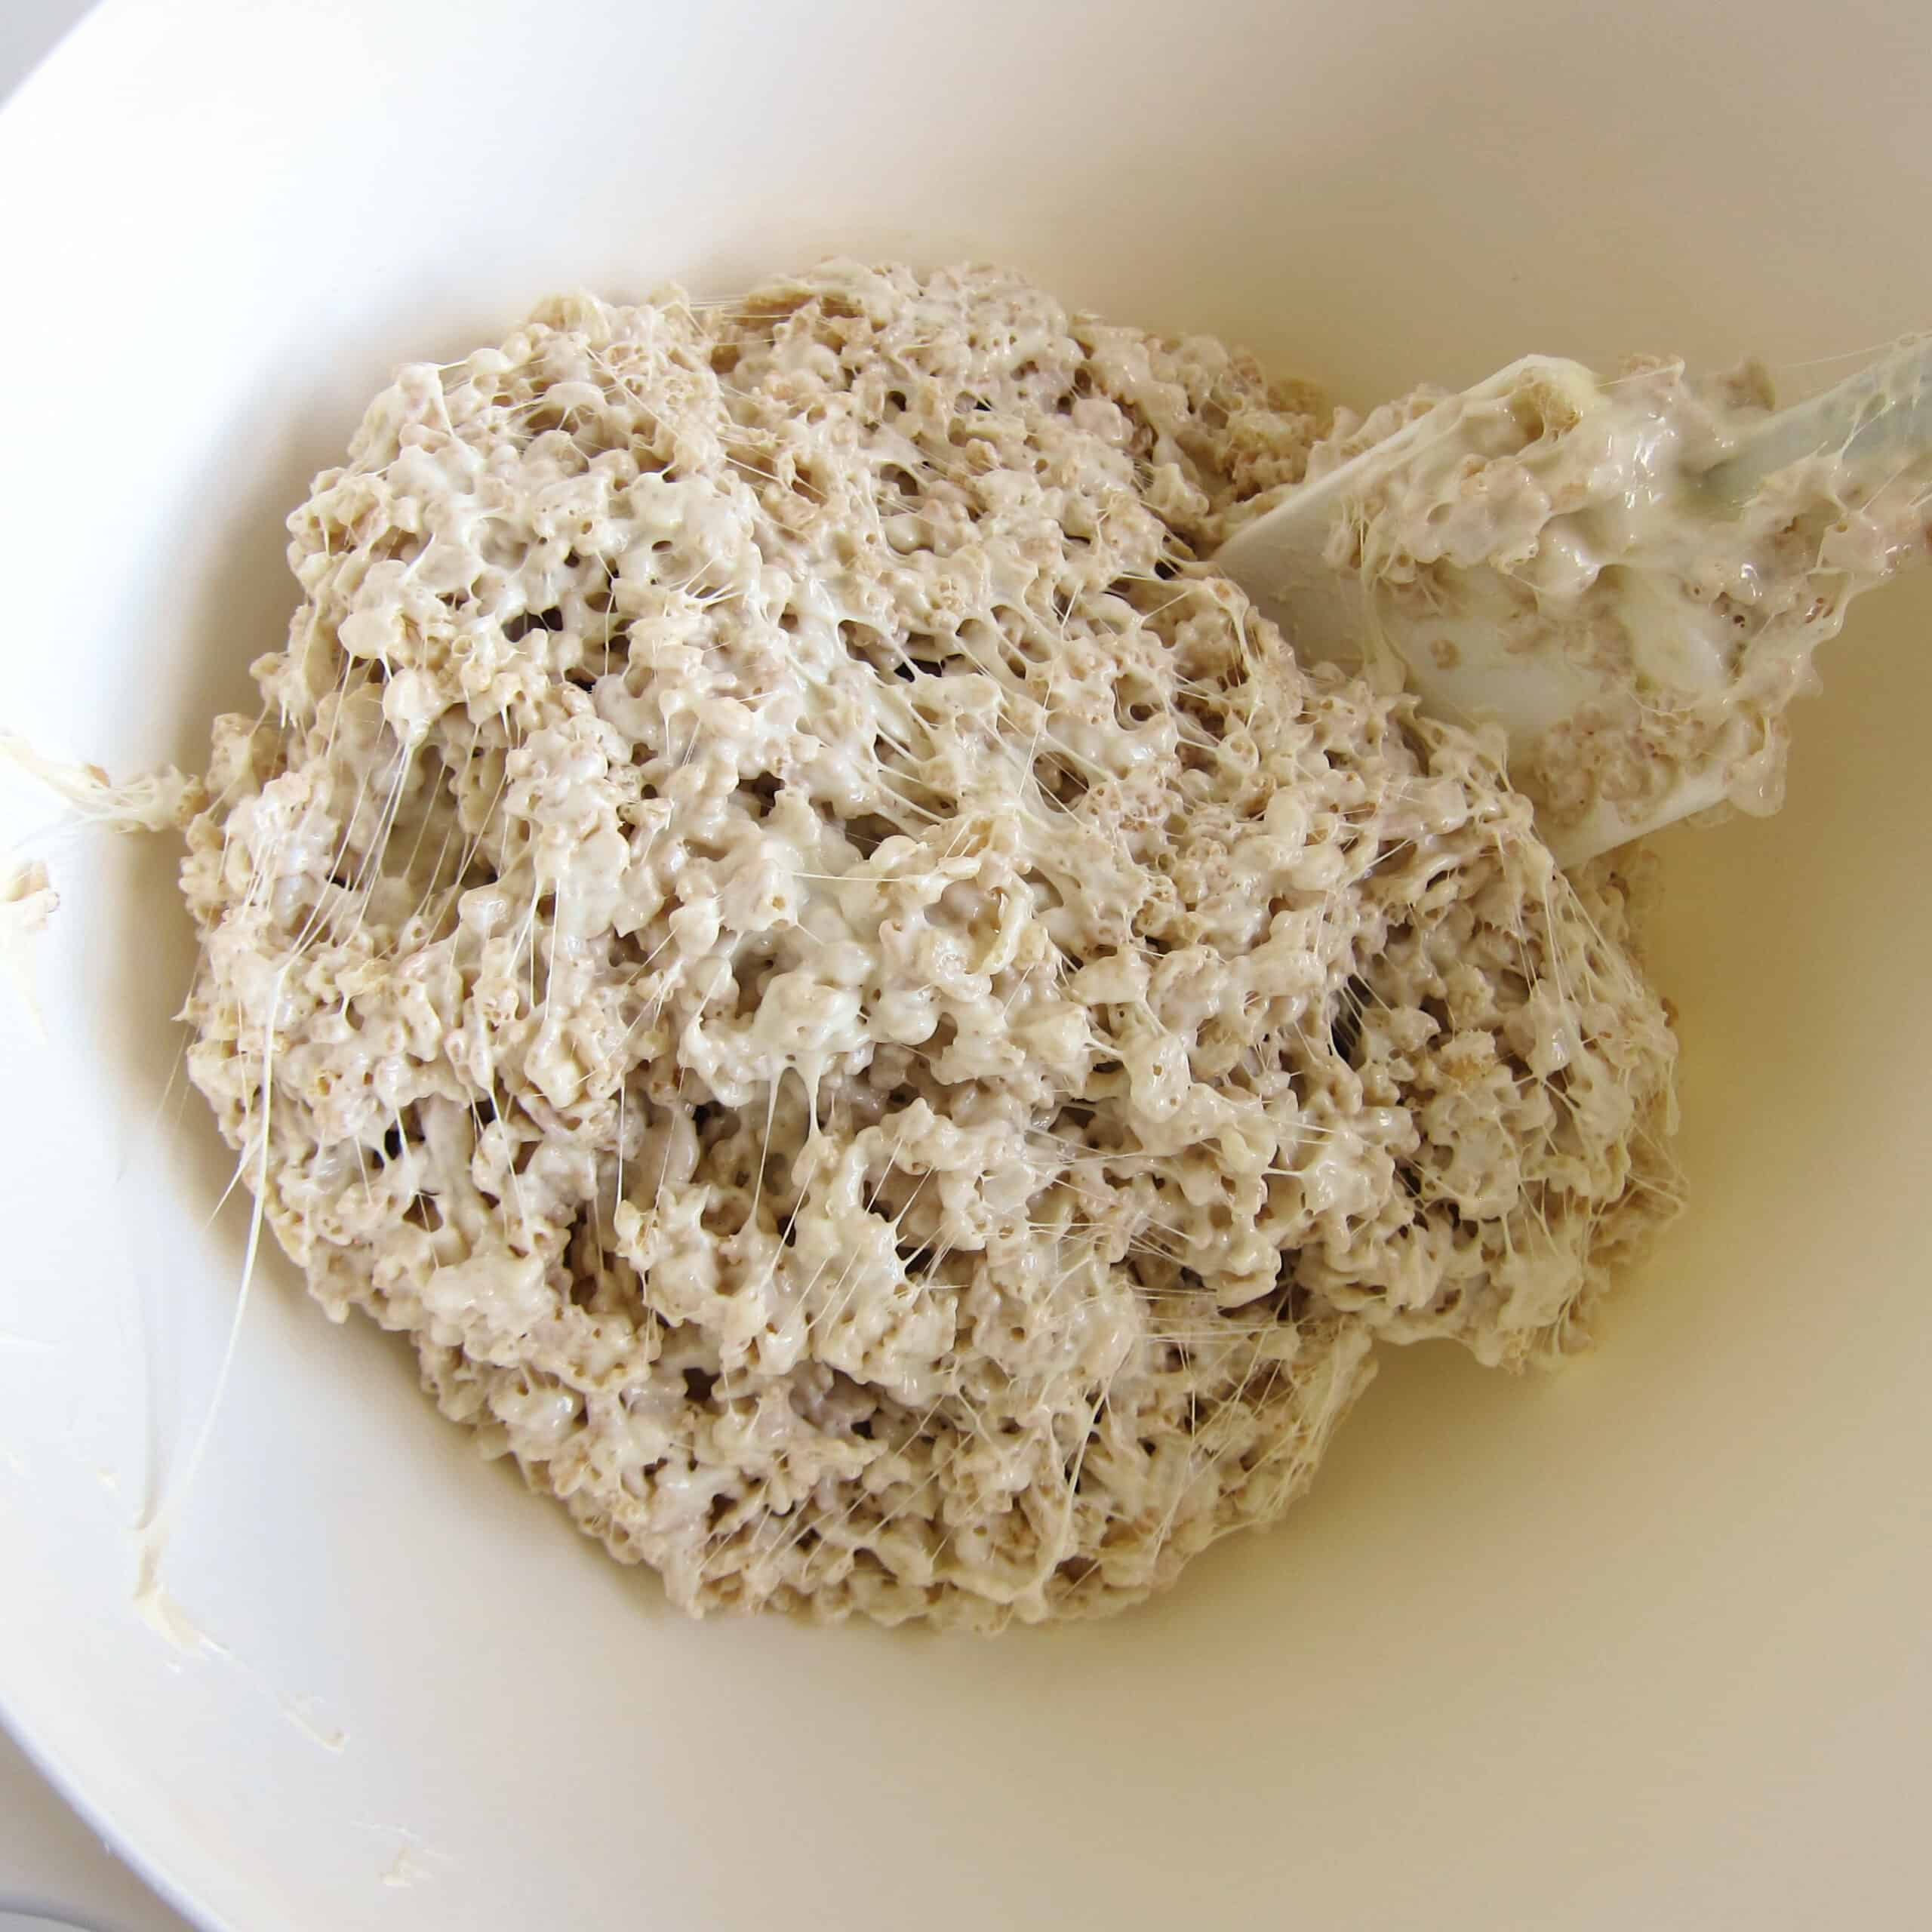
Mix until the white chocolate marshmallow mixture coats all of the cereal.
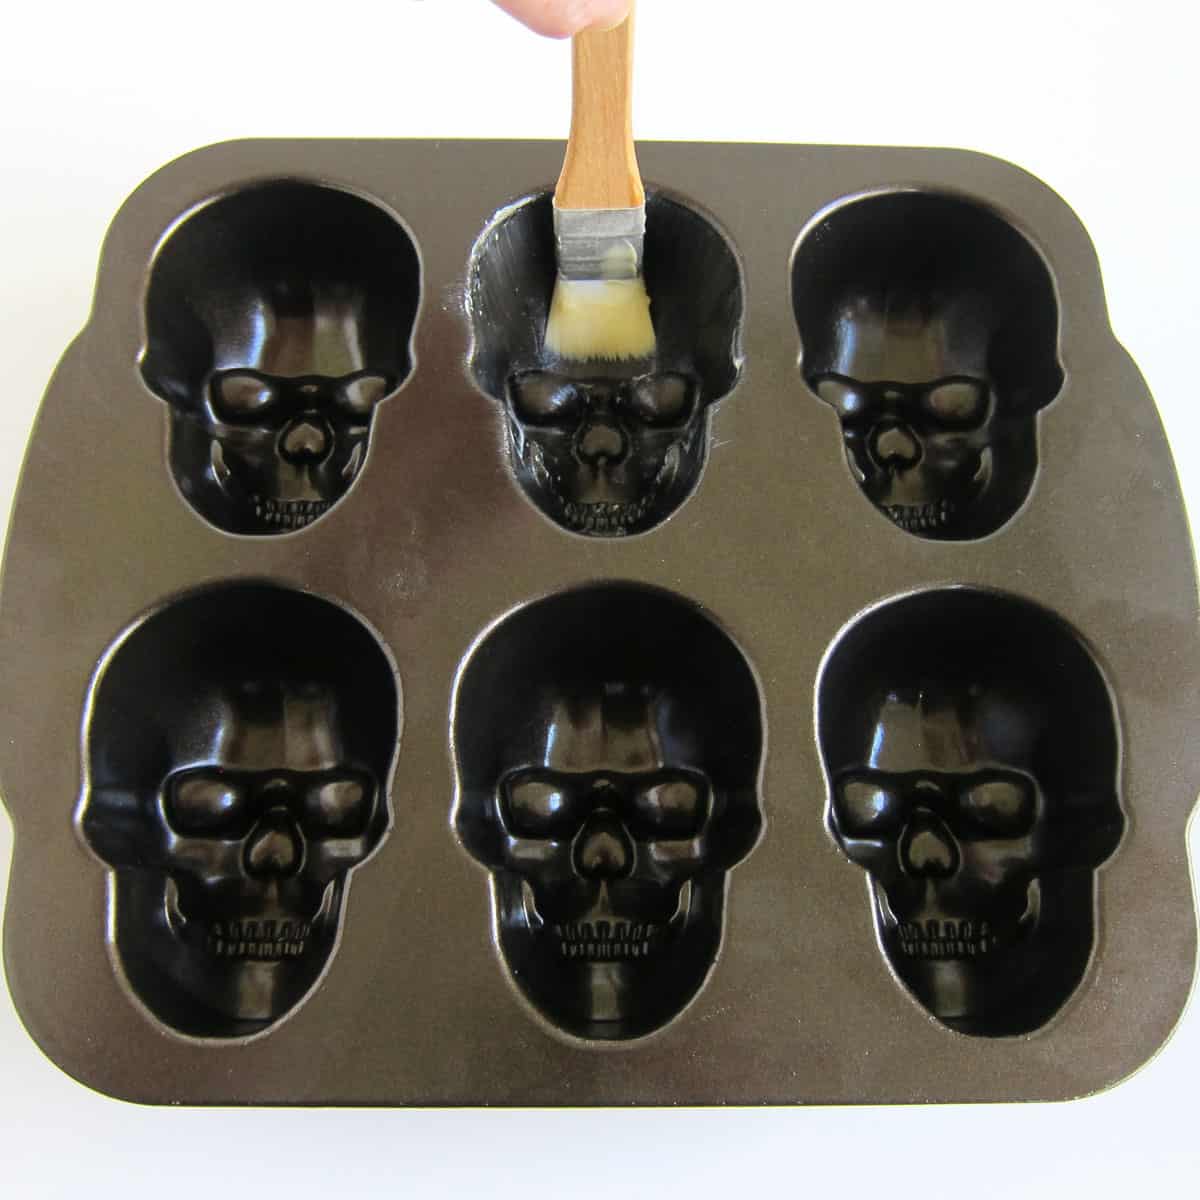
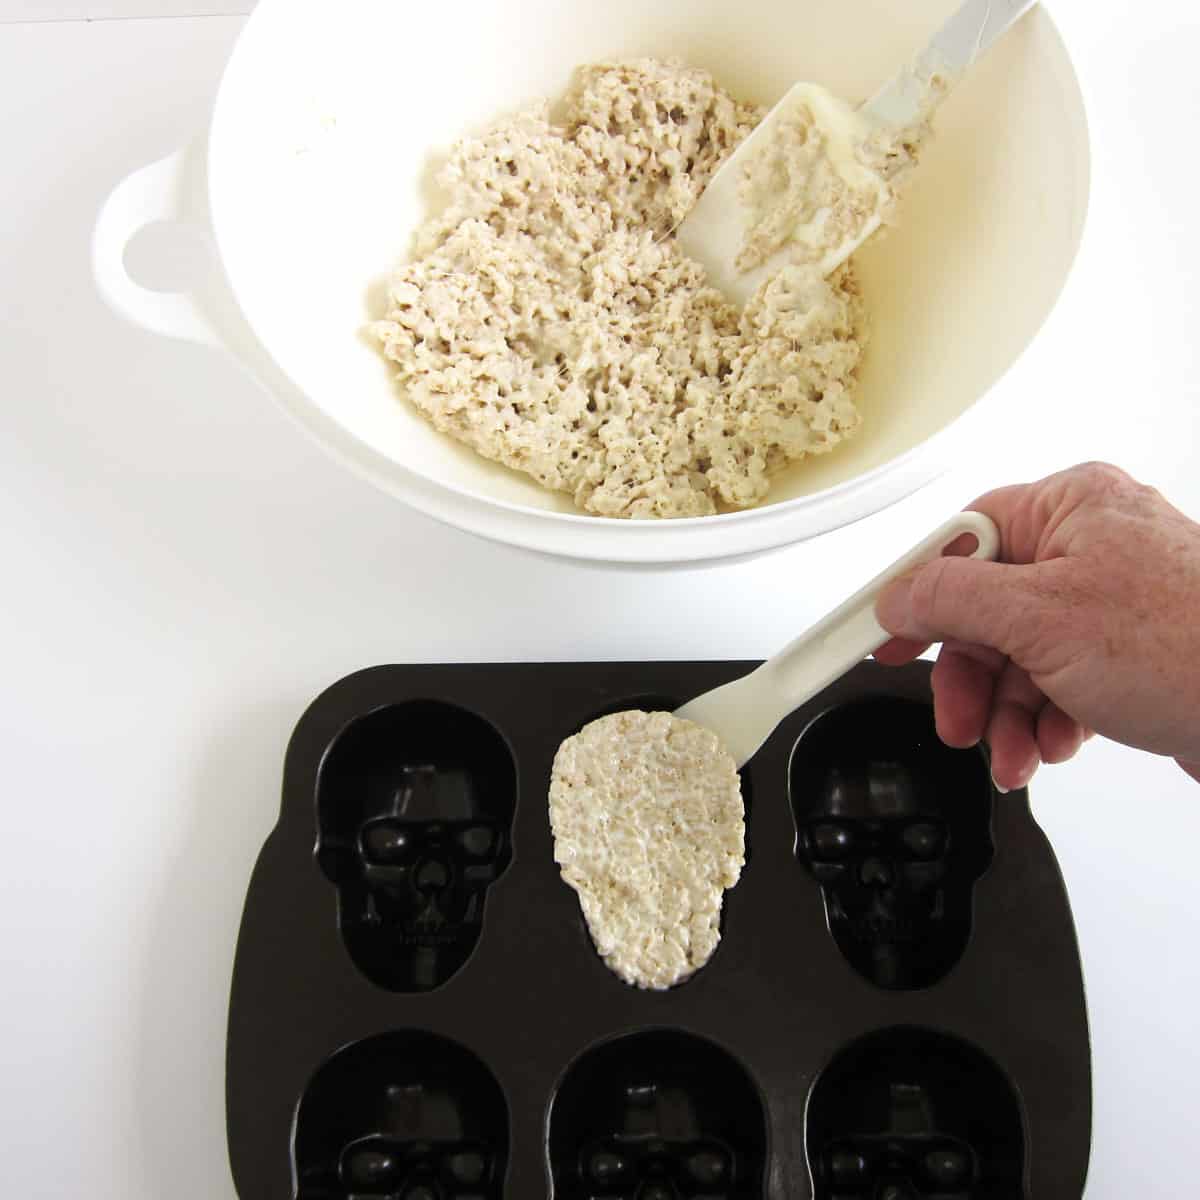
Grease the inside of one of the skull cavities in a Nordic Ware pan using butter.
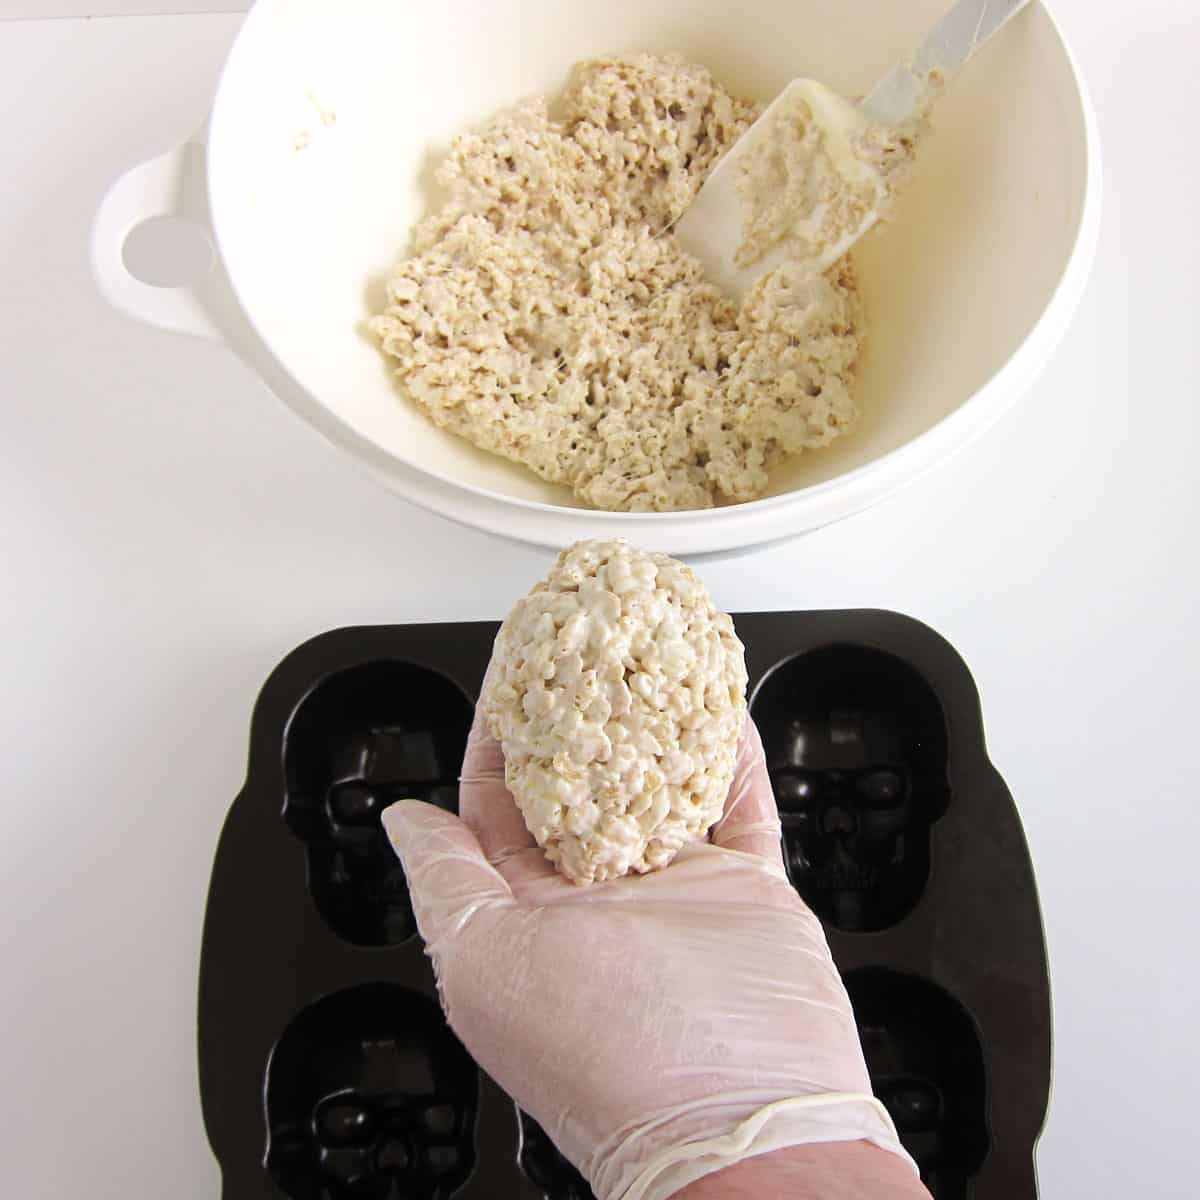
Scoop out a handful of the cereal treat mixture and shape it into a smooth oval.
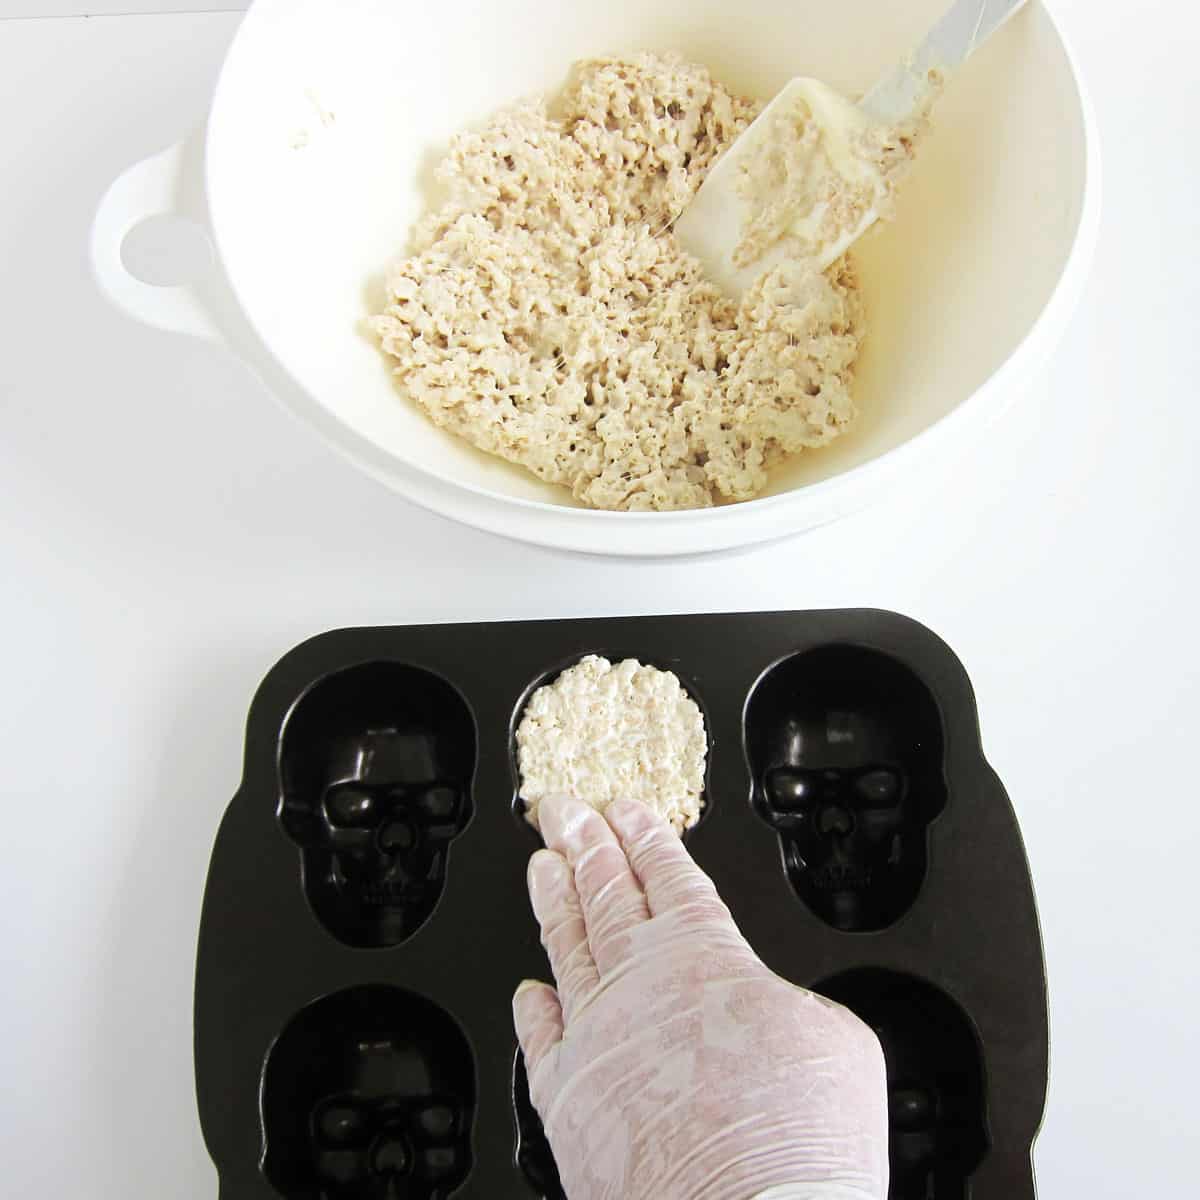
Press the rice crispy treat oval into the greased skull cavity to shape it into a skull.
Run a thin plastic spatula around the outer edge of the skull.

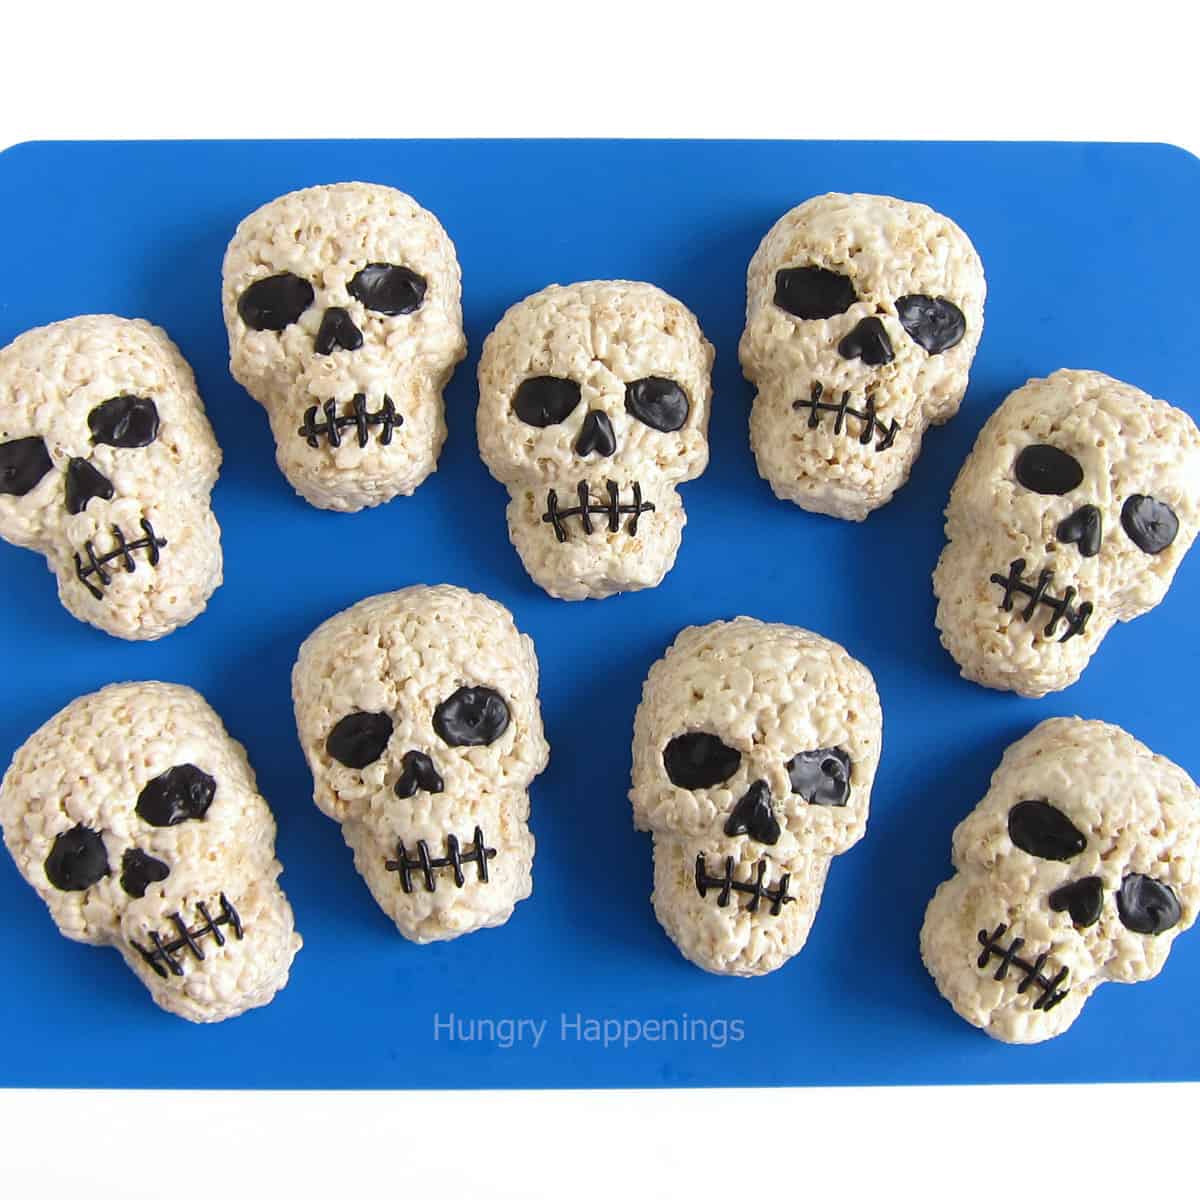
Lift the skull-shaped treat out of the pan. Repeat, making a total of 9 skulls.
You shouldn't need to grease the skull cavity again. Just keep pressing the cereal treat mixture into the same skull to create the treats.
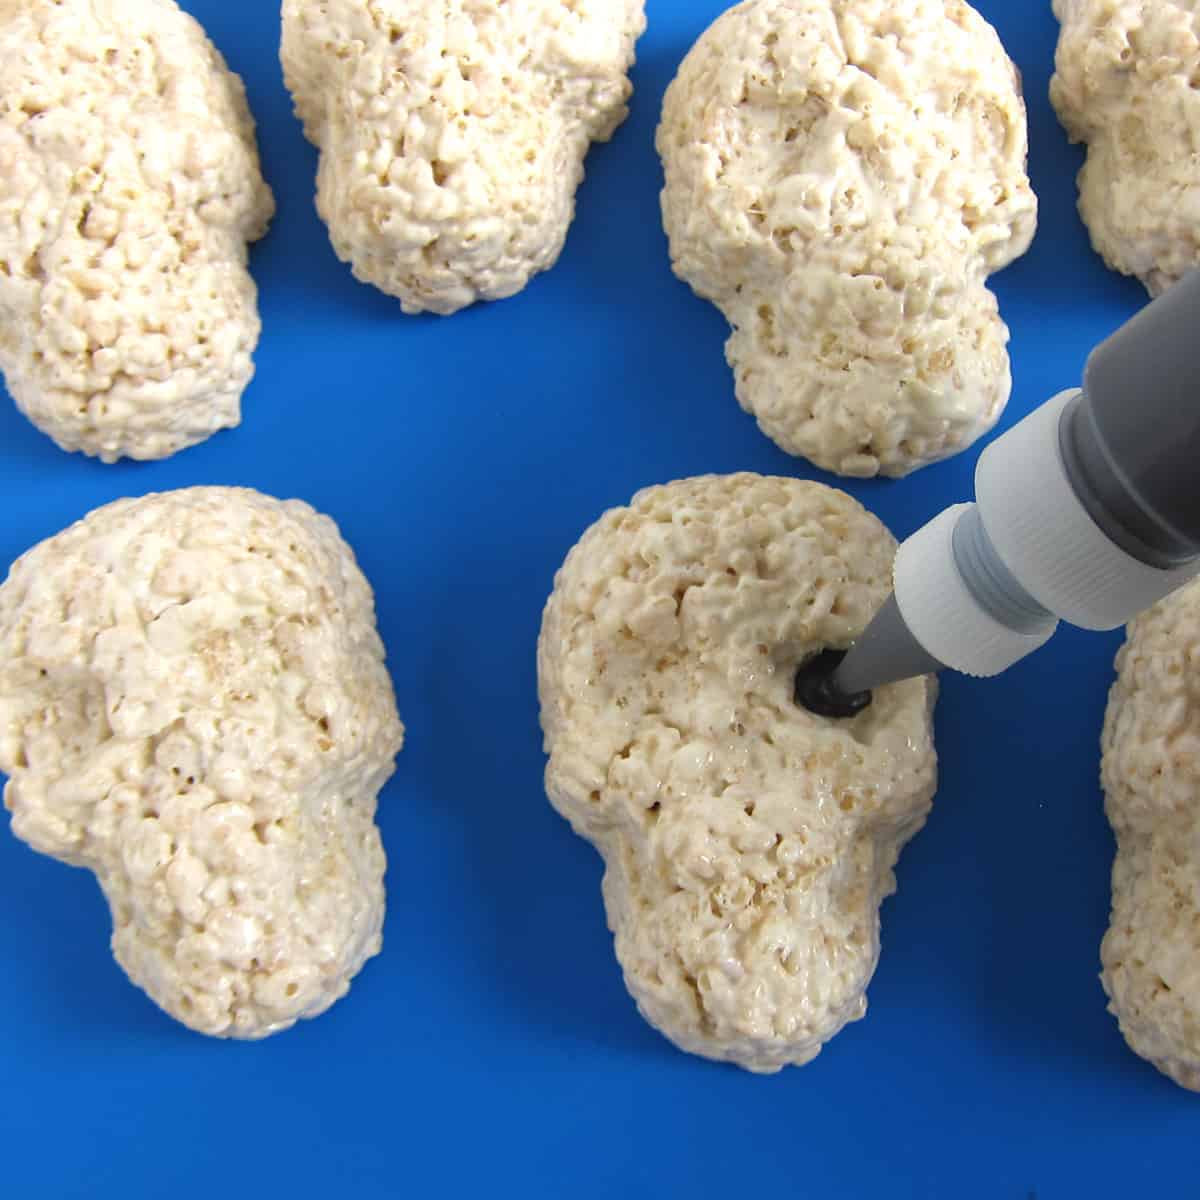
Fill a squeeze bottle or zip-top bag with melted black candy melts. Pipe into the eye sockets in the skull.
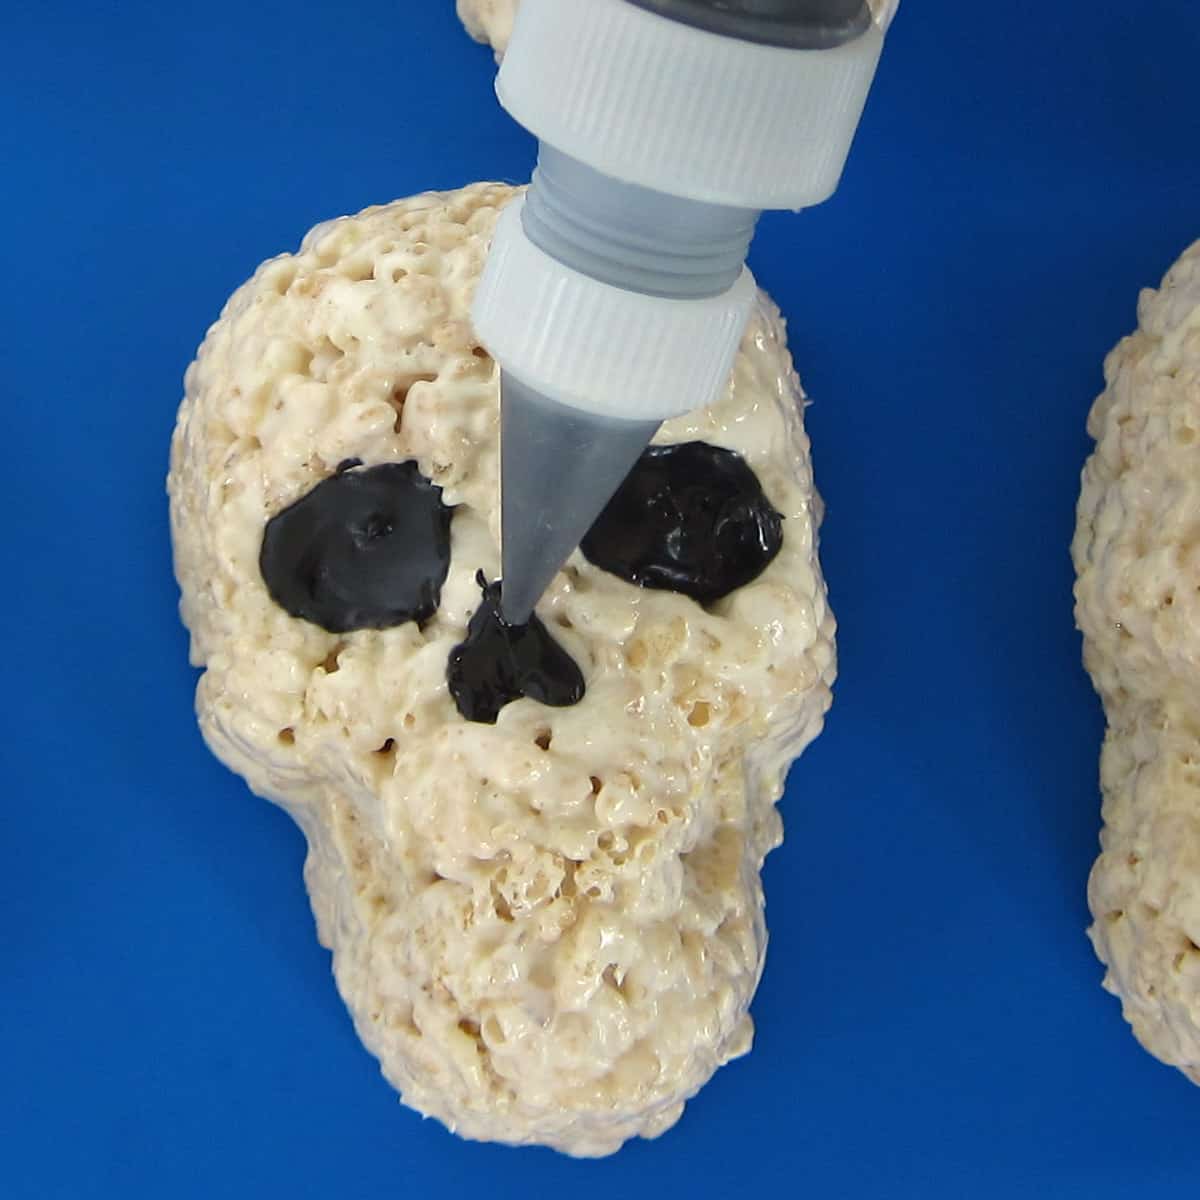
Fill in the eyes and the nose using the black candy melts.
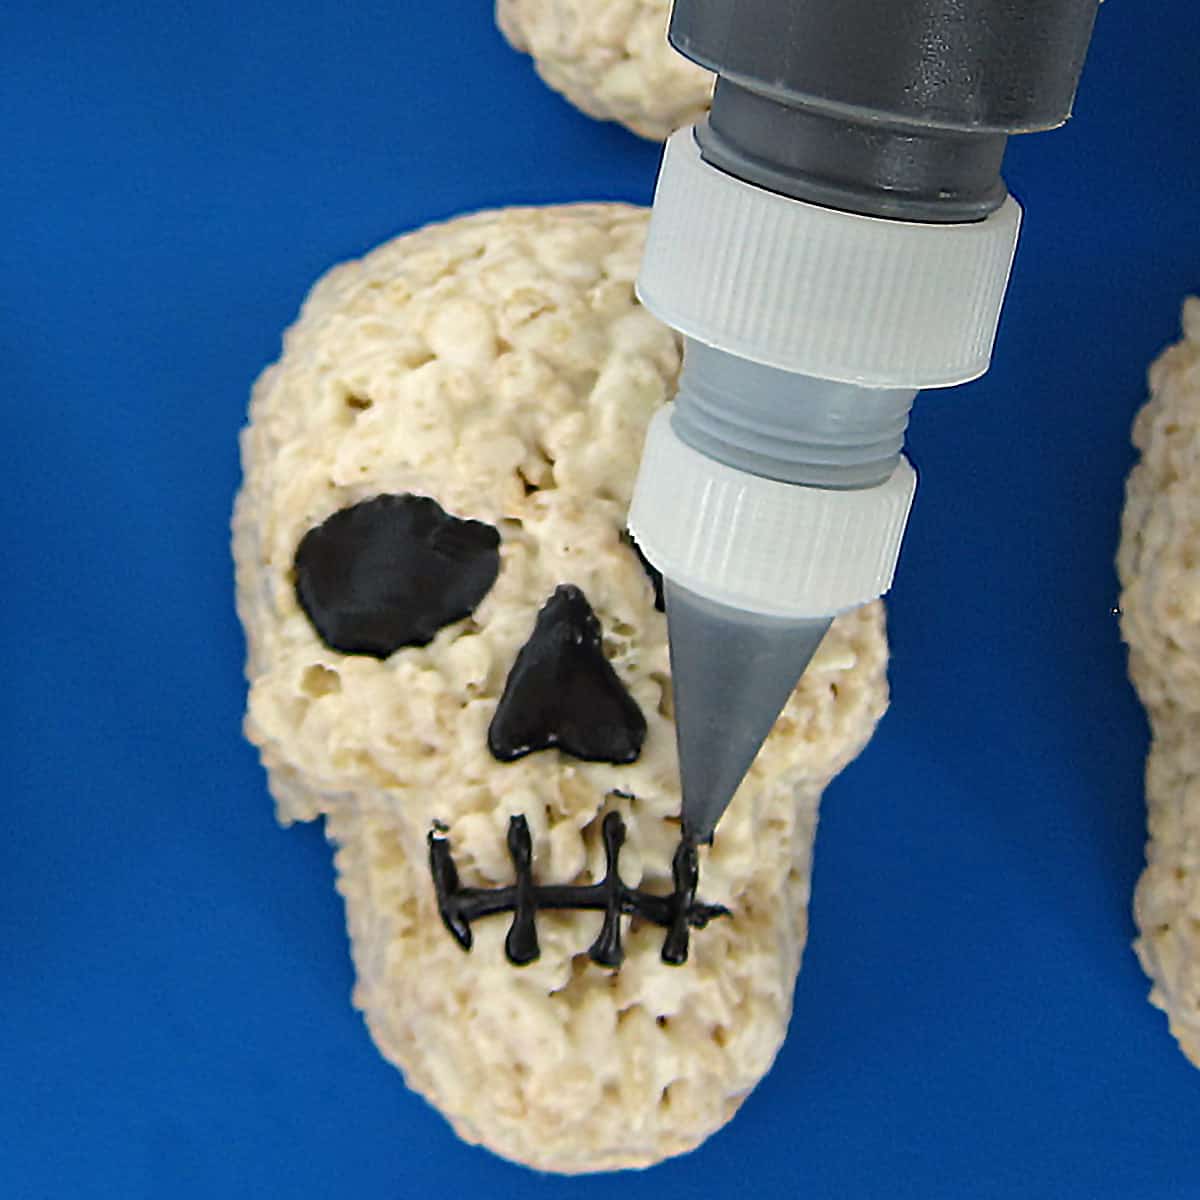
Add a mouth of one horizontal line of chocolate and four or five vertical rows to create the teeth.
Pop the treat in the freezer for 2-4 minutes just until the candy melts harden.
Tips
It's best to add the black candy melts to one skull and then place it in the freezer. Then work on the next skull. If the black candy melts begin to air dry they can become streaky or spotty.
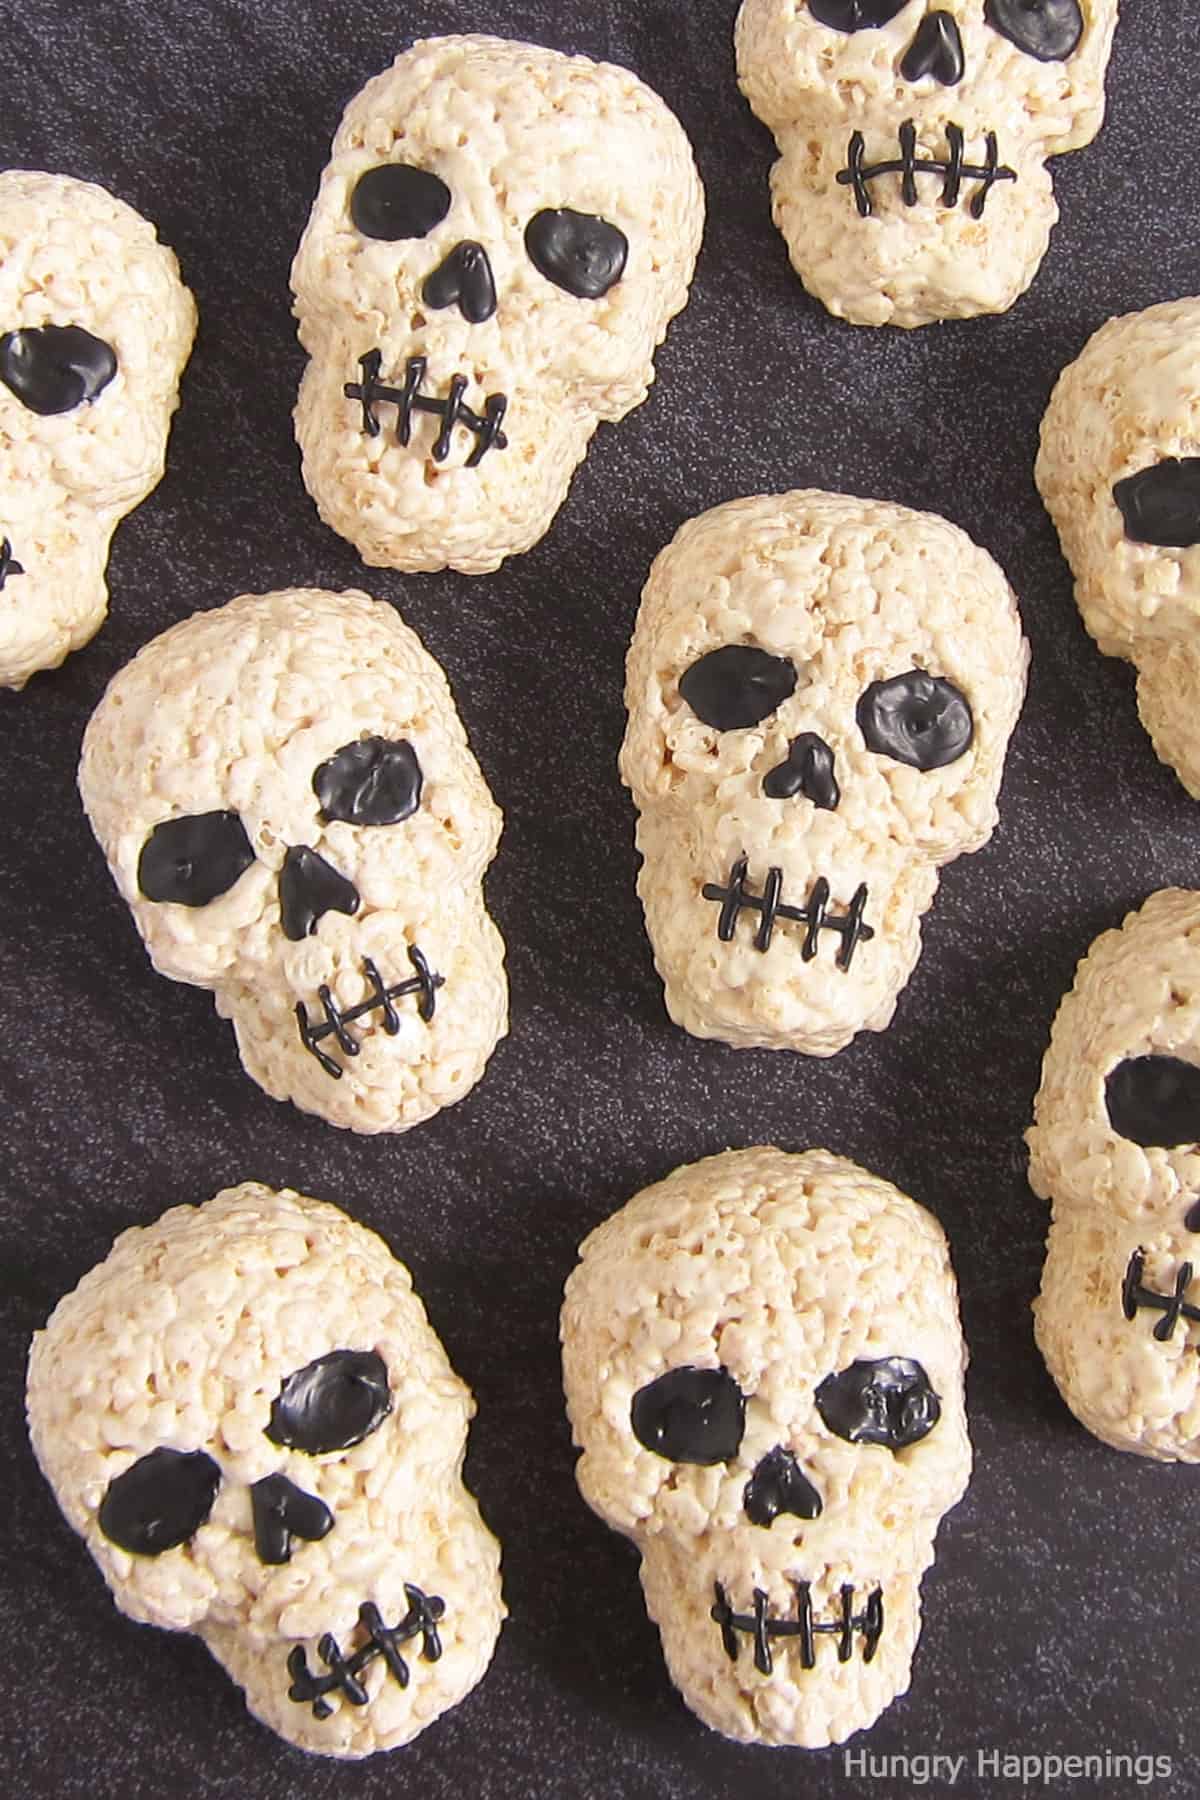
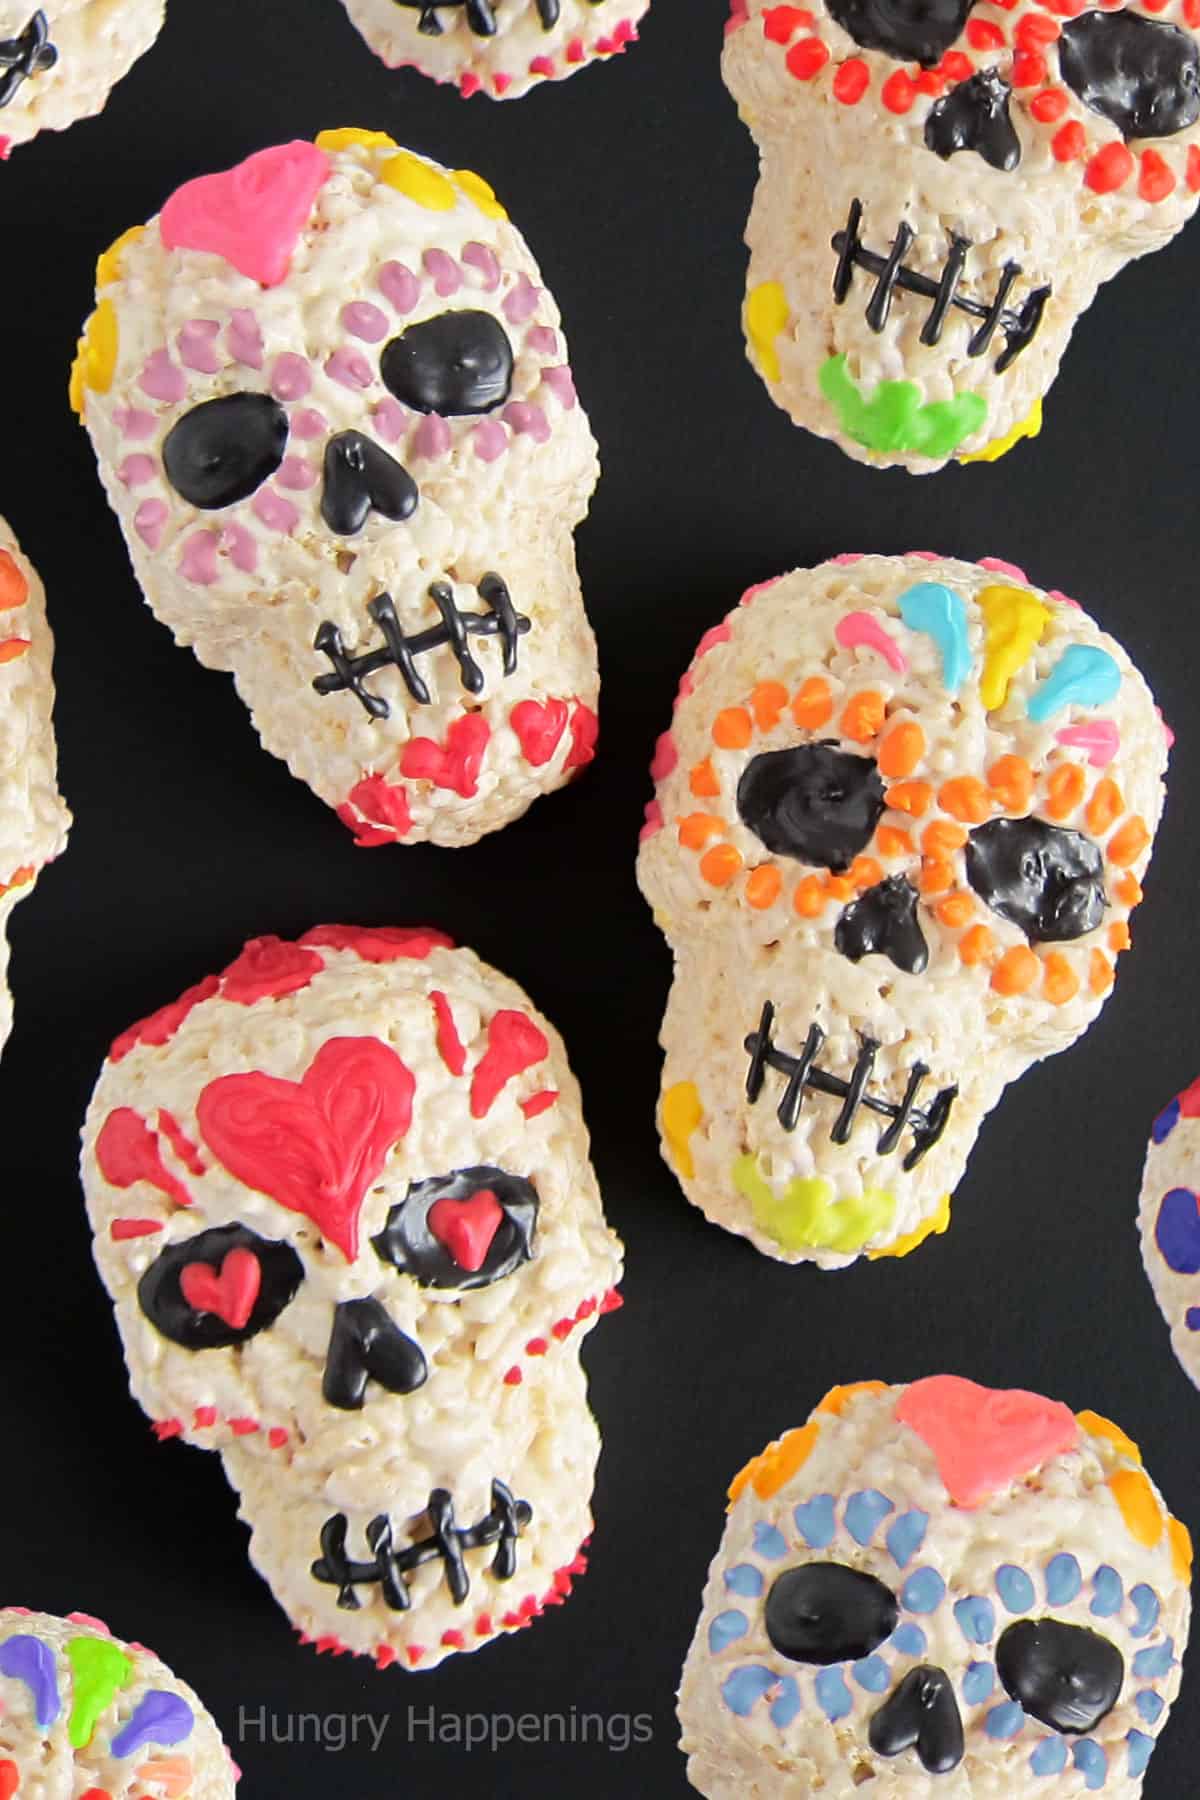
Your skulls can be served like this. They look pretty cool just as they are but can be decorated to look like a sugar skull if desired.
Variations
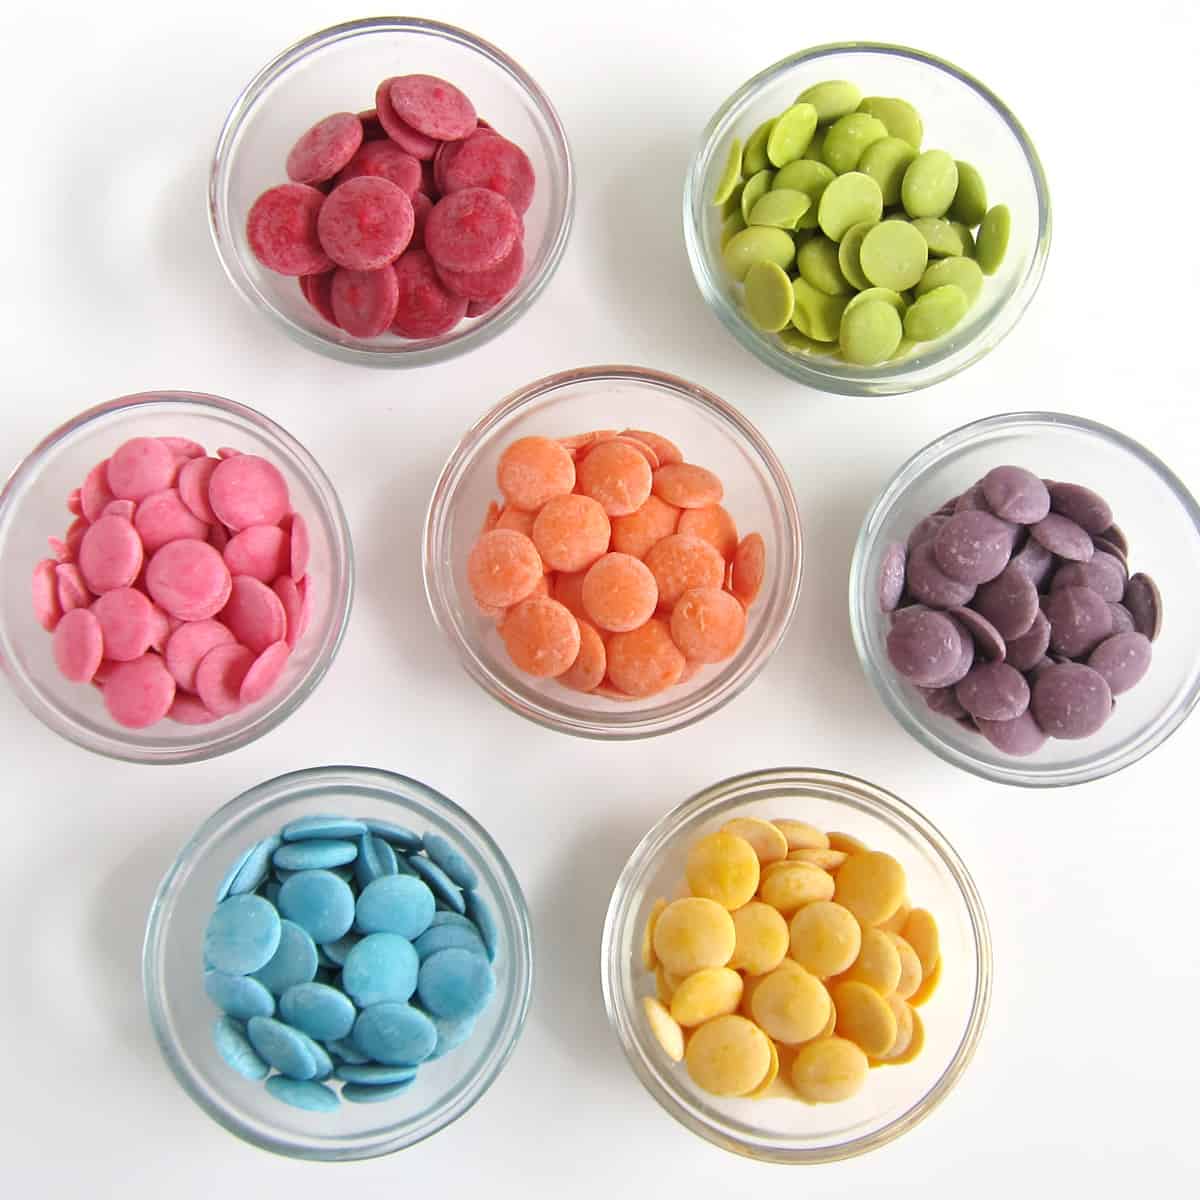
To turn your crispy treat skulls into sugar skulls, you can use colored candy melts or royal icing. I chose candy melts because I always have them on hand.
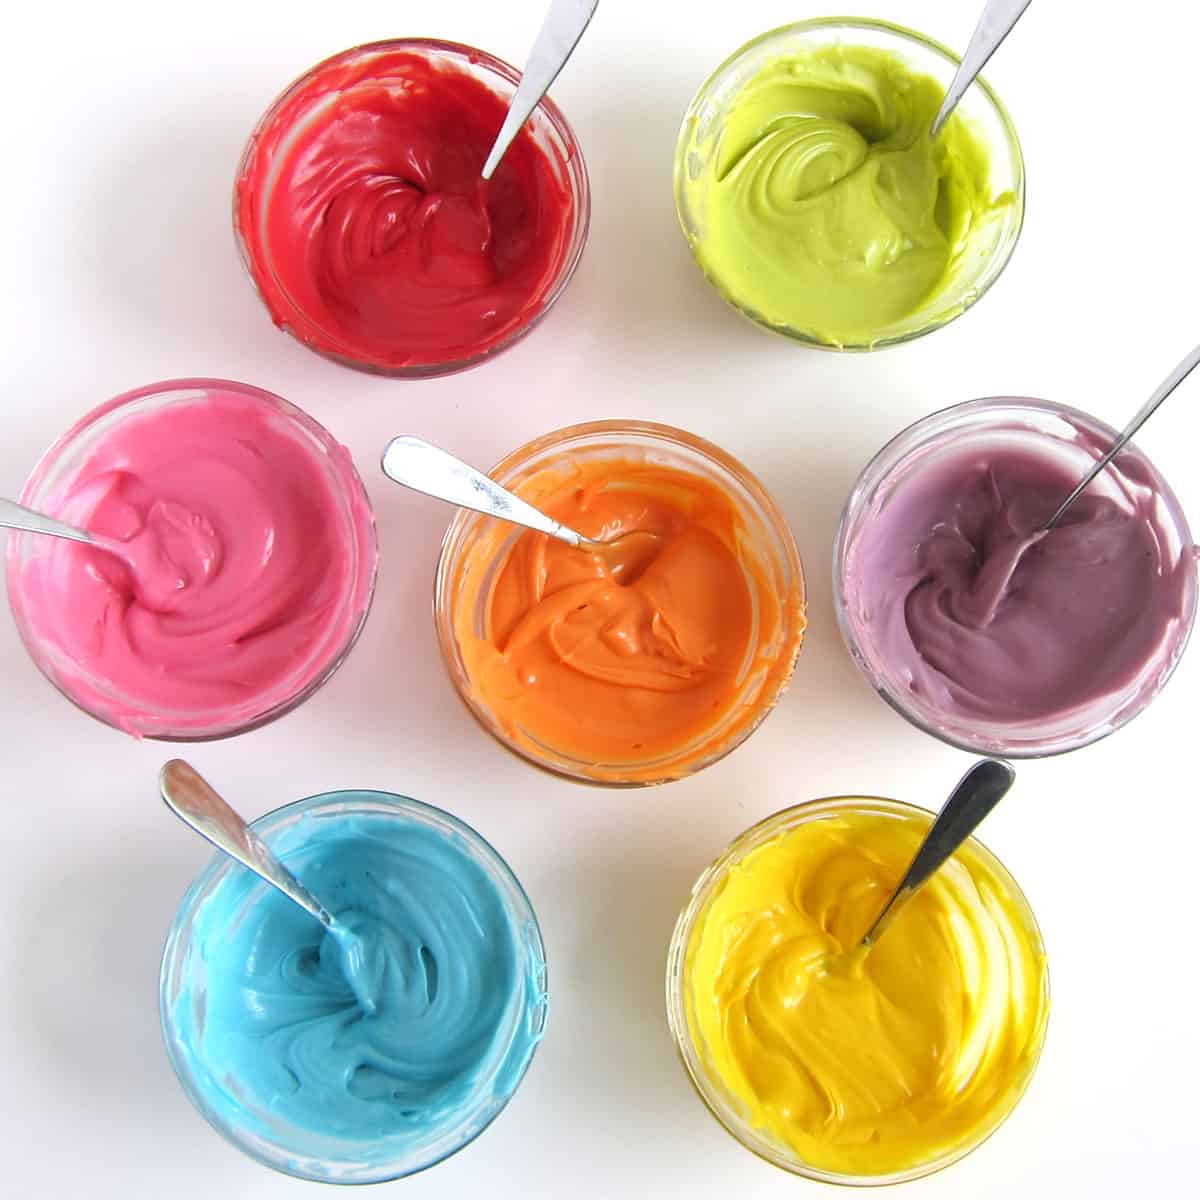
Melt the candy melts in the microwave or in an electric skillet. Check out my Chocolate Making Tips over on my Hungry Happenings blog for melting instructions.
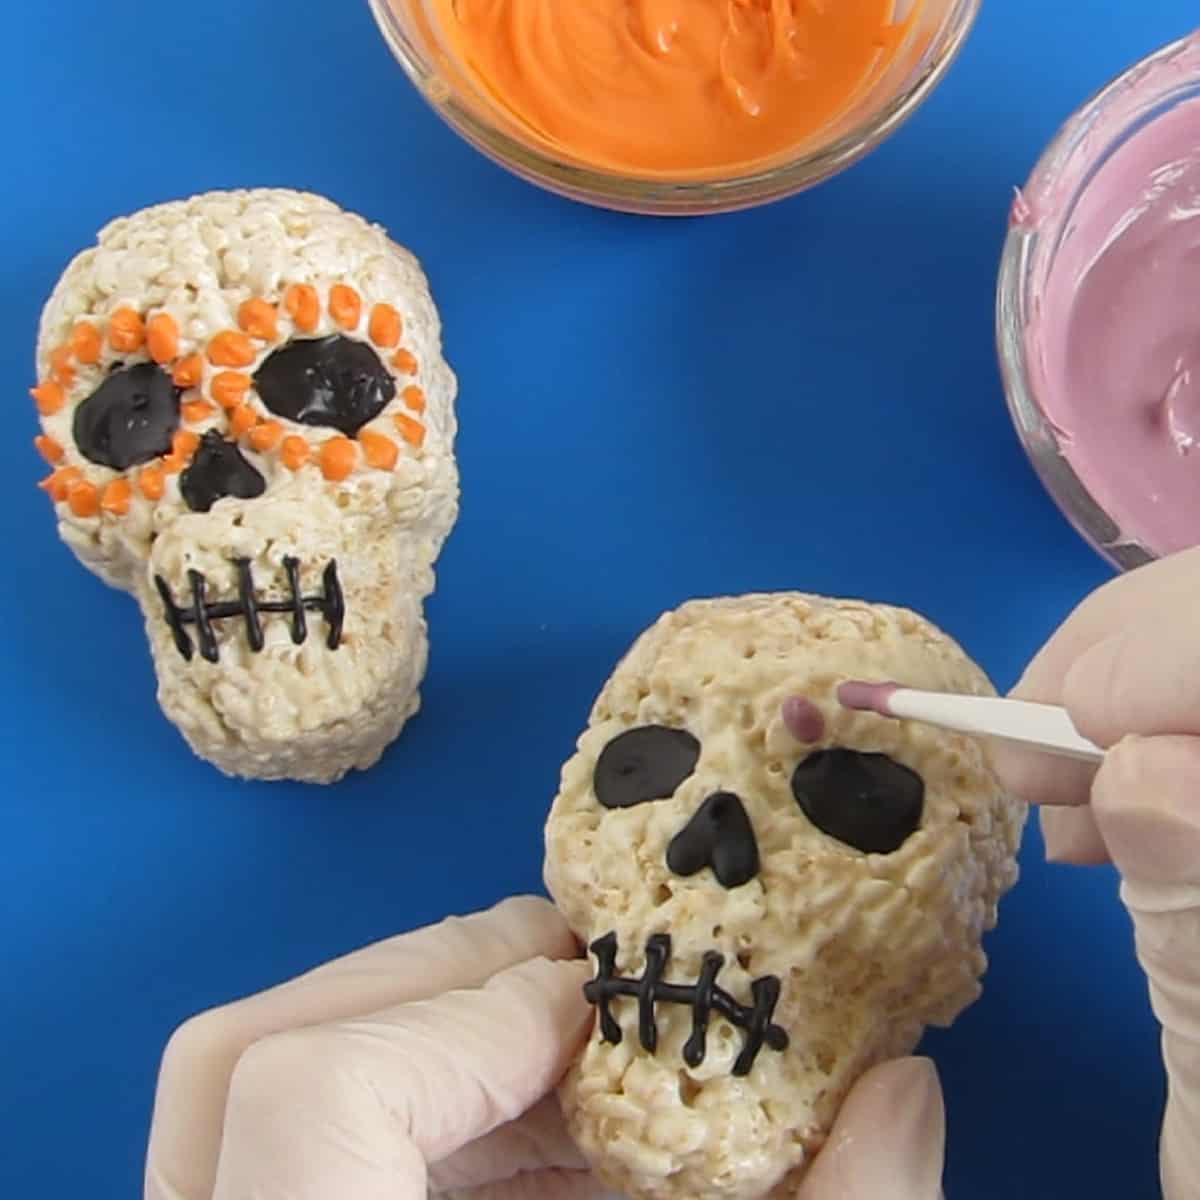
You can pipe or paint (dab) on your decorations. Get creative and add colorful dots, hearts, teardrops, and more to your skulls.
If you are using a paintbrush, dip it into the colored candy melts, then dab that color onto the skulls. You may need more than one coat to make the colors opaque.
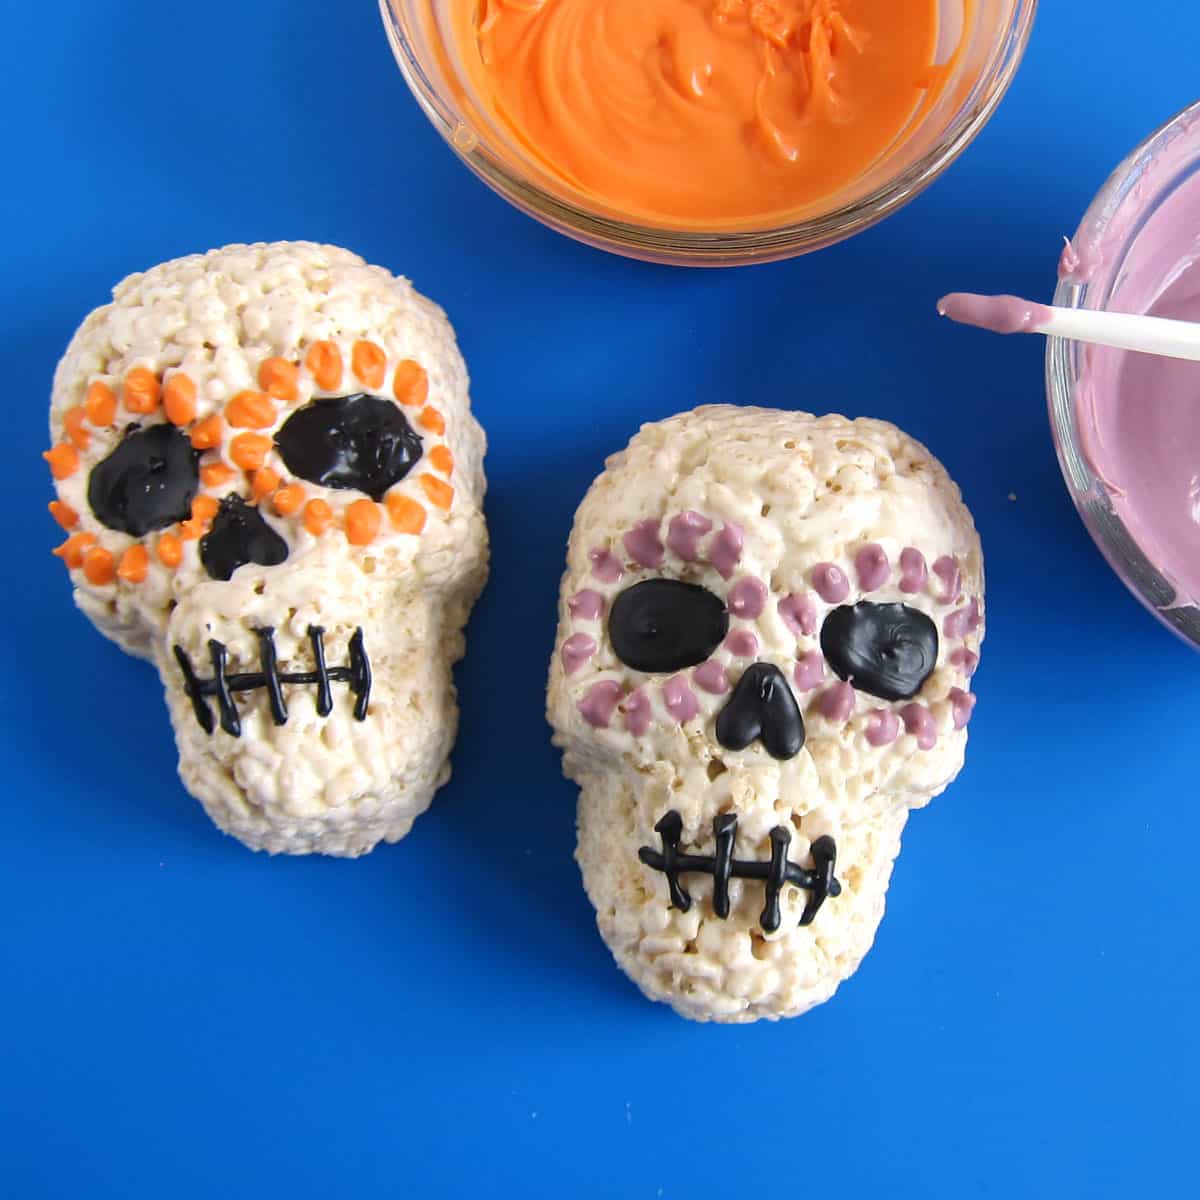
Make all of your skulls look different using a variety of colors and designs.

Once you get one skull decorated, pop it in the freezer for a few minutes just until the candy melts harden.
Substitutions
If you need to make dairy-free Rice Krispie Treats, you can use coconut oil instead of butter and you can skip the white chocolate. The treats won't be as sturdy as those made with white chocolate and won't be as white either.
I used traditional white candy melts to make these treats which are off-white. If you use bright white candy melts, the treats will have an even brighter white color.
Storage
Store these treats in an airtight container at room temperature for up to 5 days.
To keep them longer, you can freeze them in an airtight container or zip-top bag for up to 3 months. Thaw them on the counter in the container or bag for several hours before removing them from the container. This will keep condensation from forming on the candy melts.
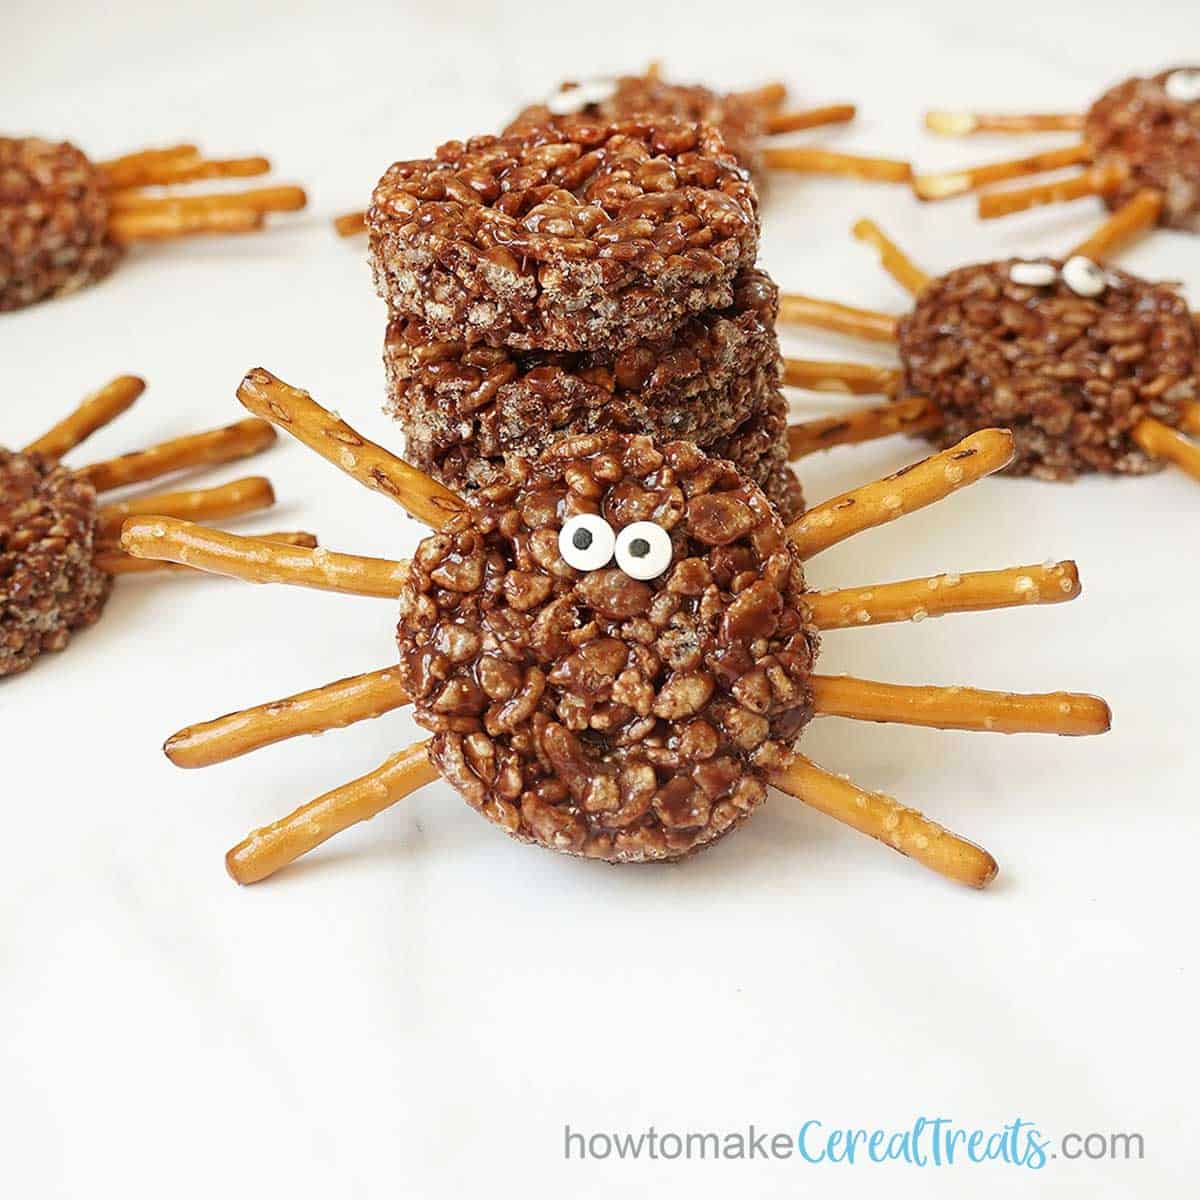
Related Recipes
If you are looking for more Halloween Rice Krispie treats, be sure to check out these other holiday recipes.
Recipe

Rice Krispie Treat Skulls
Equipment
- 1 Nordic Ware Skull Pan with 6 skull cavities
Ingredients
- 7 cups Rice Krispies Cereal
- 6 tablespoons salted butter
- 16 ounces marshmallows
- 6 ounces white candy melts or white chocolate chips (1 cup)
- 3 ounces black candy melts
- optional 4-6 ounces colored candy melts in a variety of colors or royal icing to decorate the sugar skulls
Instructions
- Grease a large mixing bowl with butter or baking spray.
- Pour the Rice Krispies Cereal into the bowl and set it aside.
- Cut the salted butter into small pieces and place them a medium-large saucepan.
- Set the pan over LOW heat.
- Stir in the marshmallows and white chocolate.
- Stir often, until about 75% of the marshmallows and white chocolate have melted.
- Then remove the pan from the heat and stir vigorously until it all melts.
- Pour the melted marshmallows over the cereal and stir until well coated.
- Allow the marshmallow cereal treat mixture to cool for a few minutes until it's cool enough to handle.
- Meanwhile, grease one skull cavity in a non-stick skull cakelet pan with butter.
- Pinch off a handful of the cooled cereal and roll it into an oval.
- Press the oval into the skull pan.
- Flatten out the top surface and remove any excess cereal if needed.
- Run a thin, plastic, blender spatula or thin plastic knife around the head of the skull and lift it out of the pan.
- Pipe melted black candy melts into the eye socket, nose, and over the teeth of the skull.
- If desired, decorate the skulls to look like sugar skulls using melted colored candy melts or royal icing.
- Either dab the colors on using a food-use-only paintbrush or pipe on your design using pastry bags filled with the candy melts or royal icing.
- If using candy melts, pop the decorated skull into the freeze for just a few minutes until the candy hardens. Let it rest at room temperature for about 30 minutes before packaging.
- If using royal icing. allow the icing to harden completely before packaging. This may take overnight.
Video
Notes
You can make and freeze the Rice Krispie Treats for up to 3 months if well wrapped and stored in an airtight container. To thaw, remove the container from the freezer, set it on the counter for several hours before opening. This will keep condensation from forming on the candy melts.
 We love creating easy Rice Krispie Treats recipes to share with you and hope you find our tips and instructions helpful. ___ -
Please leave a comment.